26 Nail Art Techniques to Try Before 2026
Nail art has taken the beauty community by storm, and with the growing trend towards sustainability, there’s no better time for eco-conscious DIY enthusiasts to explore innovative nail designs that are both stunning and environmentally friendly.
From plant-based polishes to upcycled nail accessories, these nail art techniques allow you to express your creativity while minimizing your impact on the planet. Whether you’re a seasoned pro or a curious beginner, you’ll love the variety of manicure tips that will enable you to create beautiful designs right at home. Get ready to transform your nails into a canvas of creativity with our curated list of sustainable nail art ideas that you can try before the new year rolls around. Let’s dive into this colorful adventure!
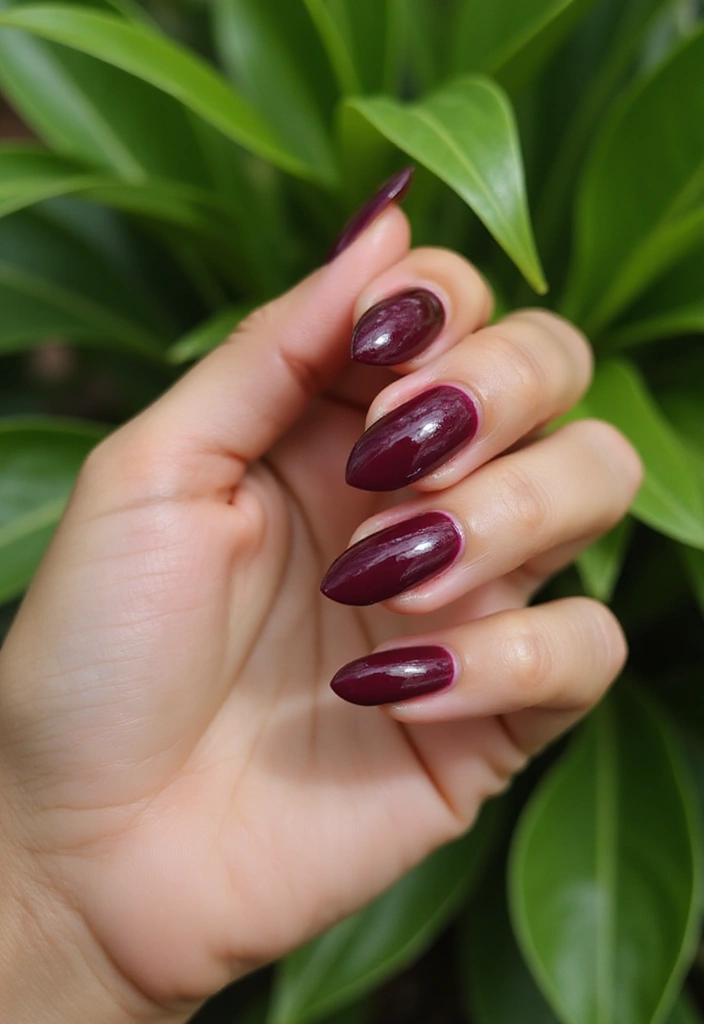
1. Eco-Friendly Nail Polish
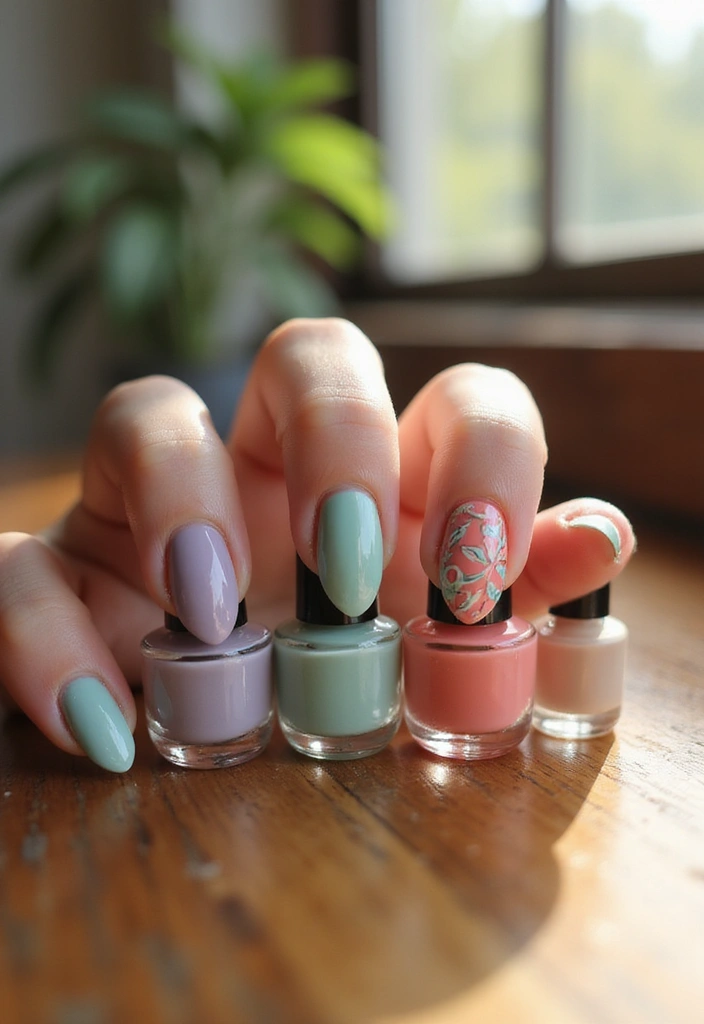
Start your sustainable nail art journey with eco-friendly nail polish. Look for brands that use non-toxic ingredients and are free from harmful chemicals like formaldehyde and phthalates.
Not only are these polishes better for your health, but they also come in a rainbow of colors that will make your designs pop. Many brands offer biodegradable or recyclable packaging, ensuring that even your nail care routine can be environmentally friendly.
– Always check for certifications on the label like ‘3-free’, ‘5-free’, or even ’10-free’ to ensure you’re choosing safer options.
– Consider buying from local brands to support your community and reduce carbon footprints.
– Don’t forget to dispose of old nail polishes responsibly; many companies have recycling programs.
This simple switch can make a big impact on your nail art routine as you create stunning designs without harming the environment.
2. Watercolor Effect
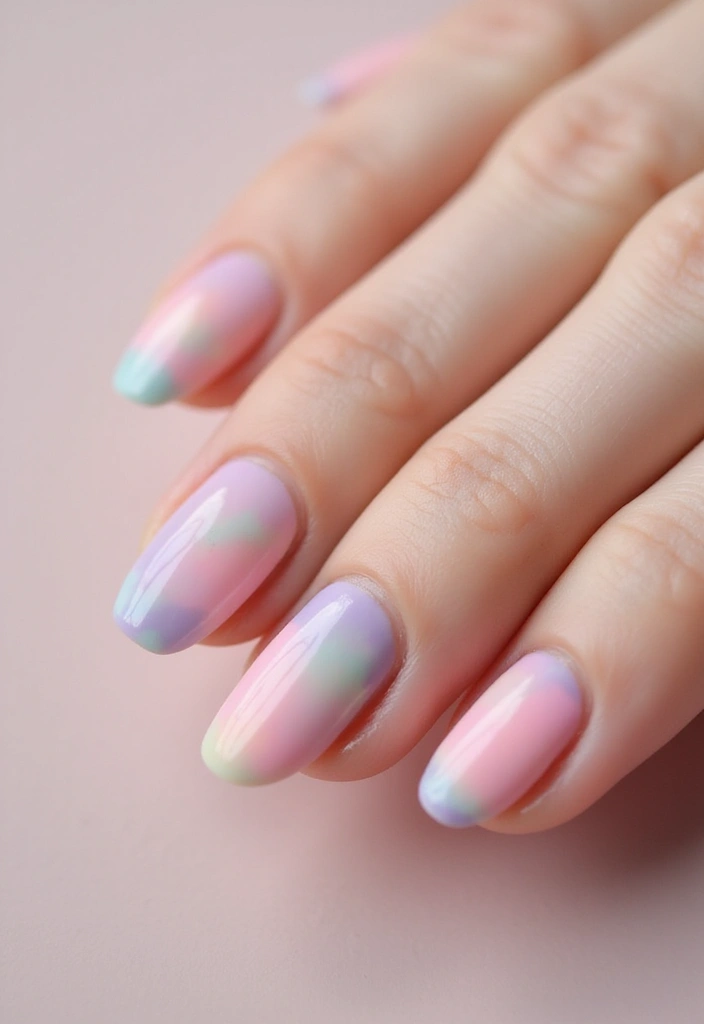
The watercolor nail art technique creates dreamy, soft designs that are visually captivating. To achieve this look, use sheer, water-based polishes or even a diluted polish mixture that can mimic the flowing colors of watercolor paint.
Steps to create the watercolor effect:
1. Apply a base coat.
2. Use a sponge applicator to dab on various colors gently.
3. Blend the colors softly for that authentic wash effect.
4. Seal the design with a top coat for longevity.
This technique is perfect for those who love the look of art but want a more casual approach to nail design. Plus, it’s easily customizable; blend colors that reflect your mood or the season!
Practice on a nail wheel to perfect your technique before applying it to your nails. This way, you can experiment without any commitment!
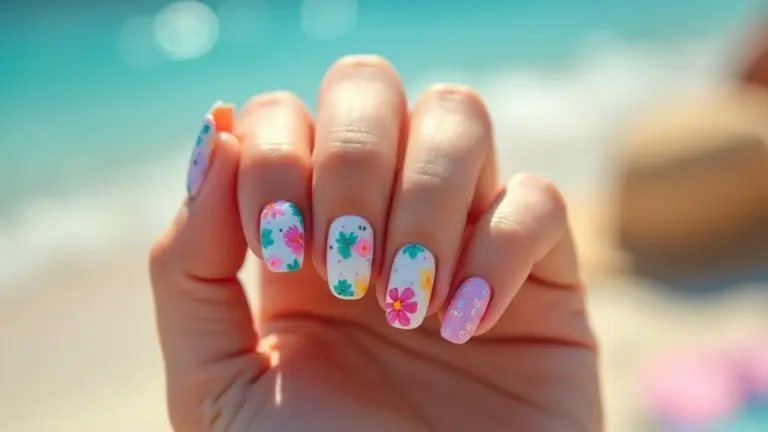
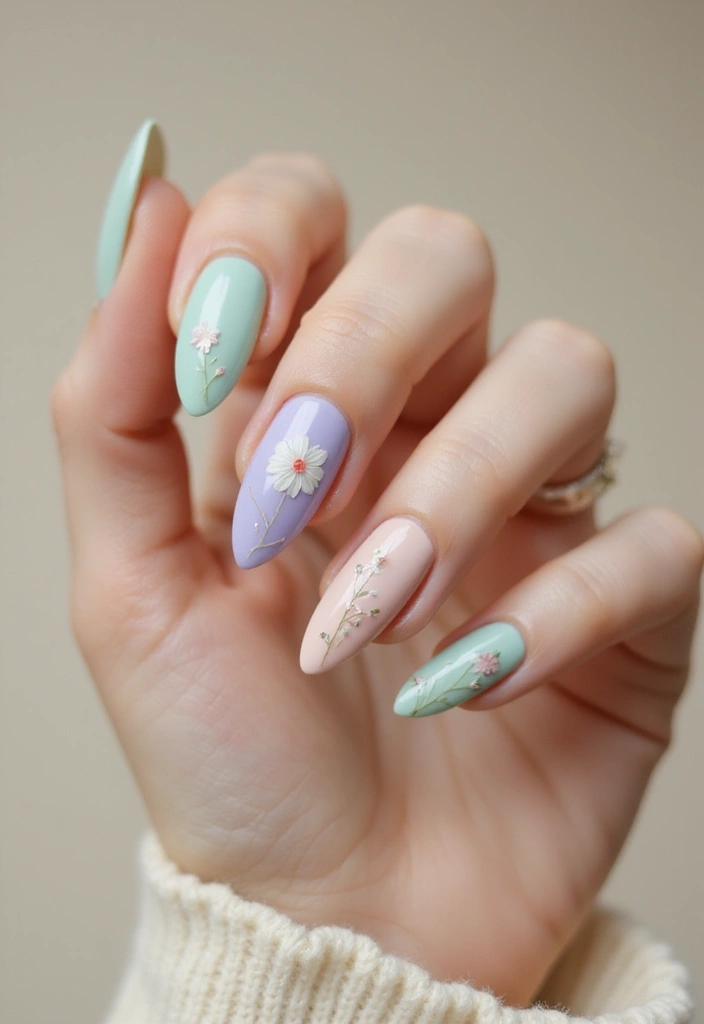
3. Natural Nail Art with Flowers
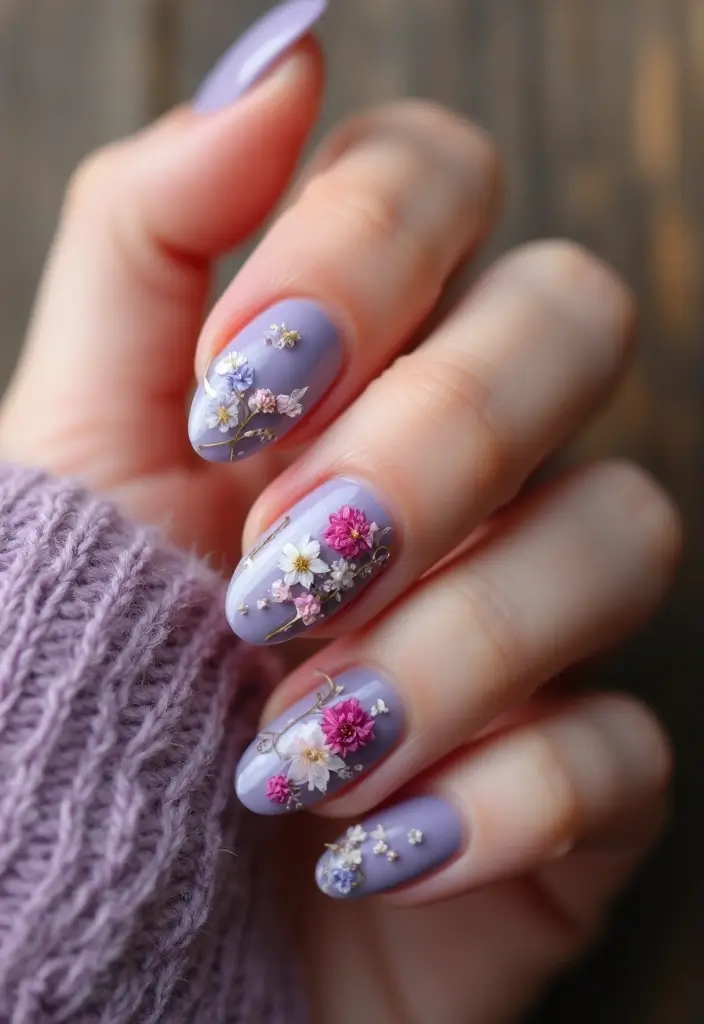
Bring the beauty of nature right to your fingertips with floral nail art! Dried flowers are an excellent choice for sustainable designs. Gather some dried petals and use a clear nail polish to encapsulate them on your nails, creating a delicate, garden-inspired look.
Here’s how to do it:
– Select small flowers or petals that will fit nicely on your nails.
– Apply a base coat for protection.
– Carefully place the dried flowers on each nail while your base is still tacky.
– Finish with a generous layer of top coat to seal everything in.
Beyond just looking stunning, floral designs connect you to nature and are perfect for spring or summer. You can also use leaves or herbs to add a unique twist!
Use tweezers to place the flowers accurately; this will help prevent smudging and ensure a cleaner look.
4. Recycled Nail Art Accessories
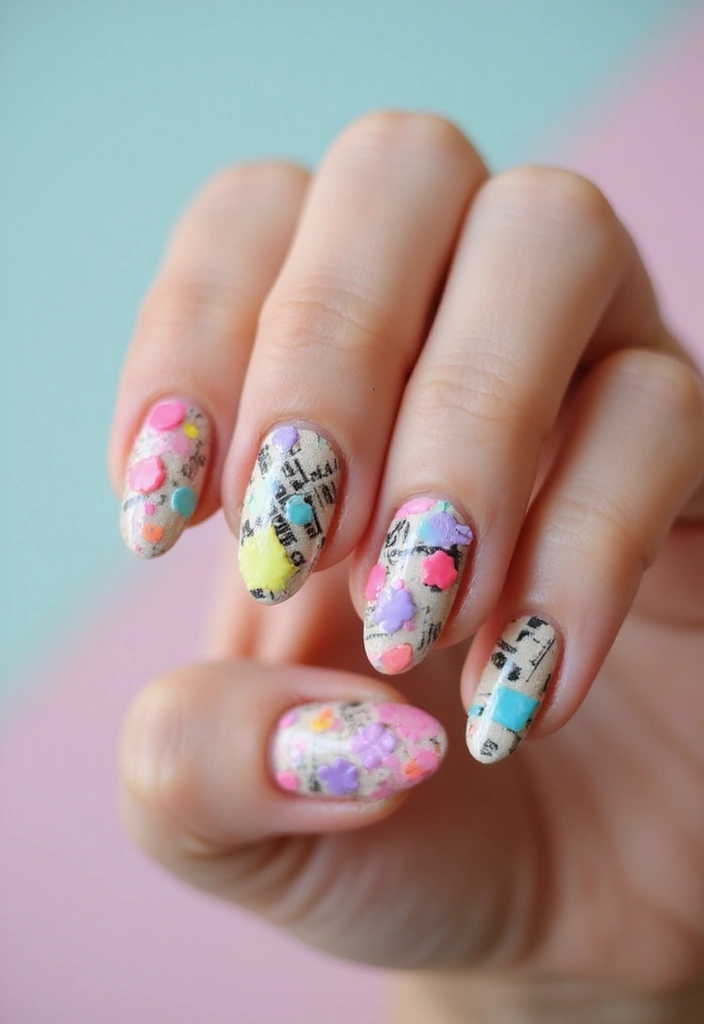
Get creative by making your own nail art accessories from recycled materials! For instance, you can craft nail decals from used plastic, old stickers, or even scrap paper. This not only gives you unique designs but also helps keep waste out of landfills.
Ideas for DIY nail accessories:
– Cut shapes from hard plastic containers to create stencils.
– Use old jewelry pieces as nail embellishments.
– Design your own decals using old magazines or newspapers, sealing them with clear polish.
This technique allows you to express your style while being kind to the environment. Plus, who doesn’t love a cool story behind their nail art?
Ensure that any materials you use are clean and safe for your nails to avoid irritation.
5. Plant-Based Top Coats
Top coats are essential in nail art to ensure your design lasts longer, but they don’t have to be harmful! Look for plant-based top coats that provide a high-gloss finish without the nasty chemicals.
Benefits of plant-based products:
– They’re often biodegradable and made from renewable resources.
– Your nails will still look shiny and beautiful while being eco-friendly.
– Many brands are cruelty-free, so you can feel good about your choice.
Apply a layer of the plant-based top coat over your finished design to enhance the colors and add durability. It’s a small step that can make a significant difference in your nail care routine.
Always apply top coats to dry nails to avoid smudging your artwork!
Elevate your nail art sustainably! With plant-based top coats, you can shine bright without compromising your values. Go eco-friendly and let your nails reflect your commitment to beauty and the planet!
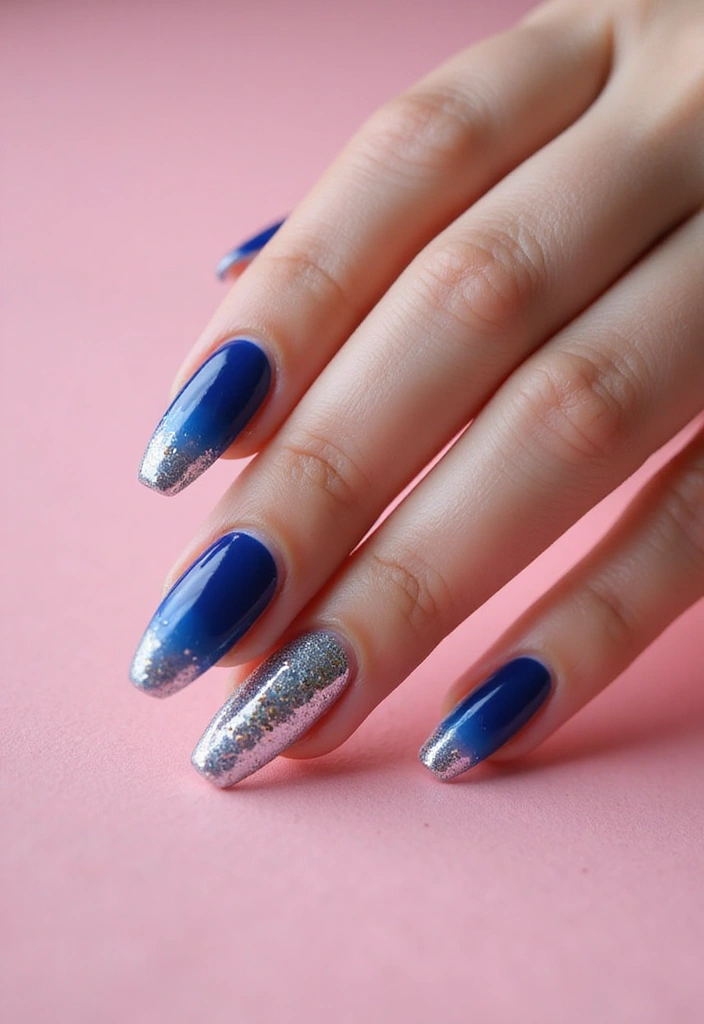
6. Ombre Nails
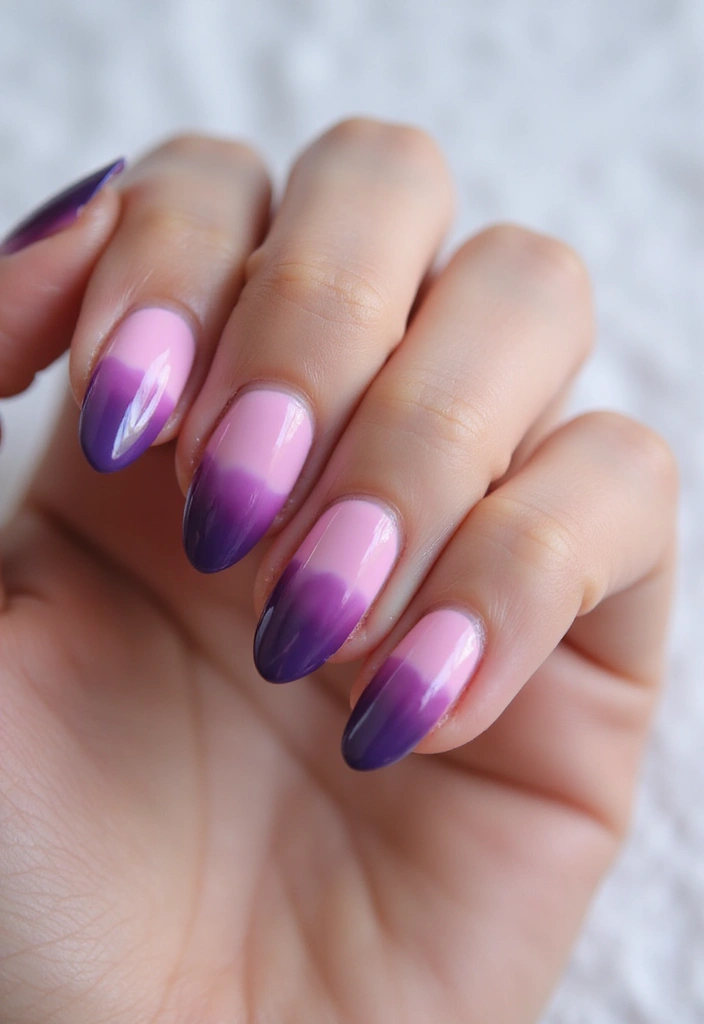
Ombre nails have gained massive popularity for their chic and stylish appeal. This technique blends two or more colors seamlessly, providing a stunning gradient effect that’s perfect for any occasion.
How to achieve ombre nails:
1. Start with a base coat in a neutral color.
2. Choose two or three colors that complement each other.
3. Using a makeup sponge, dab the colors onto the sponge and then onto your nails, blending as you go.
4. Finish with a top coat to seal the look.
Ombre nails can be customized to suit any season or event, making them highly versatile. Play with contrasting colors for a bold look or soft hues for a more elegant finish.
If you’re new to ombre nails, practice with lighter colors first to master the blending technique!
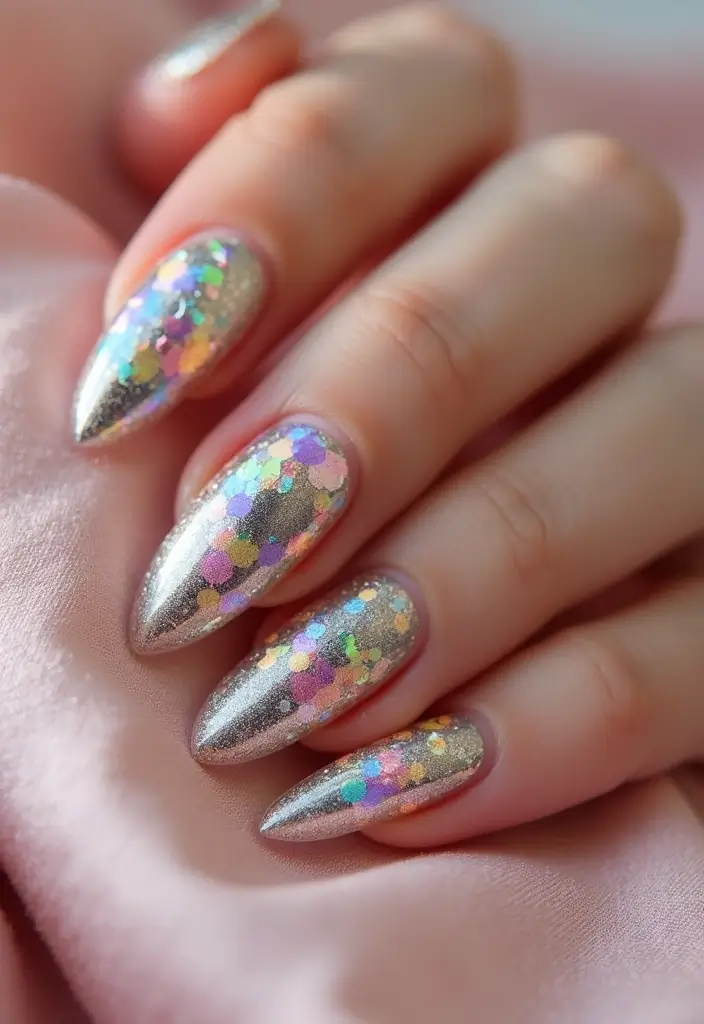
7. Nail Art with Biodegradable Glitter
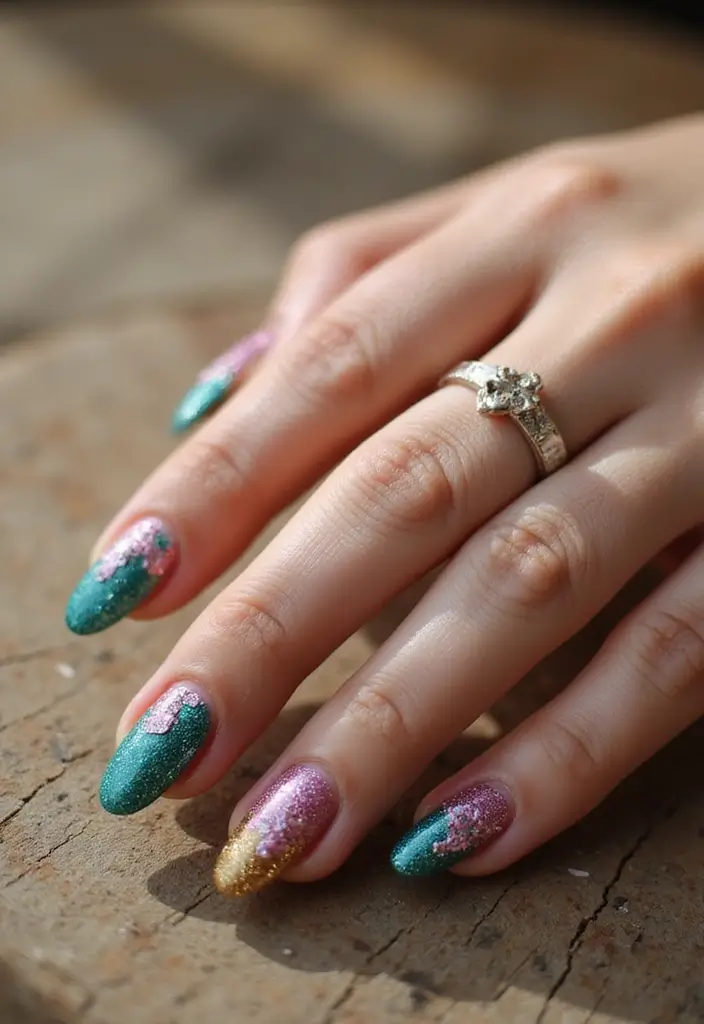
Sparkle sustainably by incorporating biodegradable glitter into your nail art designs. This glitter is made from plant-based materials and will break down naturally, unlike traditional plastic glitters that can pollute our oceans.
How to use it:
– After applying your base color, sprinkle biodegradable glitter onto the wet polish.
– Alternatively, mix the glitter with a clear polish to create a custom glitter top coat.
– Seal everything in with a final top coat for a long-lasting sparkle.
With this technique, you can add a touch of glam without the environmental guilt. Plus, who doesn’t love a little sparkle?
Always check for certified biodegradable glitter to ensure it won’t harm the environment.
8. Nail Art Using Natural Dyes
Explore the world of natural dyes for an eco-friendly way to color your nails. You can make your own dyes using kitchen staples like beet juice, turmeric, or even coffee!
Here’s a quick guide:
1. Boil your chosen ingredient to extract color.
2. Let it cool, then apply it to clean nails using a brush.
3. Seal it with a top coat for durability.
This technique not only brings vibrant colors to your nails but also ensures that you’re using non-toxic materials, perfect for those looking to reduce their chemical exposure.
Always do a patch test before applying natural dyes to ensure you don’t have any allergic reactions!
Embrace the beauty of nature! With kitchen staples like beet juice and turmeric, your nails can be a canvas of vibrant, eco-friendly art. Why go toxic when you can DIY sustainably?
9. Taped Nail Art Designs
Using tape, you can create crisp, geometric designs that are eye-catching and chic. This technique allows anyone to craft intricate patterns without needing to be an expert.
Steps for taped nail art:
1. Start with a base coat and let it dry completely.
2. Use striping tape or regular tape to create your desired design by layering it on your nails.
3. Paint over the tape with contrasting colors.
4. Carefully remove the tape before the polish dries to reveal your design!
Taped designs can range from simple stripes to complex patterns, and the best part is, it’s entirely customizable!
Use tweezers to help with precise placement of the tape for a clean finish.
10. Nail Art with Raw Materials
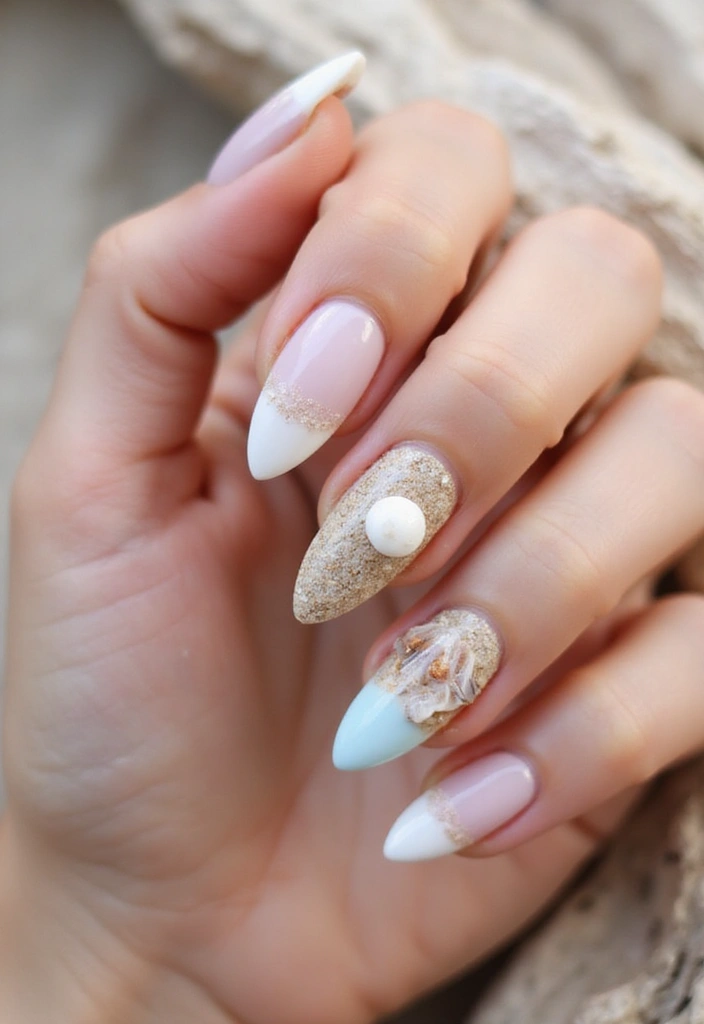
For the ultimate in sustainable nail art, consider using raw materials like sand, coffee grounds, or seashells. These unique elements can create textured, natural-looking nail designs that are truly one-of-a-kind.
How to incorporate raw materials:
– Mix the raw material with clear nail polish and apply it to your nails.
– For a layered effect, apply your base color, then add the raw material mixture on top.
– Seal it with a top coat to ensure longevity.
Not only does this technique allow for creativity, but it also connects you with nature. Each design tells a story, and you can feel good knowing you’re using materials that are eco-friendly.
Make sure to use fine particles for smoother application!
11. Stamping Nail Art
Stamping is an efficient way to create intricate designs without the hassle of freehand painting. Using stamping plates, you can easily transfer beautiful images onto your nails in minutes!
How it works:
1. Apply a base coat and let it dry.
2. Choose your stamping plate and apply polish to the image you want.
3. Scrape off the excess polish and use a stamper to pick up the design.
4. Press it onto your nail, and voilà—gorgeous nails in no time!
This is a perfect technique for those who want detailed designs but may not have the precision needed for painting. You can find a wide range of stamping plates featuring various themes.
Use a quick-drying top coat to avoid smudging your stamped designs!
12. Nail Foil Art
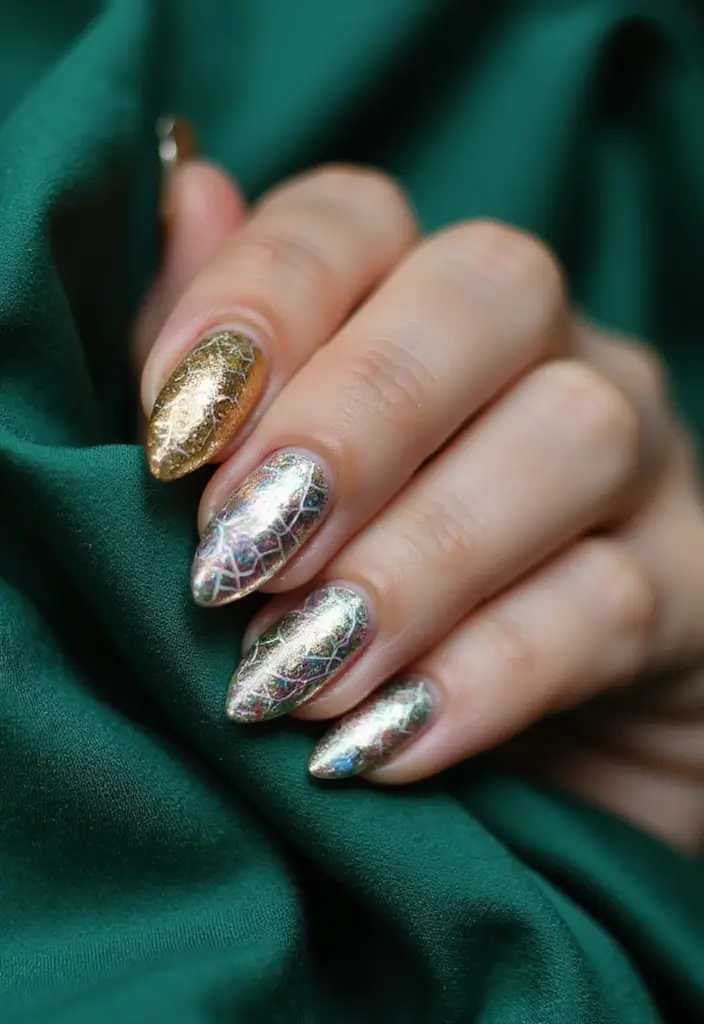
Nail foil is an exciting way to add unique patterns and textures to your nail designs. This technique involves transferring shiny metallic or holographic foil onto your nails for a stunning effect.
Here’s how to get started:
1. Apply a base coat and let it dry completely.
2. Use a special nail foil adhesive and paint it on the area where you want to apply the foil.
3. Once the adhesive is tacky, press the foil onto the nail and gently rub it in.
4. Seal your design with a top coat for a finished look.
Foil nail art is perfect for special occasions or when you want to add some glamour to your everyday style.
Experiment with different foil colors and patterns for endless design possibilities!
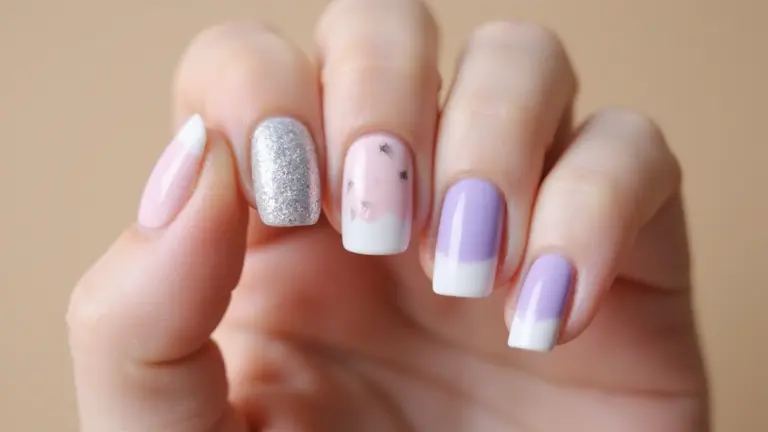
13. Negative Space Nail Art
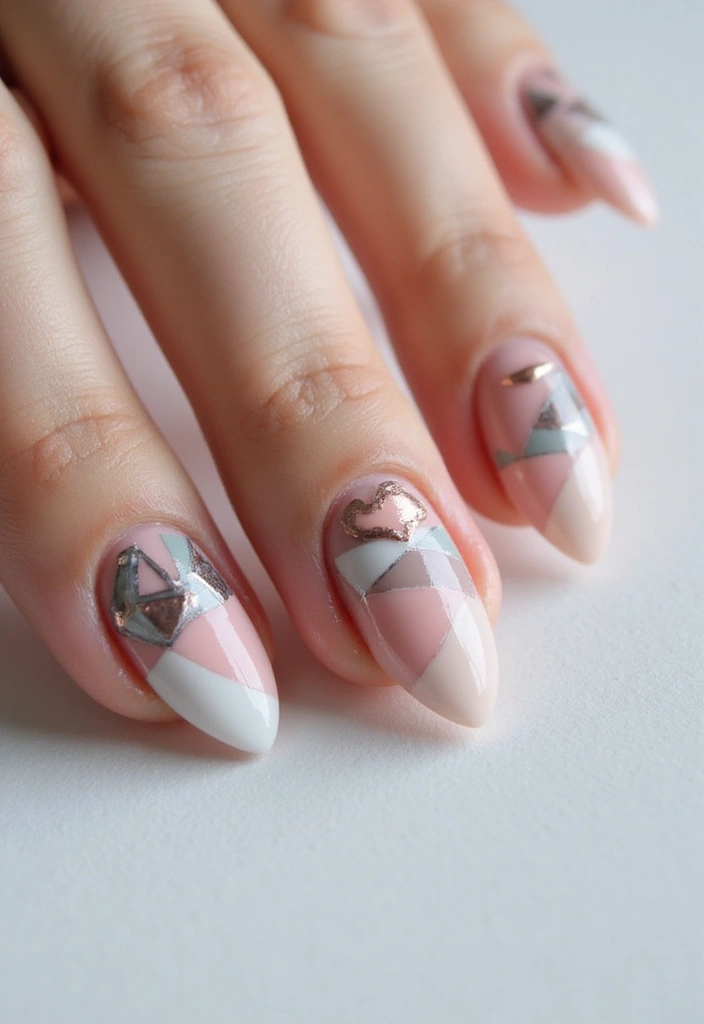
Negative space nail art focuses on leaving parts of your natural nail exposed, creating a chic and modern look. This technique is all about playing with shapes and colors while showcasing your natural nails.
Steps to create negative space designs:
1. Apply a clear or nude base coat.
2. Use tape or nail art brushes to create shapes leaving parts of your nail bare.
3. Paint over the exposed areas with your chosen color, then remove the tape.
4. Finish with a top coat to keep everything in place.
This technique is especially appealing for those who want something understated yet stylish. You can get creative with geometric shapes or even floral patterns.
Use a matte top coat for a trendy finish!
14. Nail Art with Crystals and Gems
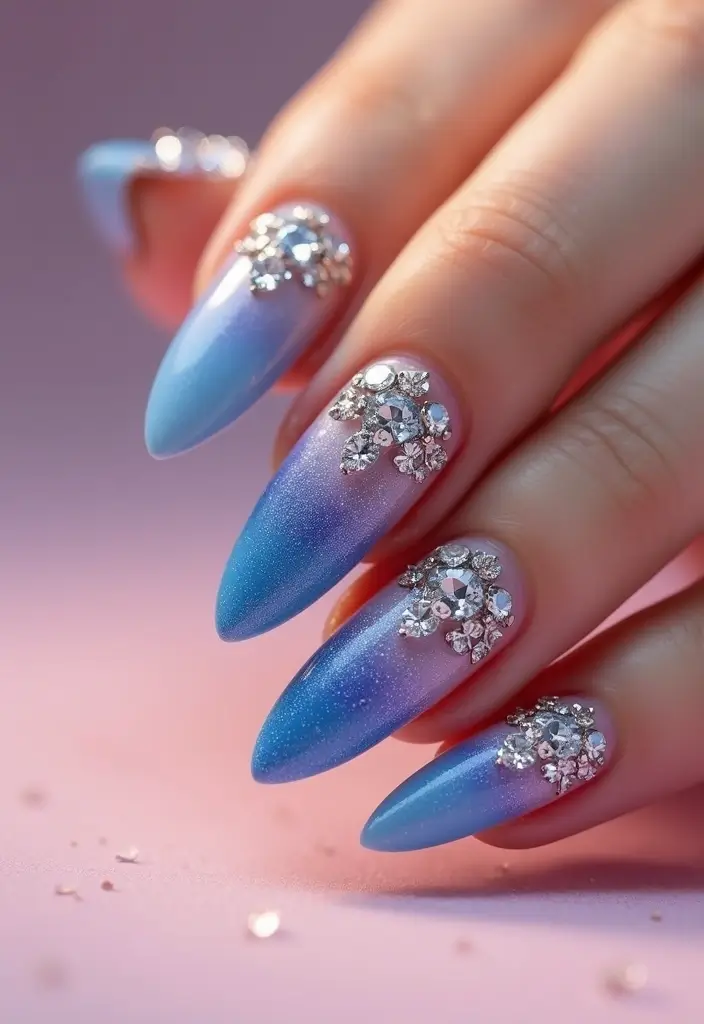
Add a touch of glam with crystals and gems! This technique involves embellishing your nails with small jewels for a sparkly finish that’s perfect for special occasions.
How to apply crystals:
1. After your base color has dried, apply a top coat or nail glue in the areas where you want to place the crystals.
2. Use a dotting tool or tweezers to carefully place the gems.
3. Seal everything in with a top coat, ensuring crystals are securely affixed.
Crystals can be arranged in patterns, or used as accents on individual nails to create a statement look. Your nails will truly shine, making them a topic of conversation wherever you go!
Be mindful of the size of the crystals you choose; smaller ones are less likely to catch on things.
Dazzling nails aren’t just for special occasions! With a few crystals and gems, you can create stunning designs right at home. Shine bright and express your unique style – your nails deserve the sparkle!
15. Tape Resist Nail Art
Tape resist nail art combines the elegance of negative space with the precision of tape designs. Here, you can create intricate patterns while leaving parts of your nails untouched. This technique is ideal for people who love geometric shapes and striking visuals.
To achieve tape resist designs:
1. Start with a base coat and let it dry.
2. Apply tape to create your desired design, leaving sections of your nails exposed.
3. Paint over the entire nail with your chosen color.
4. Carefully remove the tape while the polish is still wet for clean lines.
This method allows for bold creativity while ensuring that your natural nails still have a chance to shine through, making it both stylish and practical.
Use high-quality tape to prevent any polish bleeding underneath!
Embrace the beauty of negative space in your nail art! With tape resist designs, you can create stunning geometric patterns and showcase your creativity—all while keeping it eco-friendly. Let your nails tell a story!
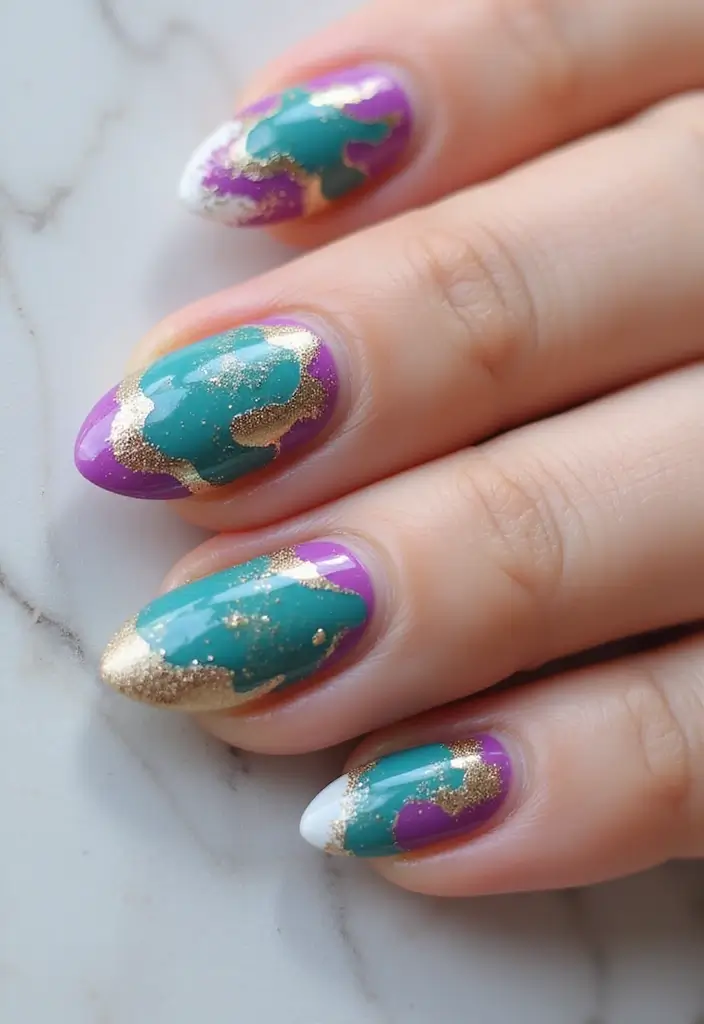
16. Marble Nail Art
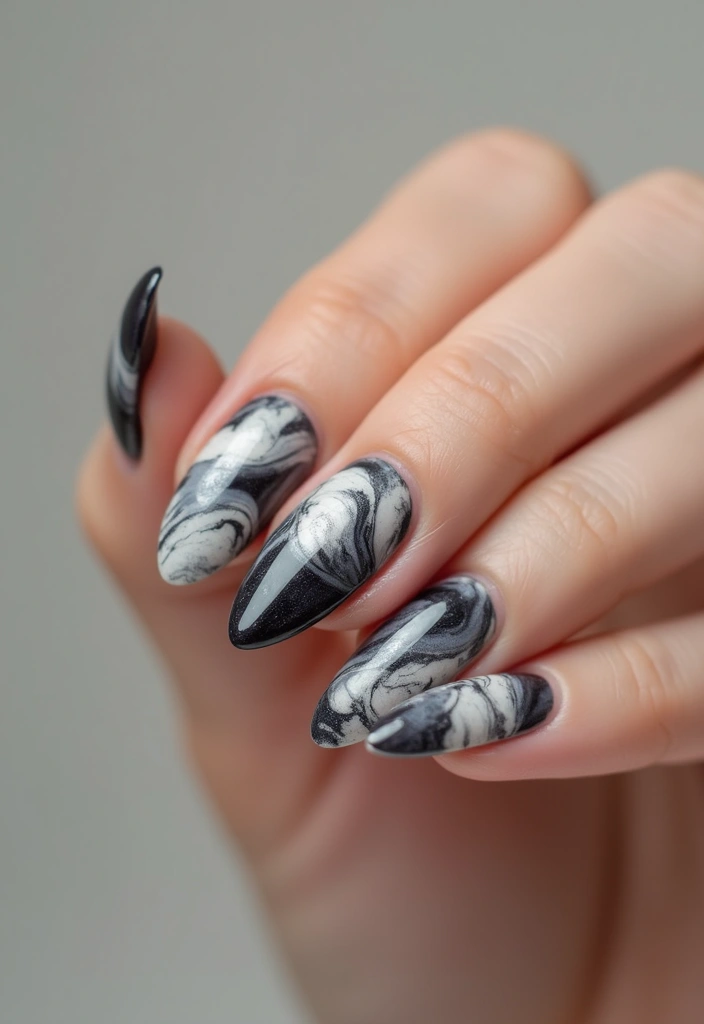
Marble nail art is a sophisticated style that mimics the elegant appearance of natural marble. This technique uses a swirling method to blend colors together into a stunning design that can be tailored to your preferences.
How to create marble nails:
1. Apply a base coat and let it dry.
2. Drop two or more nail polish colors onto a water-filled bowl and use a toothpick to swirl them together.
3. Dip your nails into the water and pull them out to reveal the marble effect.
4. Finish with a top coat for durability.
Each marble design is unique, making your nails truly one-of-a-kind. It’s a technique that can be dressed up or down, suitable for any occasion.
Practice with different colors to find combinations that you love!
17. Foil Flakes
For an edgy look, consider using foil flakes that add a textured dimension to your nails. Foil flakes come in a variety of colors and can be added to any nail design for an extra pop.
How to use foil flakes:
1. Apply a base color and let it dry.
2. Use a clear polish to apply a small amount of adhesive where you want the flakes.
3. Gently press the foil flakes onto the adhesive, allowing them to stick.
4. Seal with a top coat for a long-lasting finish.
This can create a beautiful contrast with solid colors or add depth to your nail art. Plus, it’s incredibly fun to mix and match different foil flakes!
Less is often more—start with a small amount of flakes and build up for a more subtle look.
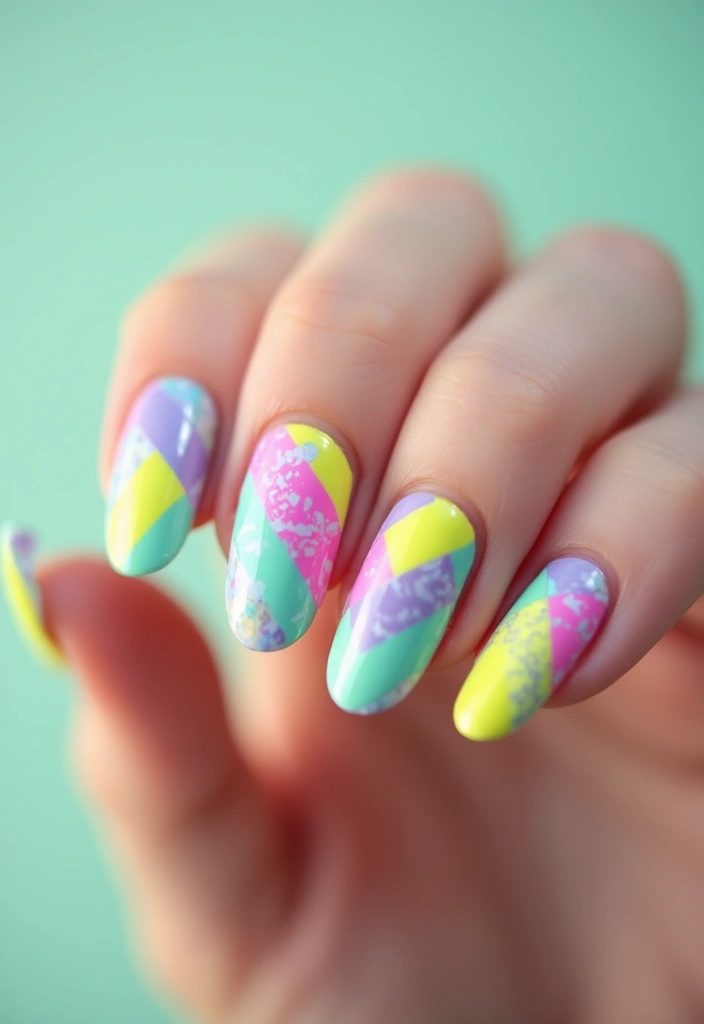
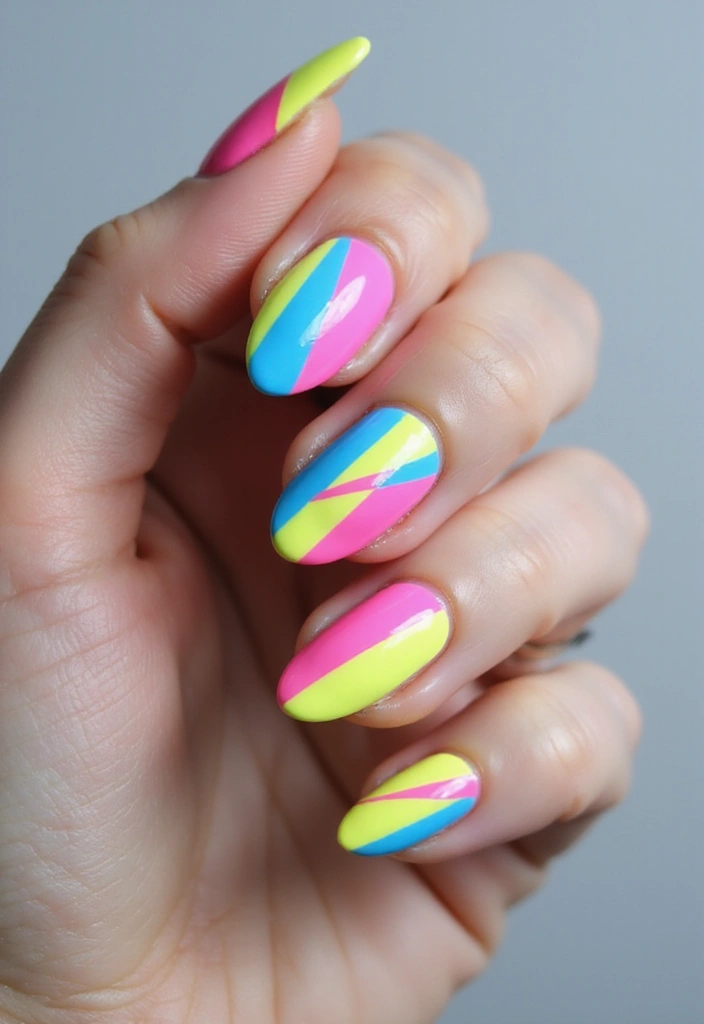
18. Color Block Nail Art
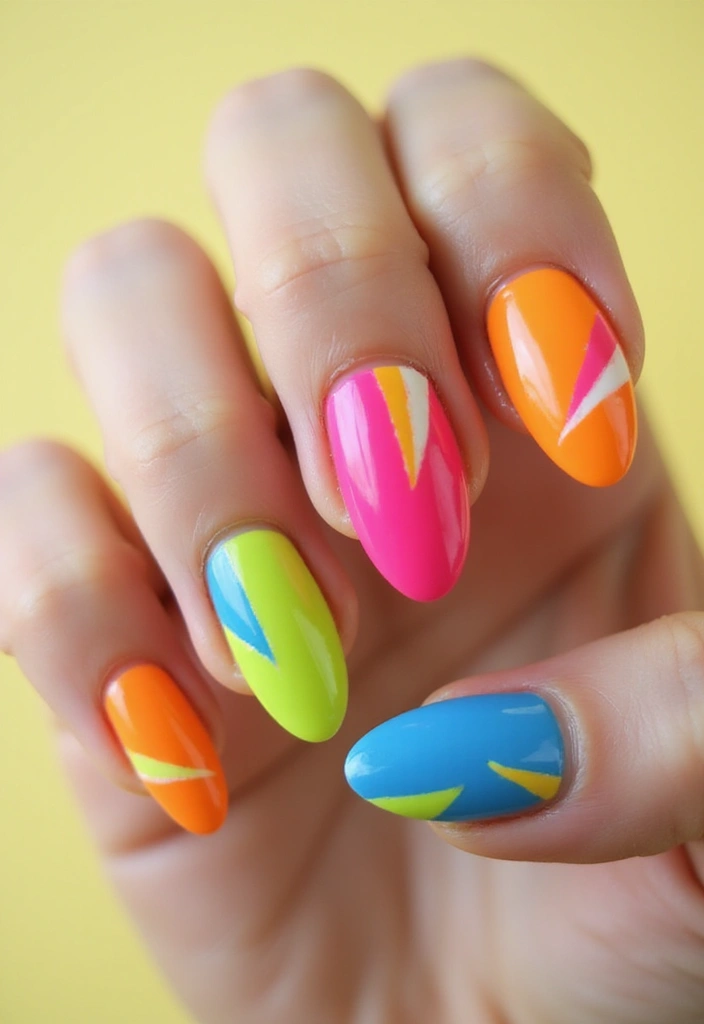
Color block nail art is a fun and playful way to express your personality through vibrant colors. This technique involves painting your nails in bold blocks of color, creating a fresh and energetic look.
To create color block nails:
1. Start with a neutral base coat on all nails.
2. Use tape to section off parts of your nail.
3. Apply different colors to each section, removing the tape after the polish dries.
4. Seal the design with a top coat.
Color blocking allows you to play with your favorite colors while also being a straightforward technique that anyone can master!
Choose colors that complement each other but also create contrast for a more striking look.
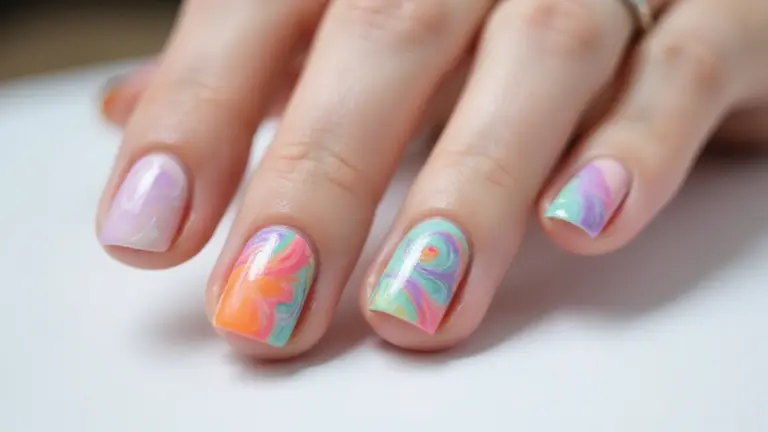
19. Fluid Art Nail Technique
Fluid art nails mimic the mesmerizing swirls and patterns of fluid painting, making each nail a unique masterpiece. This technique requires some practice but offers stunning results that are sure to turn heads.
Steps to create fluid art nails:
1. Apply a base coat to protect your nails.
2. Use a few drops of different nail polish colors and let them mix on a plate or palette.
3. Dip your nails into the mixture, allowing the colors to swirl and blend.
4. Seal with a top coat for a glossy finish.
Fluid art is not just about the colors but also about the technique, making it an exciting challenge for DIY enthusiasts!
Have fun with this method and embrace the imperfections—it’s all part of the beauty!
20. Nail Art with Essential Oils

Incorporate the calming benefits of essential oils into your nail care routine! Certain oils can promote healthy nails and skin, making them an excellent addition to your nail art practices.
How to use essential oils in nail art:
– Add a drop of your favorite essential oil to your cuticle oil for added nourishment.
– Blend oils like lavender or tea tree with base coats for extra healing properties.
– Use citrus oils to remove stubborn polish naturally!
This approach ensures that your nails not only look fabulous but are also being cared for holistically. Plus, the soothing scents can elevate your DIY sessions into a self-care ritual!
Always dilute essential oils properly and conduct a patch test to avoid any adverse reactions.
21. DIY Nail Polish Remover

Create your own natural nail polish remover using simple household ingredients! This eco-friendly solution can effectively break down polish without harsh chemicals, making it gentler on your nails and the environment.
Recipe for DIY nail polish remover:
– Mix equal parts of vinegar and lemon juice in a small bowl.
– Soak a cotton ball in the mixture and press it against your nail for a few seconds.
– Wipe away the polish with the cotton ball, repeating as needed.
This method not only helps you remove polish but also leaves your nails feeling refreshed. Plus, it’s budget-friendly and sustainable!
Always moisturize your nails afterward to prevent dryness after using any remover.
22. Nail Art with Natural Shellac
Natural shellac is a more sustainable alternative to traditional gel nails. It can last for weeks while still being kinder to your nails and the environment.
Benefits of using natural shellac:
– It provides a durable finish without the harsh chemicals.
– Shellac is derived from the lac beetle, making it a natural product.
– It offers a gorgeous shine that enhances any nail design.
To apply, simply paint it on your nails following the same process as gel polish, but without the toxic fumes. This allows you to enjoy long-lasting beauty while being mindful of your health and the planet.
Always check for certifications to ensure you’re using a truly natural product!
23. Glitter Dip Nails
If you love shimmer, try glitter dip nails! This technique involves dipping your nails directly into glitter, creating a striking finish without needing a lot of tools or products.
To create glitter dip nails:
1. Apply a base coat and let it dry.
2. Use a top coat and while it’s still wet, dip your nails into a container filled with glitter.
3. Shake off the excess and seal it with another top coat.
This method is fabulous for those who enjoy bold and sparkly nails. Plus, it can transform even the simplest manicures into eye-catching art!
Choose a fine glitter for a smoother finish and easier application.
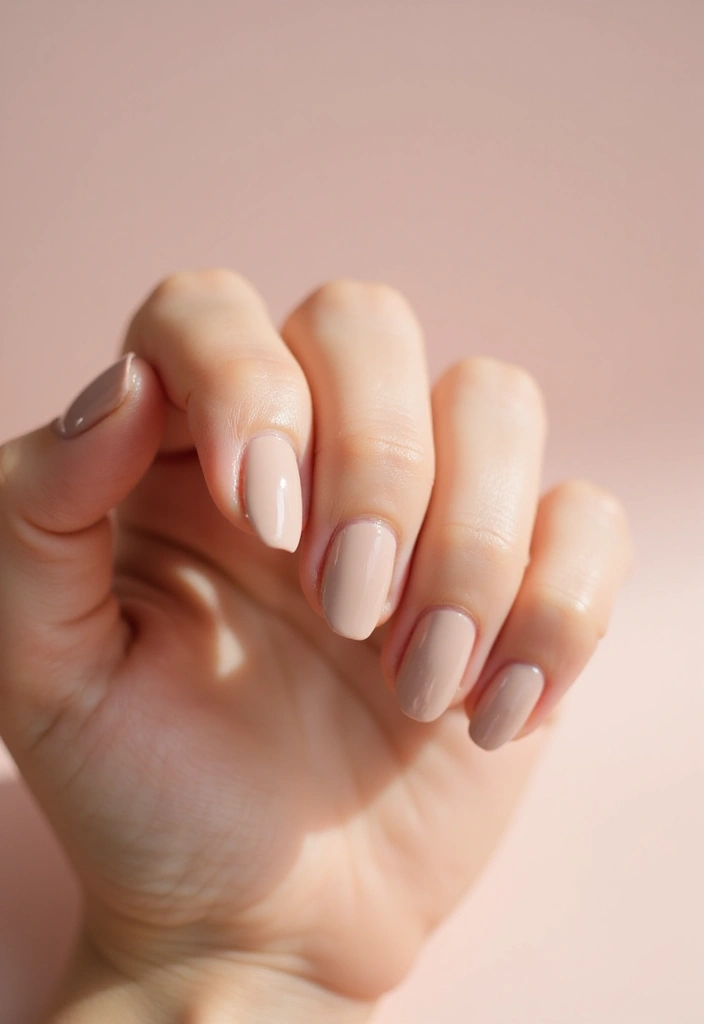
24. Reverse French Manicure
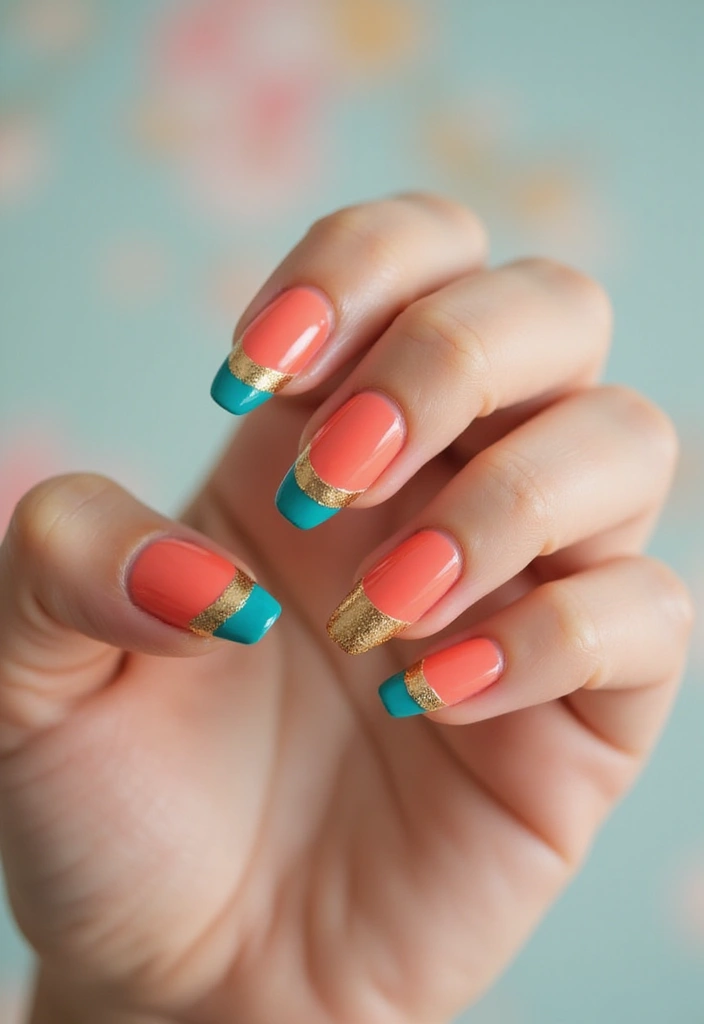
Put a twist on the classic French manicure with a reverse French design! This modern take showcases a pop of color at the base of the nail instead of the tips, offering a fresh look.
How to do a reverse French manicure:
1. Start with a nude base coat.
2. Use tape to create the shape at the base of your nail.
3. Paint the exposed area with a contrasting color.
4. Remove the tape before the polish dries for clean lines.
This playful design allows for endless combinations of colors and showcases your creativity. Whether you go bold or subtle, it’s a fun way to stand out!
Experiment with various shapes at the base for unique looks!
25. Abstract Nail Art
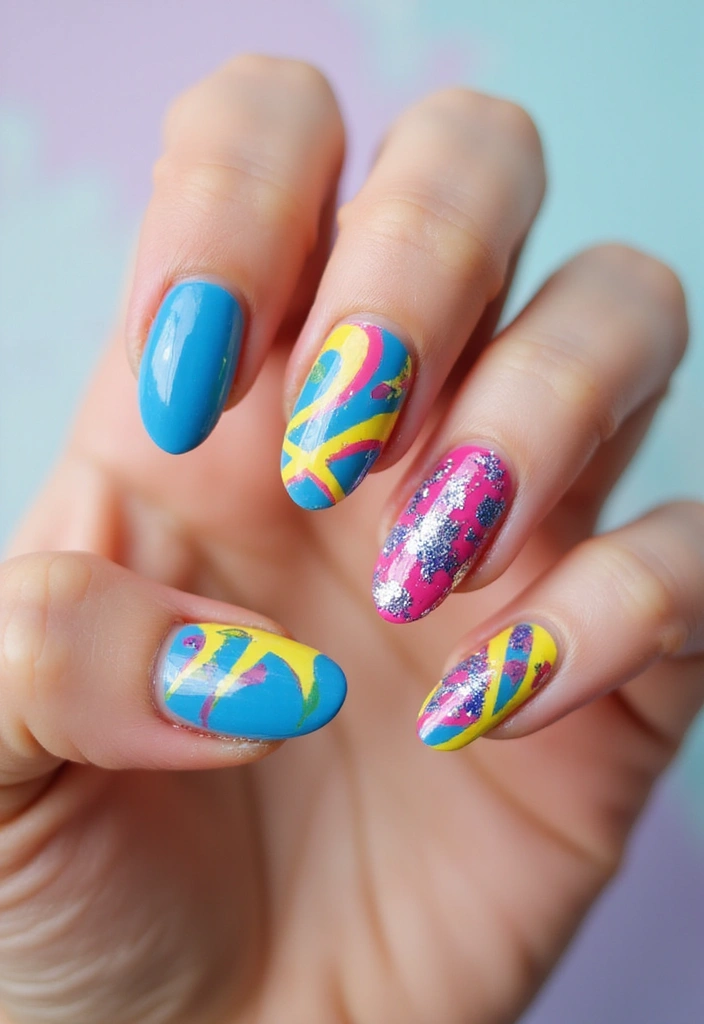
Abstract nail art embraces creativity and freedom, allowing you to paint your emotions directly onto your nails. This technique has no rules, making it an excellent choice for those who love to express themselves.
How to create abstract nail art:
– Start with a base coat and let it dry.
– Use a variety of colors and tools (brushes, dotting tools) to create freehand designs that feel spontaneous.
– Layer colors and textures to achieve a unique finish.
– Seal everything with a top coat for a polished look.
Abstract art is perfect for those who want to break away from traditional patterns and showcase their individuality. It’s liberating and fun, making every nail a small canvas!
Let your creativity flow without overthinking it; the beauty of abstract art is in its imperfection.
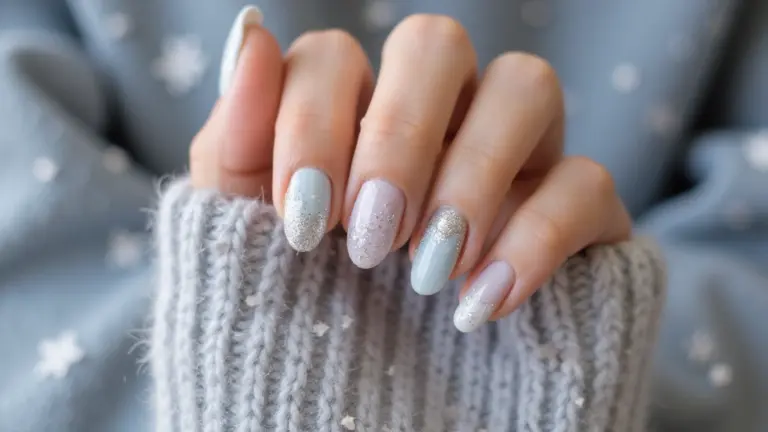
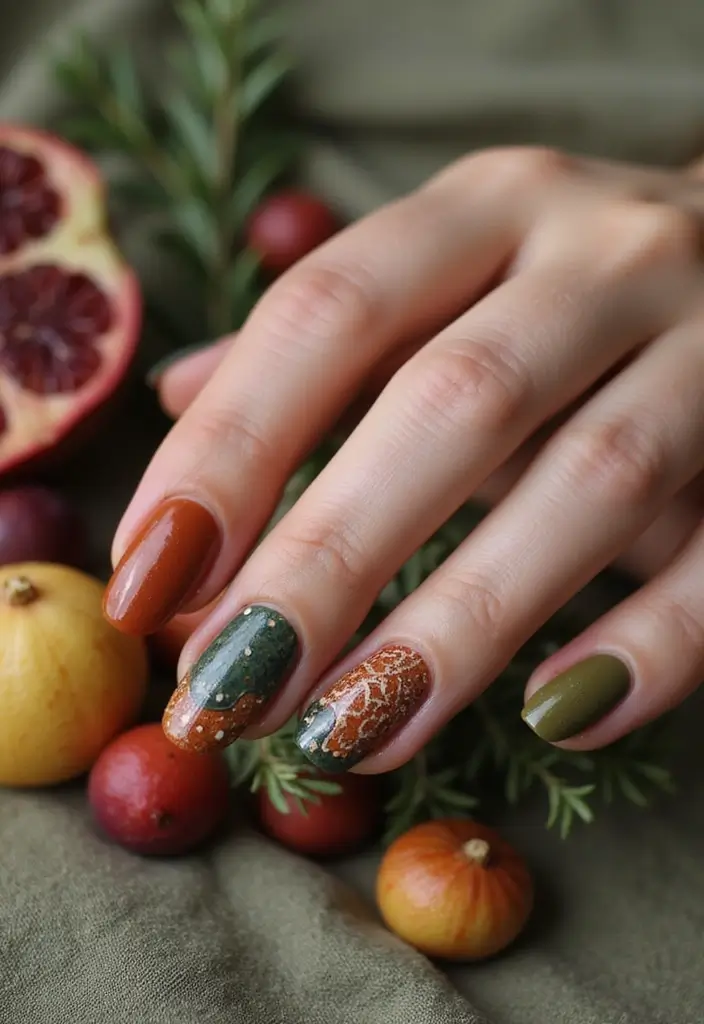
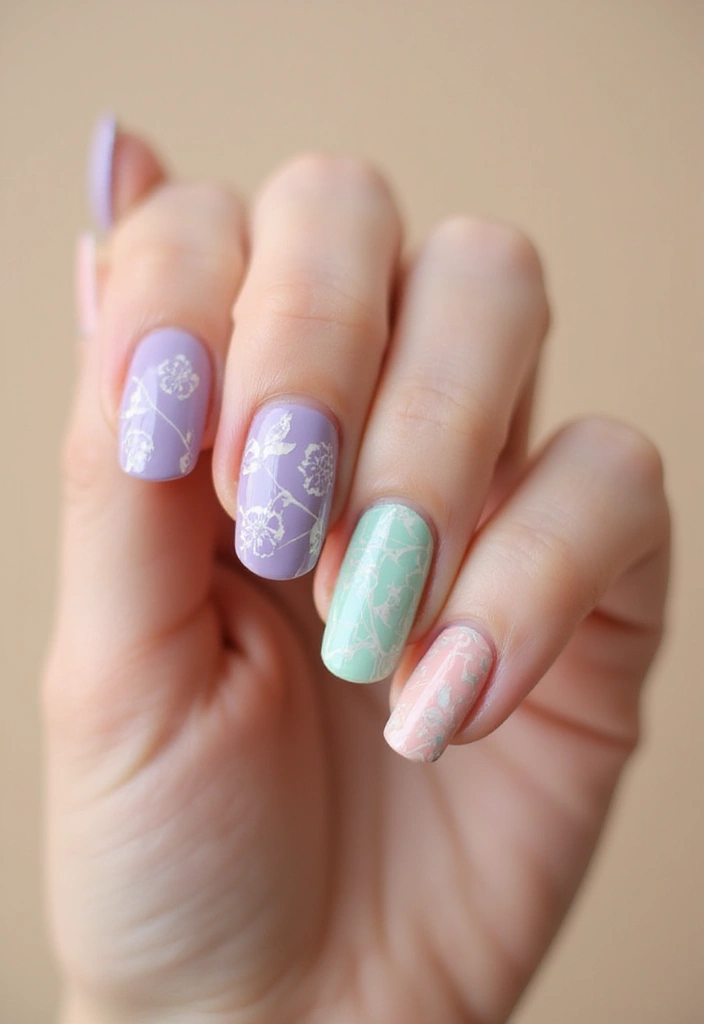
26. Seasonal Nail Art
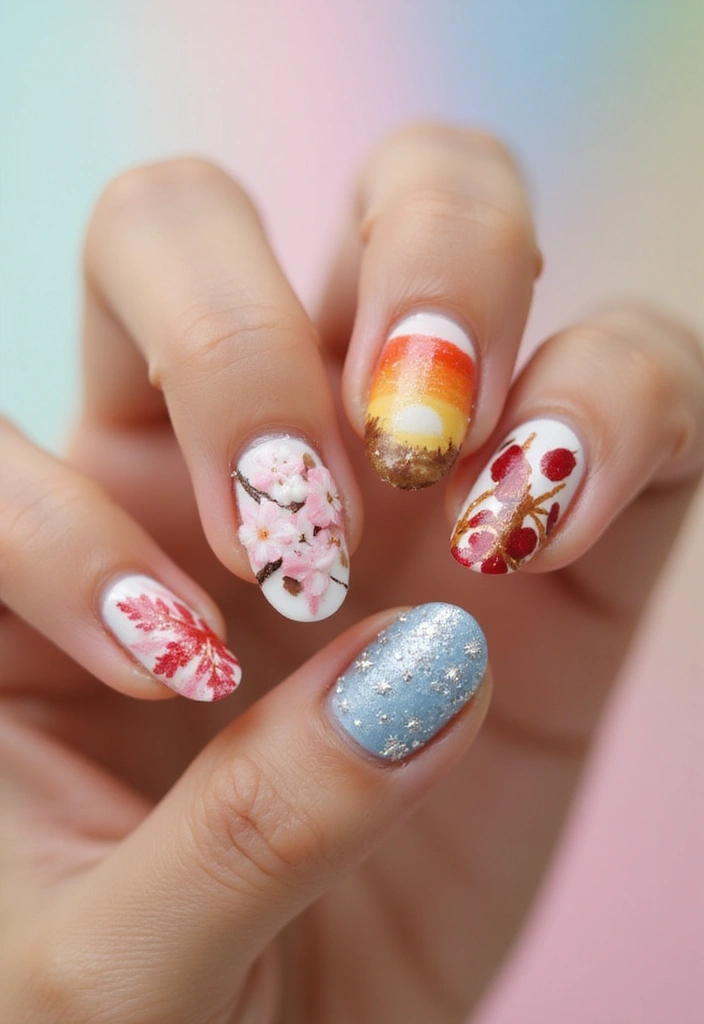
Celebrate the seasons with themed nail art that reflects the beauty of each time of year. From floral designs in spring to cozy colors in fall, seasonal nail art is a creative way to express yourself and make a statement.
Ideas for seasonal designs:
– Spring: Pastel colors with floral patterns.
– Summer: Bright colors and beach-themed designs.
– Autumn: Warm hues with leaf motifs.
– Winter: Cool tones with snowflakes or holiday motifs.
Seasonal nail art allows for constant creativity and lets you stay in tune with the changing environment. Plus, it can be a fun way to celebrate holidays and special occasions!
Use Pinterest for inspiration and gather ideas to keep your nail art fresh and exciting throughout the year.
Conclusion
As you explore these 26 innovative nail art techniques, remember that sustainability and creativity can go hand in hand. Each idea is not only visually appealing but also celebrates a more eco-conscious approach to beauty. Whether you’re a beginner or a DIY enthusiast, there’s something here for everyone to try out before 2026!
So gather your supplies, unleash your inner artist, and transform your nails into beautiful expressions of your personality and values. Happy nail art adventures!
Frequently Asked Questions
What are some eco-friendly nail polish brands I should consider for sustainable nail art?
When diving into the world of sustainable nail art, look for brands that prioritize non-toxic ingredients and are free from harmful chemicals like formaldehyde and phthalates.
Some popular eco-friendly brands include Tenoverten, Pacifica, and Rita Hazan. These brands not only offer vibrant colors but also align with your eco-conscious values, making your DIY manicures guilt-free!
How can I create watercolor nail art at home?
Creating a stunning watercolor effect on your nails is easier than you think! Start with a base coat, and then use sheer, water-based polishes or a diluted polish mixture to achieve that dreamy look.
Simply apply the colors in a random pattern and blend them with a small brush or sponge. Don’t forget to seal your masterpiece with a plant-based top coat for lasting shine!
What materials can I use for DIY nail art accessories?
Get creative and sustainable with your nail art by using recycled materials! Old plastic, scrap paper, or even used stickers can be transformed into unique nail decals.
Gather your materials, cut them into fun shapes, and use a clear polish to adhere them to your nails. This not only reduces waste but also guarantees your nail designs are one-of-a-kind!
How do I make my own natural nail polish remover?
Creating your own natural nail polish remover is simple and eco-friendly! You can mix equal parts of vinegar and lemon juice or use rubbing alcohol for an effective solution.
Soak a cotton ball in your homemade remover and gently swipe it over your nails. It’s a gentle alternative that will leave your nails feeling great without harsh chemicals!
What are some creative ways to incorporate essential oils into my nail care routine?
Essential oils can add a wonderful touch to your nail care routine! Consider using oils like tea tree oil for its antifungal properties or lavender oil for its calming effects.
You can add a few drops to your base coat or massage them into your cuticles for extra nourishment. Not only will your nails look fabulous, but you’ll also enjoy the benefits of aromatherapy during your DIY sessions!