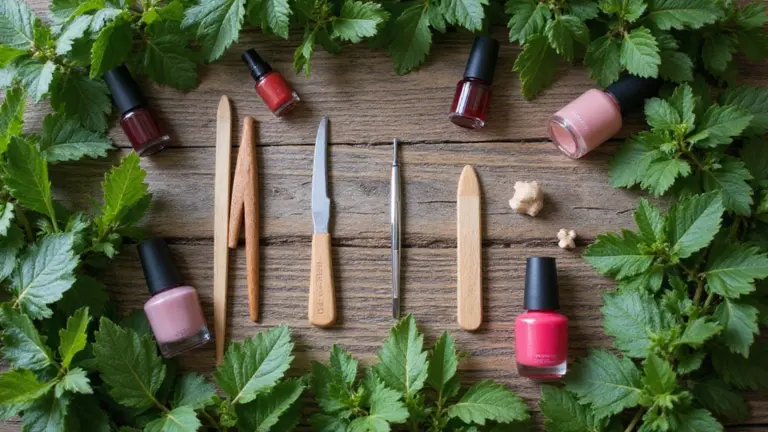
33 Metallic Snowstorm Manicures to Shine All Winter
As winter casts its shimmering spell, there’s no better way to embrace the season than with dazzling metallic snowstorm manicures. These stunning nail designs combine the frosty aesthetics of winter with the glitz of metallic finishes, making your nails the perfect accessory for cozy sweaters and festive parties.
From elegant silvers that mimic freshly fallen snow to vibrant golds that shine like holiday lights, metallic nail art is versatile and eye-catching. Each design we’ve curated brings a unique twist to traditional winter themes, ensuring you’ll find inspiration to express your winter spirit. Let’s take a journey through 33 metallic snowstorm manicures that will leave your fingertips sparkling all season long!
1. Frosted Silver Tips
Start your winter nail journey with frosted silver tips. This chic design offers a subtle yet sophisticated look that’s perfect for any occasion. By pairing a soft white or pale blue base with dazzling silver tips, you create an effect reminiscent of sparkling icicles.
Tips: Use a thin nail brush for precision in applying the tips. Add a touch of glitter on the nail edge for extra sparkle!
How to Achieve:
– Begin with a clean nail and apply a base coat to protect.
– Paint your nails with a white or light blue polish and let it dry.
– Carefully apply silver polish along the tips.
– Finish with a topcoat for longevity.
This design is minimal yet captivating, ideal for both casual outings and special gatherings.
2. Glittering Gold Snowflakes
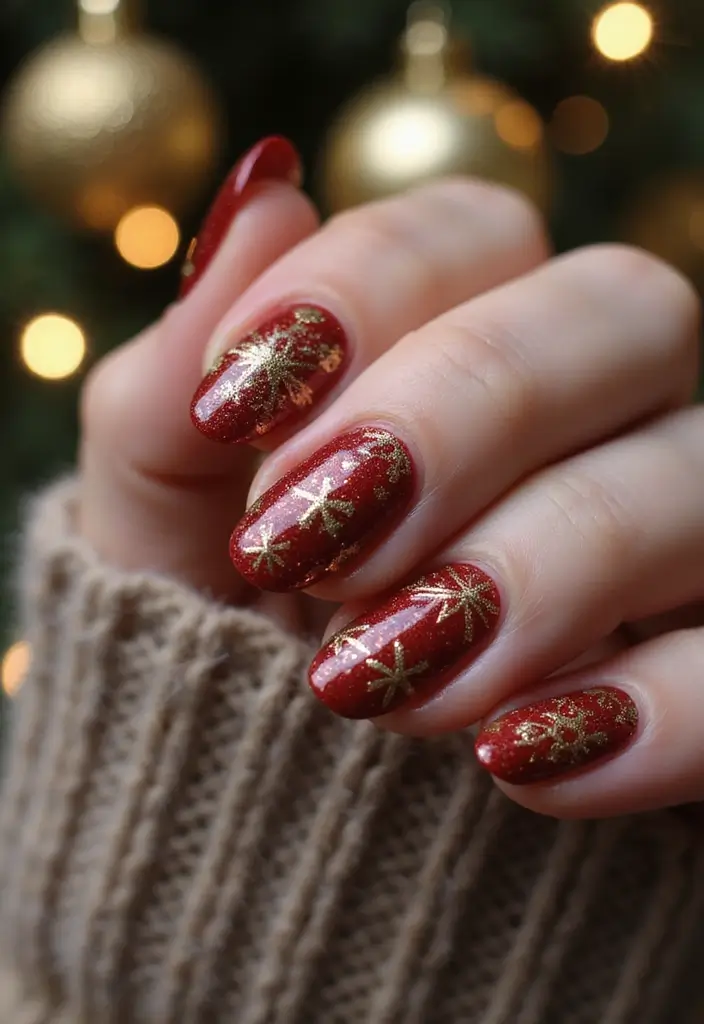
For a bolder statement, try glittering gold snowflakes. This festive design makes your nails look like they’ve been sprinkled with holiday magic. The combination of a gold base with intricate white snowflakes adds a playful yet elegant touch.
Styling Suggestions: Pair with gold jewelry and cozy knits to complete your look. You can even mix different sizes of snowflakes for added depth.
How to Achieve:
– Apply a gold polish as your base.
– Once dried, use a fine brush to paint snowflakes with white polish.
– Add gold glitter to the center of each snowflake for a stunning contrast.
– Seal your design with a topcoat.
This design is perfect for holiday parties and gatherings, ensuring you shine brightly among the crowd!
Add a sprinkle of holiday magic to your nails with glittering gold snowflakes! Pair them with cozy knits and gold jewelry for a seasonally chic look that dazzles all winter long.
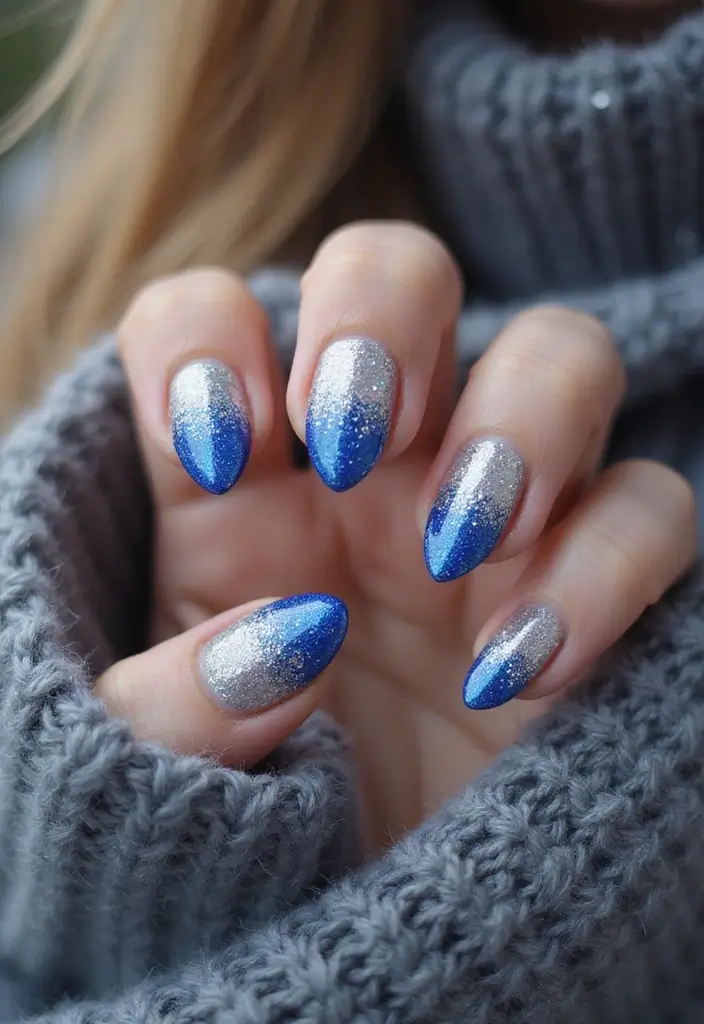
3. Icy Blue Ombre

Embrace the chill with an icy blue ombre design. This manicure captures the essence of a winter wonderland, with shades of blue fading into white. The result is a mesmerizing gradient that’s both refreshing and classy.
How to Achieve:
– Start with a base coat to protect your nails.
– Paint your nails with a light blue shade as a base.
– Use a makeup sponge to dab on darker blue and white polish to create the ombre effect.
– Finish with a glossy topcoat to enhance the shine.
This look is versatile enough for both everyday wear and special occasions, making your nails a standout feature.
4. Metallic Marble Effect
The metallic marble effect is a trendy way to elevate your winter manicure game! This design combines swirling patterns of metallic hues, creating a luxurious look that mimics the beauty of marble stone.
How to Achieve:
– Start with a white base coat.
– Use a brush to create wavy lines with gold and silver nail polish.
– Swirl the colors together gently to create a marbled effect.
– Seal with a topcoat for durability.
This design works beautifully for any occasion, giving your nails a high-end look that’s effortlessly chic.
5. Shimmering Red Holiday
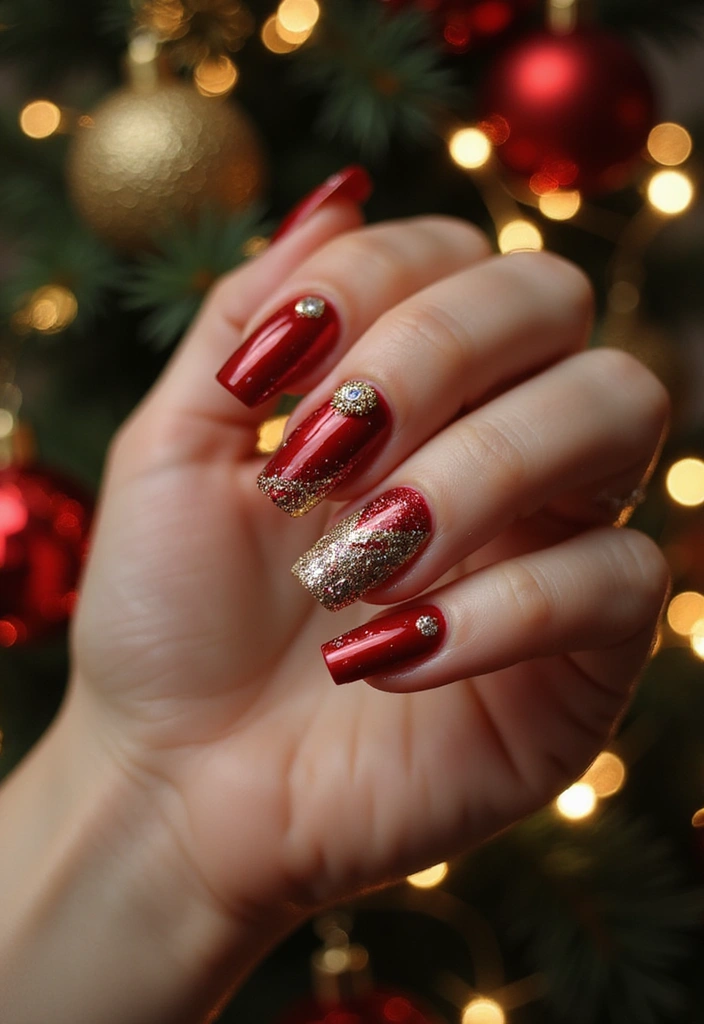
Get into the festive spirit with a shimmering red holiday design! This bold look combines deep red with gold or silver metallic accents, making it perfect for holiday gatherings.
Tips: Add a touch of gold or silver glitter polish on the tips for extra flair!
How to Achieve:
– Apply a base coat and let it dry.
– Paint your nails with a rich red polish.
– Use a metallic or glitter polish for an accent on the tips.
– Finish with a glossy topcoat for shine.
This design is a timeless classic, ensuring your nails are holiday-ready!
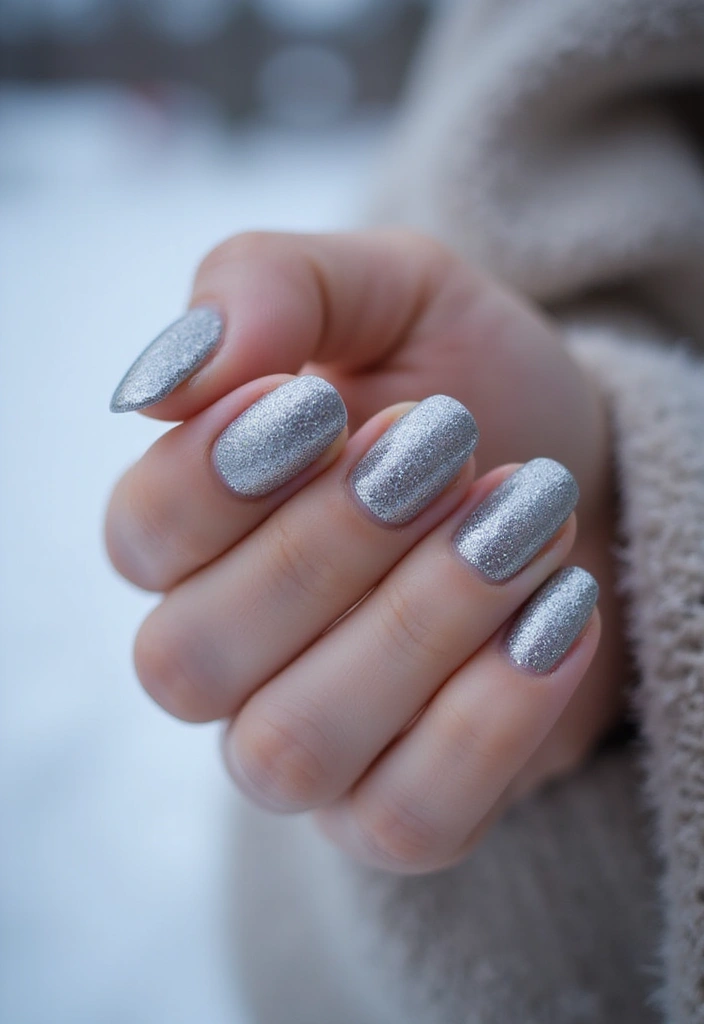
6. Midnight Blue Sparkle
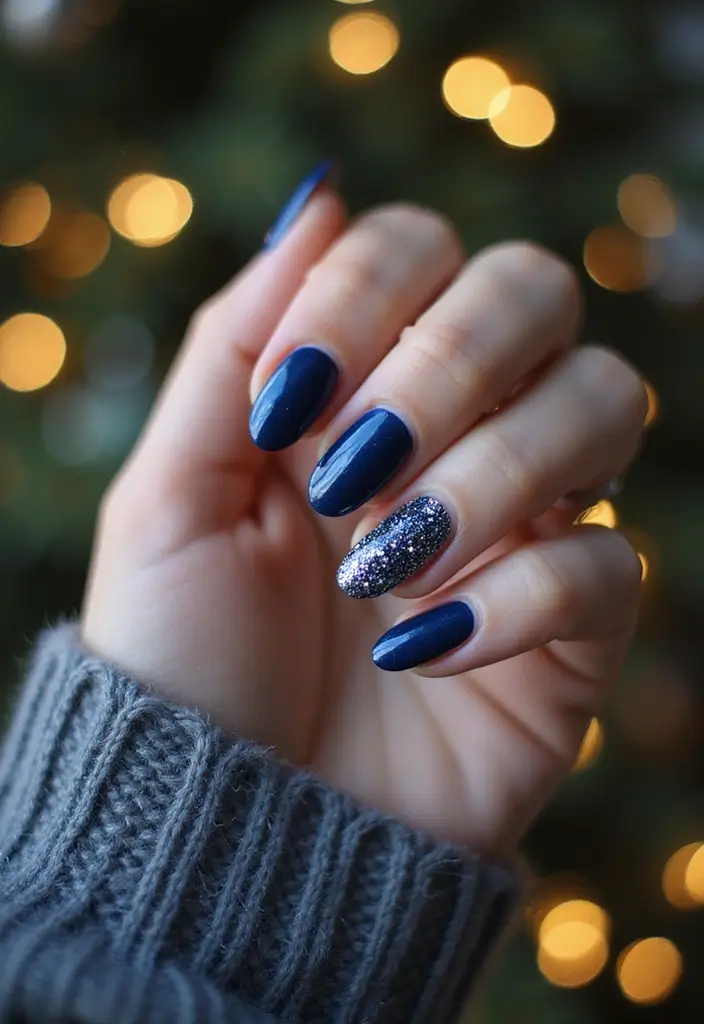
Midnight blue nails evoke a sense of mystery and elegance. This design features a dark navy blue base sprinkled with silver glitter, resembling a starry winter night.
How to Achieve:
– Apply a dark blue base coat and allow drying.
– Sprinkle silver glitter over wet polish for a sparkling effect.
– Seal with a topcoat to ensure longevity.
This design pairs beautifully with a winter outfit, adding a sophisticated touch to your overall look. It’s perfect for winter evenings out or holiday celebrations.
7. Reflective Silver and Blue Stripes
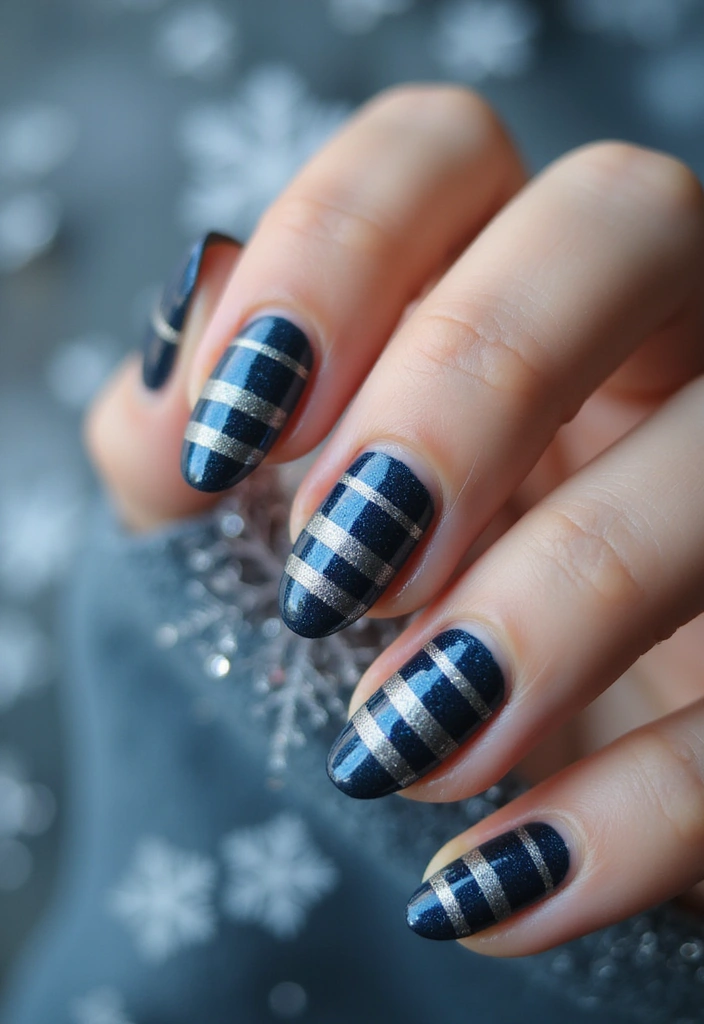
Stripes can be both fun and elegant, especially when done in reflective silver and blue! This playful design feels fresh and modern, making it an excellent choice for winter outings.
How to Achieve:
– Start with a blue nail polish base.
– Using striping tape, apply silver polish in horizontal or vertical lines.
– Carefully remove the tape and seal with a topcoat for a flawless finish.
This design showcases creativity while still looking polished and chic, perfect for those who love to experiment with their nail art.
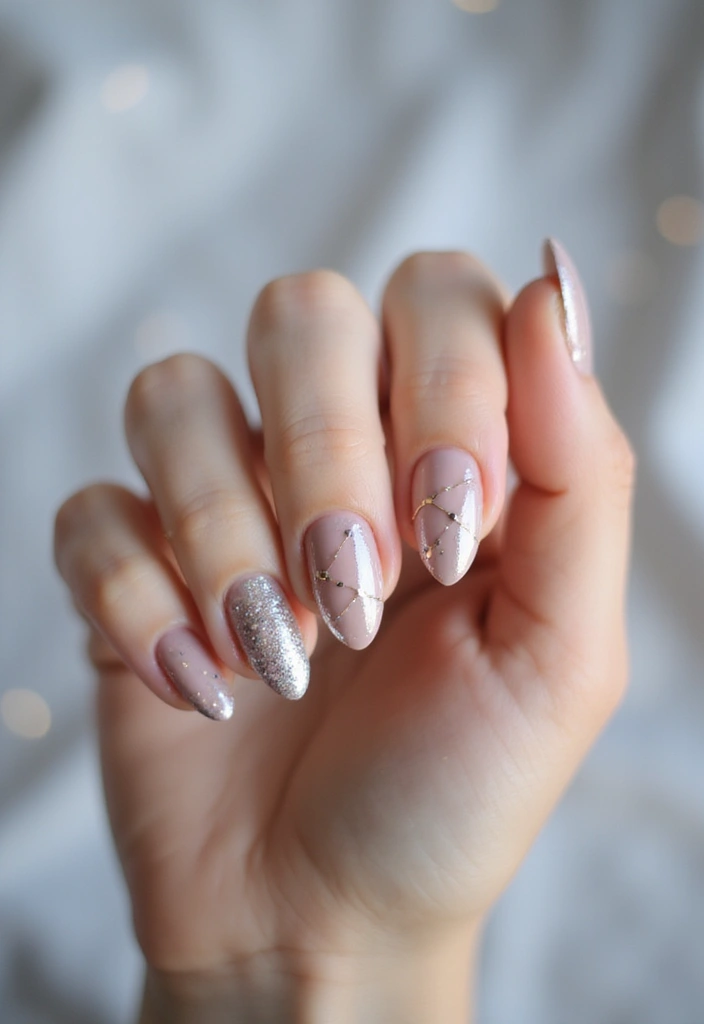
8. Subtle Rose Gold Sparkle
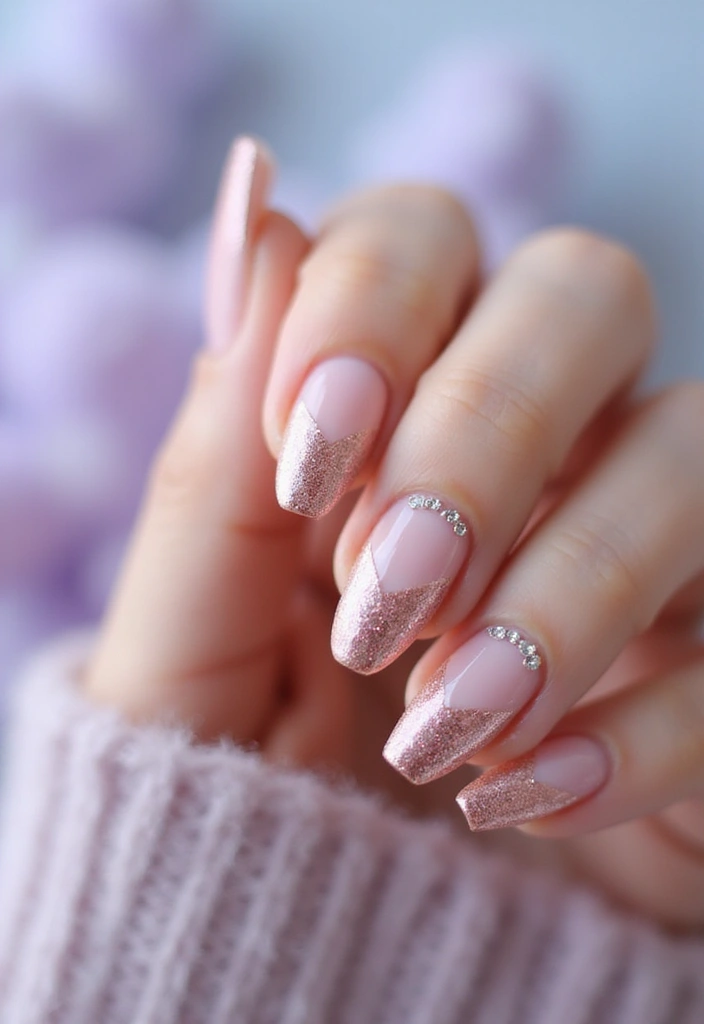
If you’re looking for something softer, the subtle rose gold sparkle design is perfect. This manicure combines a delicate pink base with a rose gold glitter accent, creating a gentle yet eye-catching look.
How to Achieve:
– Start with a light pink base coat.
– Apply rose gold glitter to the tips or in a diagonal pattern for a modern twist.
– Finish off with a topcoat for extra shine.
This design is understated, making it suitable for any occasion, from holiday gatherings to casual meet-ups with friends.
9. White and Gold Geometric
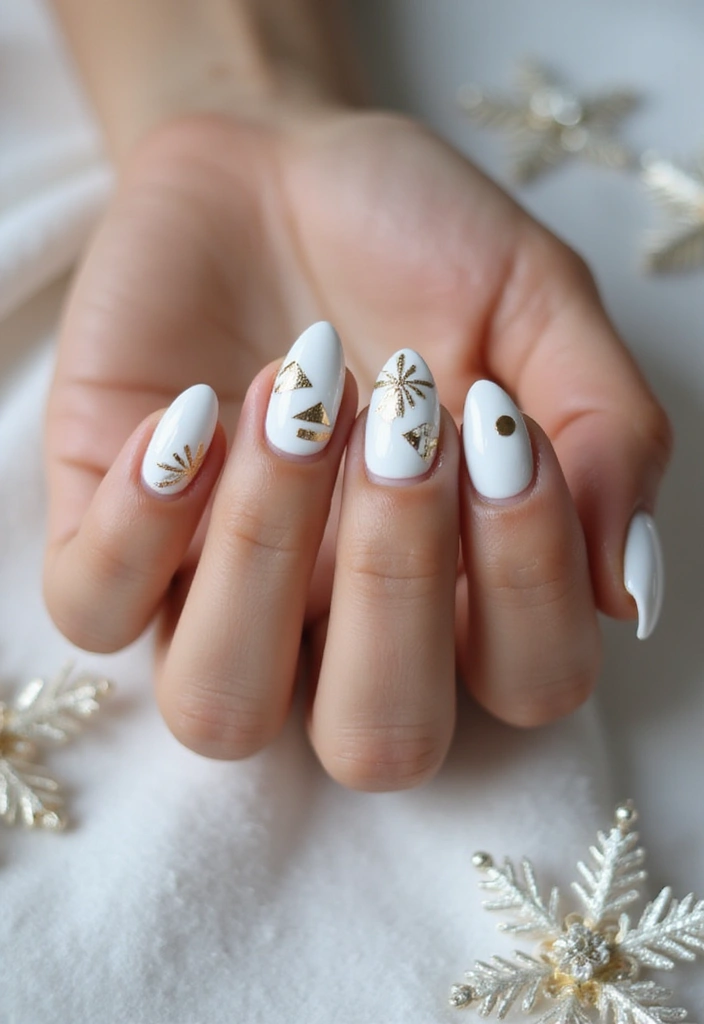
Geometric designs are all the rage, and a white and gold combination brings a touch of sophistication to your winter nails. This design features clean lines and sharp angles that create a bold visual impact.
How to Achieve:
– Paint your nails with a crisp white base.
– Use a thin brush to create geometric shapes with gold polish.
– Seal with a topcoat to preserve your design.
This manicure is perfect for the stylish minimalist looking to make a statement without overwhelming their look.
10. Classic French Twist with Metallic
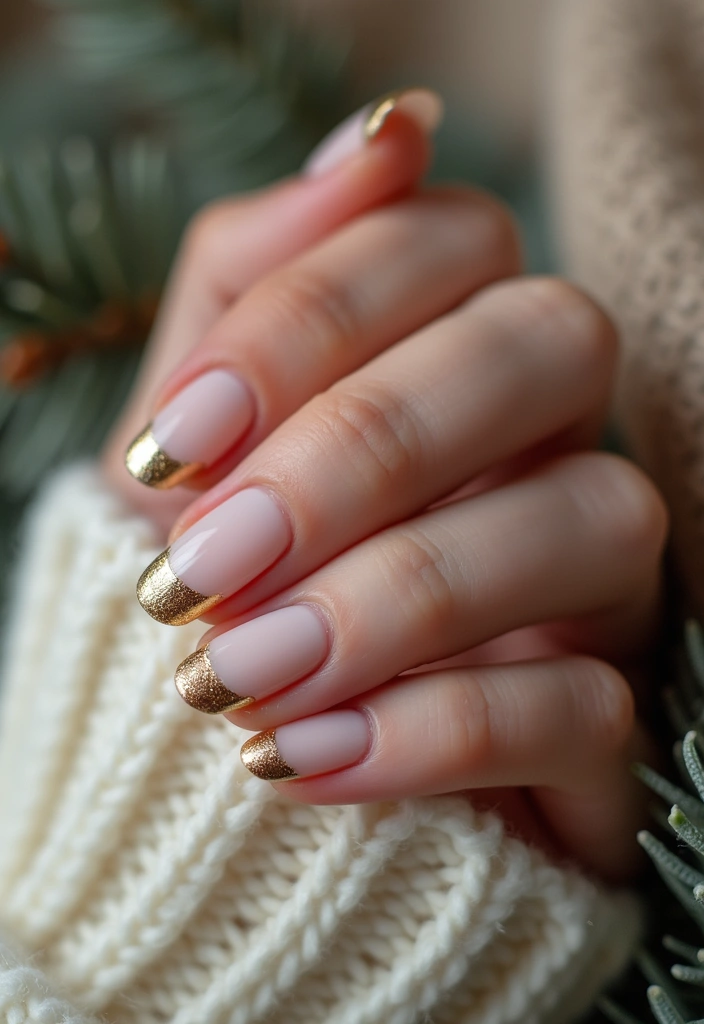
The classic French manicure gets a winter makeover with metallic tips! This design keeps the timeless elegance of French nails but adds a festive twist with metallic colors.
How to Achieve:
– Start with a natural base coat.
– Paint your tips with metallic gold or silver for a modern touch.
– Finish with a high-gloss topcoat.
This classic yet updated look is perfect for holiday parties or elegant gatherings, making it a versatile choice for any winter occasion.
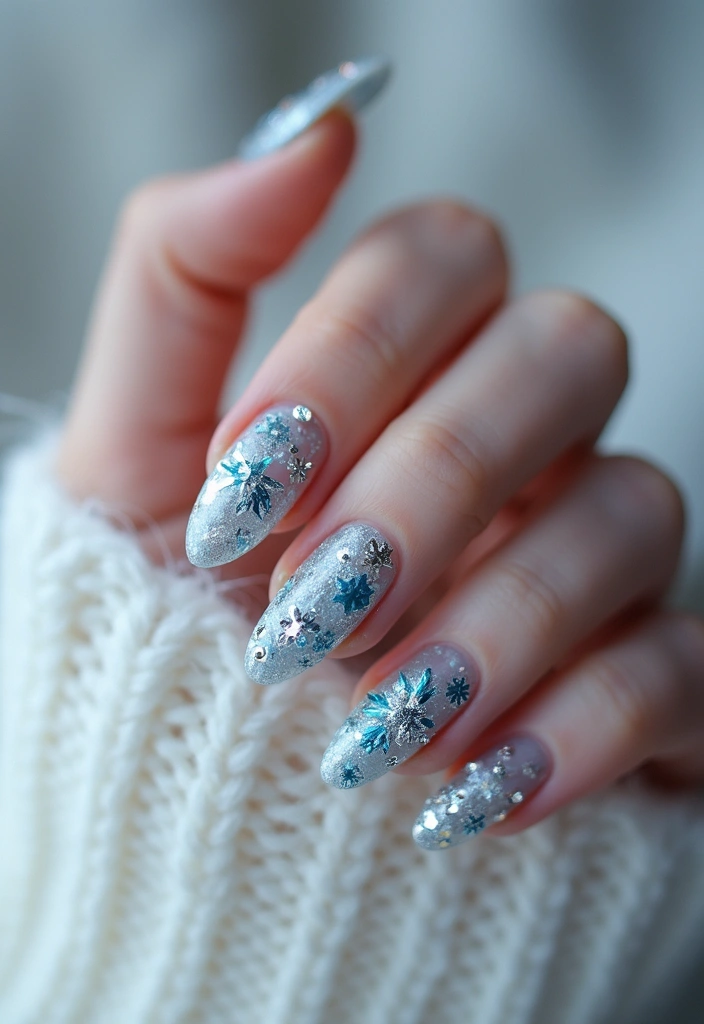
11. Snowy White Glitter

Capture the essence of freshly fallen snow with a snowy white glitter manicure. This design offers a whimsical feel, making it a fun option for winter outings.
How to Achieve:
– Apply a white base coat to your nails.
– While the polish is still wet, sprinkle fine glitter over the top.
– Seal with a topcoat for a shiny finish.
This look is playful yet chic, ensuring your nails gleam bright like freshly fallen snowflakes.
12. Elegant Burgundy and Gold
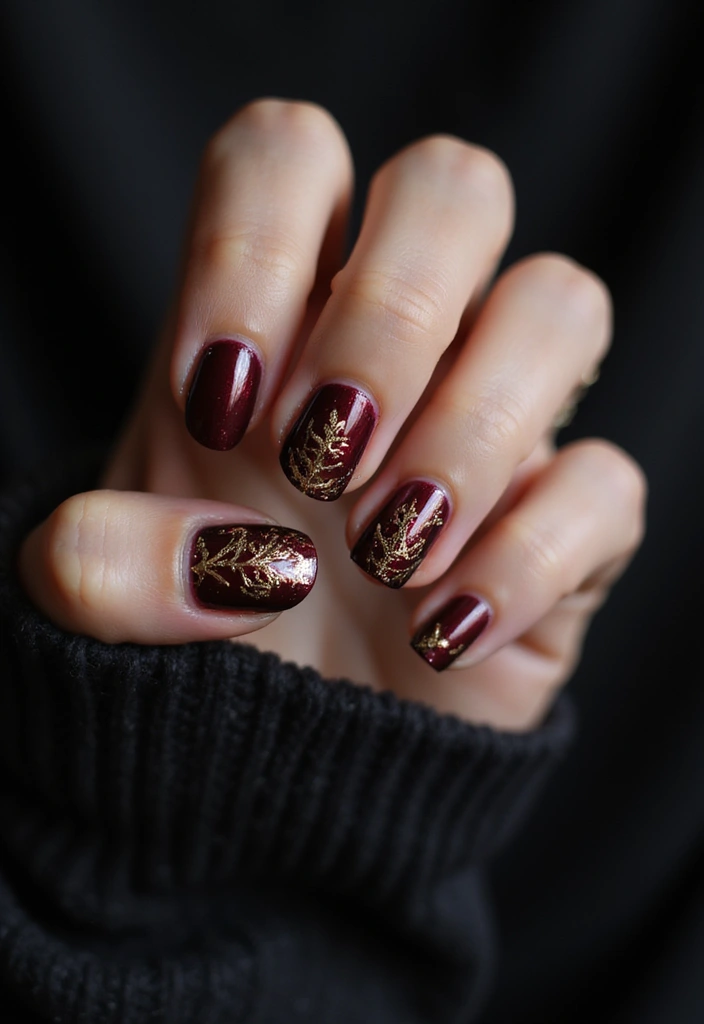
Burgundy adds a touch of richness to your winter nails, especially when paired with gold accents. This design is perfect for those looking to make a statement without being overly flashy.
How to Achieve:
– Apply a burgundy base coat.
– Use gold polish to create accents—think dots, stripes, or even small geometric shapes.
– Finish with a glossy topcoat to make your design pop.
This combination is sophisticated and perfect for holiday celebrations or a night out.
13. Frosty Pink with Silver Flakes

Frosty pink nails adorned with silver flakes create a romantic and delicate look. This design is perfect for anyone who loves softer colors yet wants to keep things festive.
How to Achieve:
– Apply a light pink base coat and let it dry.
– Use a sheer silver polish or silver flakes on top for a frosty finish.
– Seal with a topcoat to enhance the shine.
This design is perfect for winter wedding season or sweet holiday parties.
14. Festive Multicolor Metallics
Why stick to one metallic color when you can have them all? A festive multicolor metallic manicure allows you to play with various shades, from gold and silver to bronzes and blues.
How to Achieve:
– Choose a few metallic polishes in complementary colors.
– Using different fingers for different colors, apply each polish carefully.
– Add glitter accents for extra flair.
This design is fun and trendy, bringing a party spirit to your winter look, perfect for celebrations and festivities.
15. Crystal Snowman Design
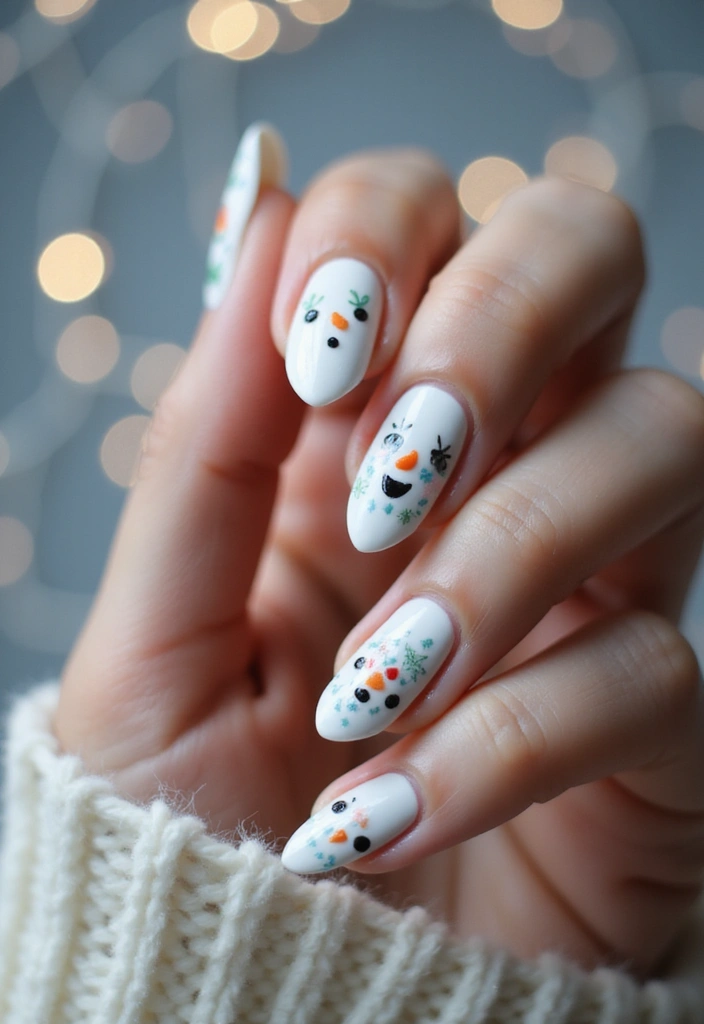
Bring winter fun to your nails with a cute crystal snowman design! This playful look features little snowman characters adorned with hats and scarves, perfect for the holiday season.
How to Achieve:
– Start with a light blue base coat.
– Use nail art brushes to paint tiny snowmen on your accent nails.
– Add tiny rhinestones for carrot noses and buttons.
– Seal your design with a glossy topcoat.
This whimsical design is sure to bring smiles and add a touch of holiday cheer to your winter look!
16. Silver and Lavender Dream

Silver and lavender create a dreamy winter combination that feels both romantic and elegant. This design plays with soft tones and striking metallics, perfect for winter evenings.
How to Achieve:
– Apply a lavender base coat.
– Use silver polish to create a gradient effect or as an accent.
– Seal with a glossy topcoat for shine.
This look is perfect for a winter date night or a cozy evening out, encapsulating the beauty of the season.
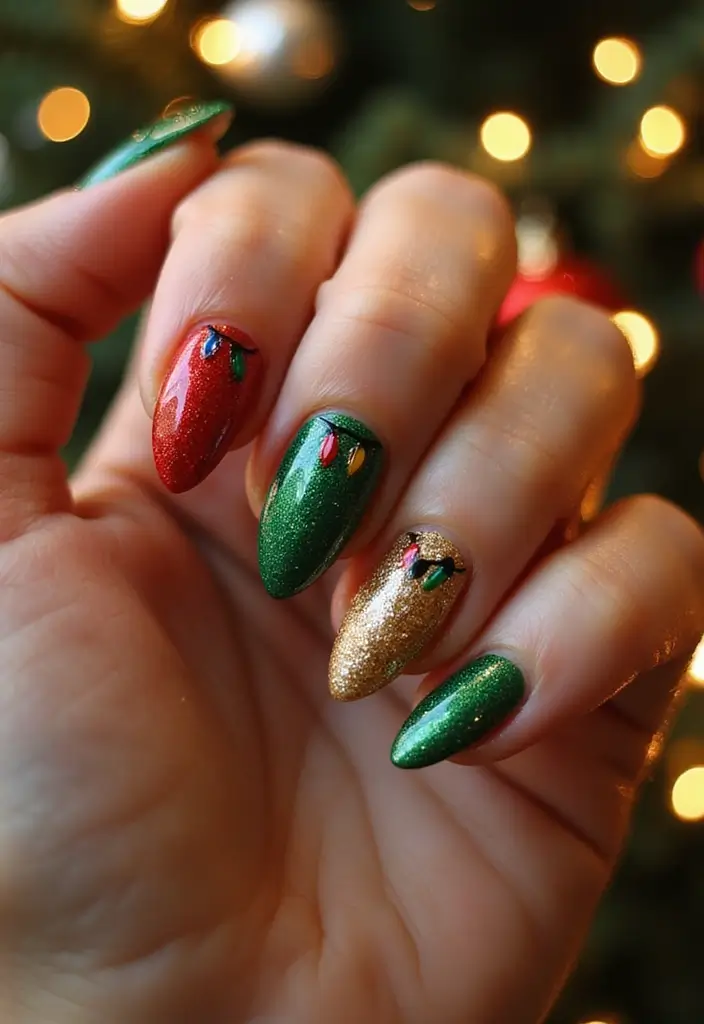
17. Holiday Lights Design
Capture the essence of holiday lights with a festive design that incorporates colorful dots to mimic light strands. This playful look is cheerful and perfect for the season!
How to Achieve:
– Start with a dark base coat in navy or black.
– Use a fine brush to dot colorful polish across your nails.
– Add a glossy topcoat for longevity.
This design is a conversation starter and allows you to express your holiday spirit creatively.
18. Simple Metallic Dots
For a simpler approach, try a manicure featuring metallic dots. This minimalist design adds a touch of glam without being over-the-top, making it ideal for everyday wear.
How to Achieve:
– Apply a nude or pastel base coat for a soft background.
– Use a dotting tool to create small metallic dots across each nail.
– Finish with a topcoat to enhance the design and add shine.
This design is easy to replicate at home and perfect for those who love a subtle touch of glamour.
19. Glitter Gradient
For an added touch of sparkle, try a glitter gradient design. This look combines a solid color with a shimmering glitter fade, perfect for winter celebrations.
How to Achieve:
– Start with a solid color base, like midnight blue or deep red.
– Apply glitter polish starting from the tips and fading inward.
– Seal your work with a clear topcoat to lock in the shimmer.
This design is great for those who want a festive yet elegant look!
For a winter look that sparkles, a glitter gradient is your go-to! Combine a solid hue with a shimmering fade to make your nails shine at every celebration.
20. Elegant Negative Space

Negative space designs allow the natural nail to peek through, making for a chic and modern look. By incorporating metallic accents, this design maintains an elegant vibe while also being trendy.
How to Achieve:
– Paint a clear base coat.
– Use tape to create sections of your nails and fill them with metallic polish.
– Remove the tape and seal with a topcoat.
This design is great for those who love modern looks and can be customized to fit any style.
21. Twinkling Starry Night

Bring the magic of a starry winter night to your nails with a twinkling star design. This look incorporates dark tones with metallic stars, creating a whimsical vibe.
How to Achieve:
– Start with a dark blue or black base.
– Use metallic gold or silver polish to paint stars across your nails.
– Add small dots of glitter to mimic stars twinkling.
– Seal with a topcoat for a lasting finish.
This design is perfect for evening events and brings a sense of wonder to your holiday gatherings.
22. Winter Wonderland Scene
Create a miniature winter wonderland right on your nails! This design features snowmen, trees, and snowflakes, making it a fun and festive choice.
How to Achieve:
– Use a light blue base coat.
– Paint winter-themed designs on each nail using various colors.
– Seal with a topcoat for protection.
This design is playful and ensures your nails are a conversation starter at any holiday party!
Bring the magic of winter to your fingertips! With a playful winter wonderland scene on your nails, every holiday gathering becomes a chance to shine and share your festive spirit.
23. Stylish Metallic Animal Print
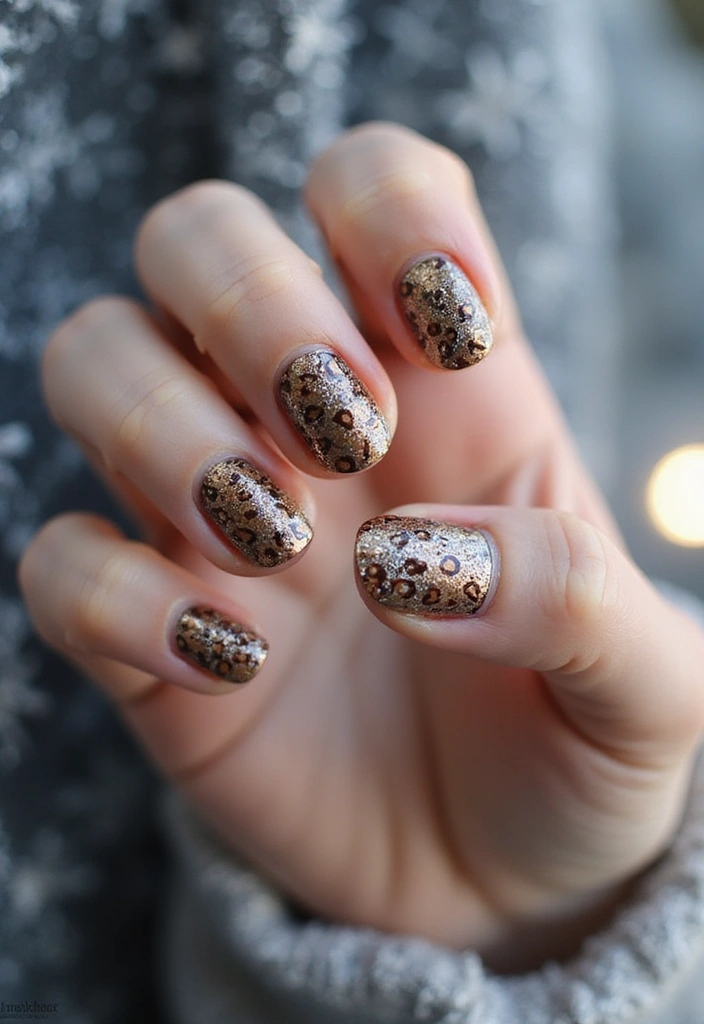
For those who love to make a bold statement, a metallic animal print design can elevate your winter manicure. This design combines fierce patterns with shiny finishes for a stunning effect.
How to Achieve:
– Paint your nails with a solid base color of your choice.
– Use a metallic polish to create the animal print pattern.
– Seal it with a topcoat for durability.
This fun design is perfect for fashionistas who want to make a statement while embracing the winter season.
24. Shiny Cobalt Blue
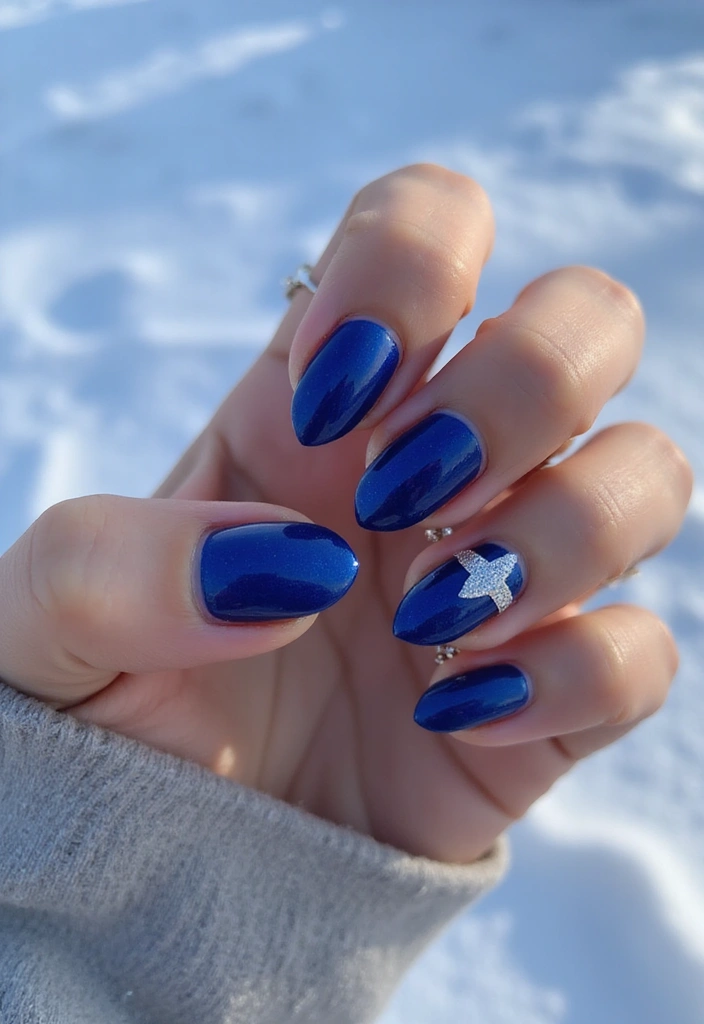
Cobalt blue is a striking color that stands out beautifully against winter landscapes. This shiny cobalt blue design is perfect for those who want bold yet elegant nails.
How to Achieve:
– Apply a cobalt blue polish as your base coat.
– Add a layer of metallic topcoat for an extra shine.
– Finish with a topcoat for protection.
This design is great for any winter outing, making your nails a statement piece.
Dare to stand out this winter! A shiny cobalt blue manicure isn’t just a statement—it’s an invitation to shine bright against the snowy backdrop. Embrace the bold elegance and let your nails steal the spotlight!
25. Dazzling Diamond Tips

Take your tips to the next level with a dazzling diamond design! This look features a clear base with sparkling diamond-like glitter tips, capturing the essence of winter’s sparkle.
How to Achieve:
– Start with a clear base coat.
– Apply a layer of white polish and let it dry.
– Use fine glitter polish for the tips to create a diamond effect.
– Seal with a topcoat for shine.
This design is excellent for those who want a glamorous yet refined winter look.
26. Soft Mint and Gold
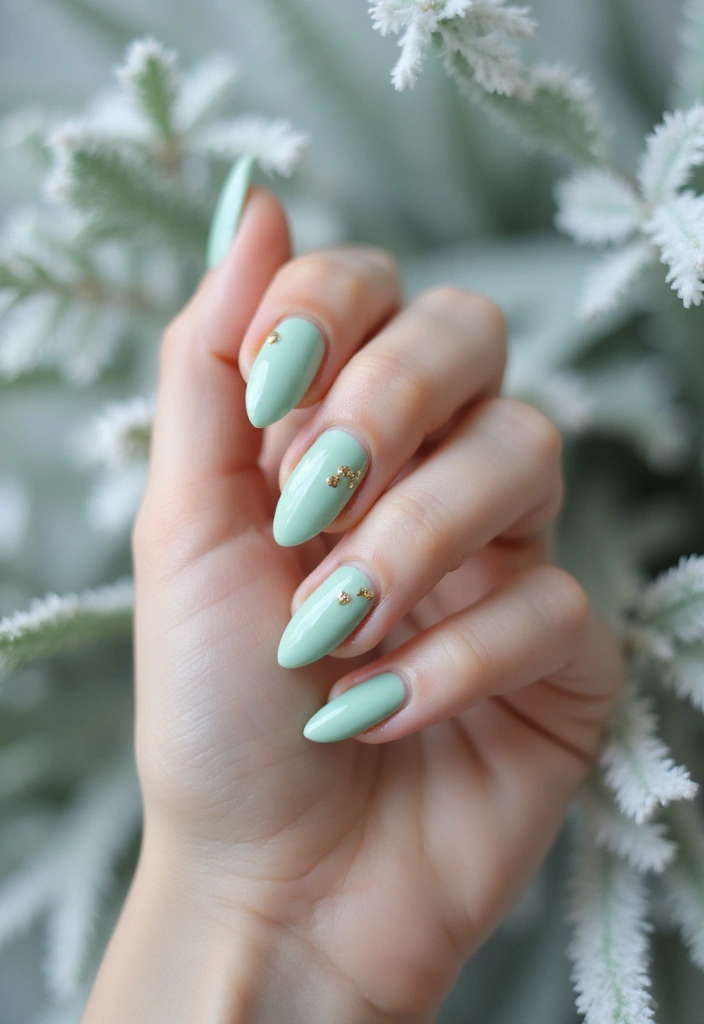
Soft mint brings a refreshing feel to winter nails, especially when paired with gold accents. This subtle design is both chic and modern, perfect for those who prefer lighter colors.
How to Achieve:
– Apply a mint green base coat.
– Use gold polish to create accent stripes or dots.
– Seal the design with a topcoat for a glossy finish.
This combination is perfect for any winter occasion, offering a fresh twist without being overwhelming.
27. Chic Black and Silver

For a bold and dramatic winter look, consider a chic black and silver design. This combination is striking and perfect for those looking to make a statement.
How to Achieve:
– Start with a black base coat.
– Use silver polish to create geometric designs or accents.
– Seal with a topcoat for a high-shine finish.
This design is both edgy and elegant, ensuring your nails are the showstopper of your winter look.
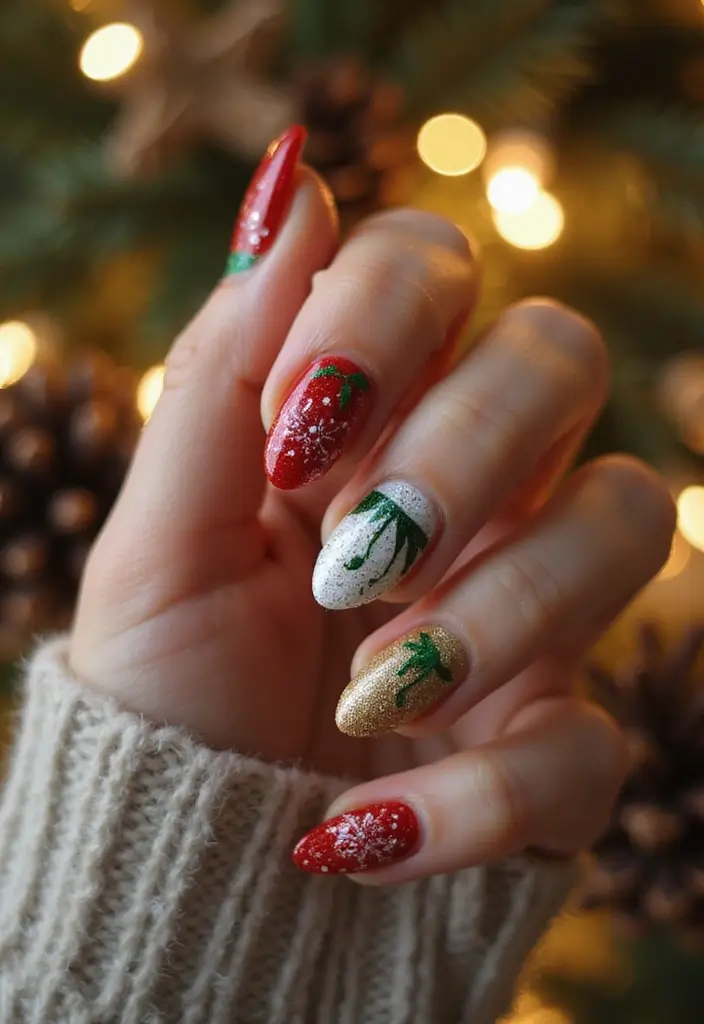
28. Twisted Candy Cane
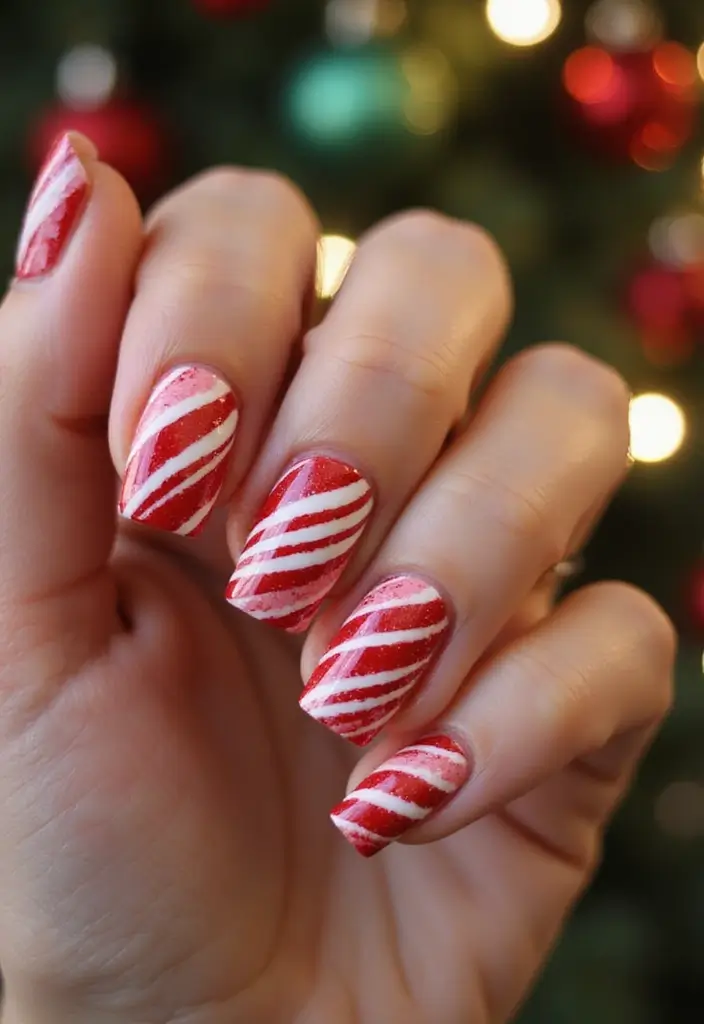
Add a playful touch to your winter nails with a twisted candy cane design. This fun look combines traditional candy cane colors with a modern twist.
How to Achieve:
– Apply a white base coat.
– Use red and green polish to create twisted lines.
– Seal with a glossy topcoat for longevity.
This design is festive and perfect for holiday celebrations, bringing joy and cheer to your nails!
29. Elegant Pearlized Finish
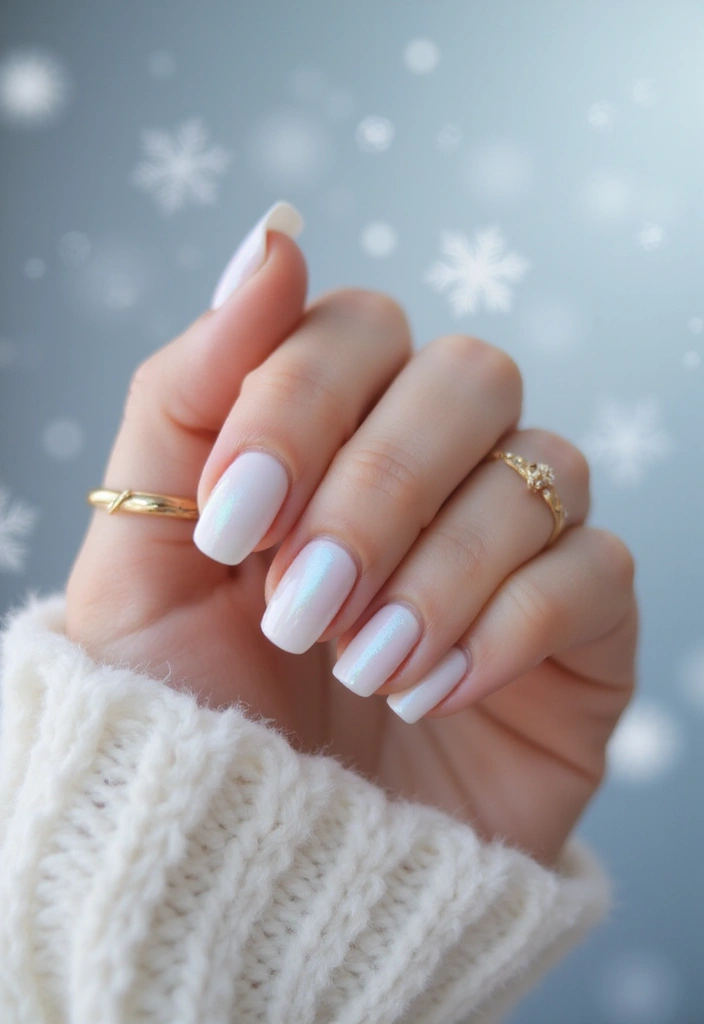
For a subtle and sophisticated look, try an elegant pearlized finish. This design combines soft colors with a shiny pearl effect, capturing the essence of winter pearls.
How to Achieve:
– Use a pearlized polish in light shades like lavender or white.
– Apply two coats for a fuller effect.
– Finish with a topcoat for shine.
This design is perfect for a sophisticated winter evening, bringing an understated elegance to your nails.
30. Bright Christmas Lights
Celebrate the joy of the season with bright Christmas lights on your nails! This fun and festive design showcases colorful dots that mimic holiday lights.
How to Achieve:
– Start with a white base coat.
– Use bright polishes to create dots resembling lights.
– Add black lines to connect them like wires.
– Seal with a topcoat to keep the design intact.
This cheerful manicure is perfect for any holiday party, adding a fun element to your winter look.
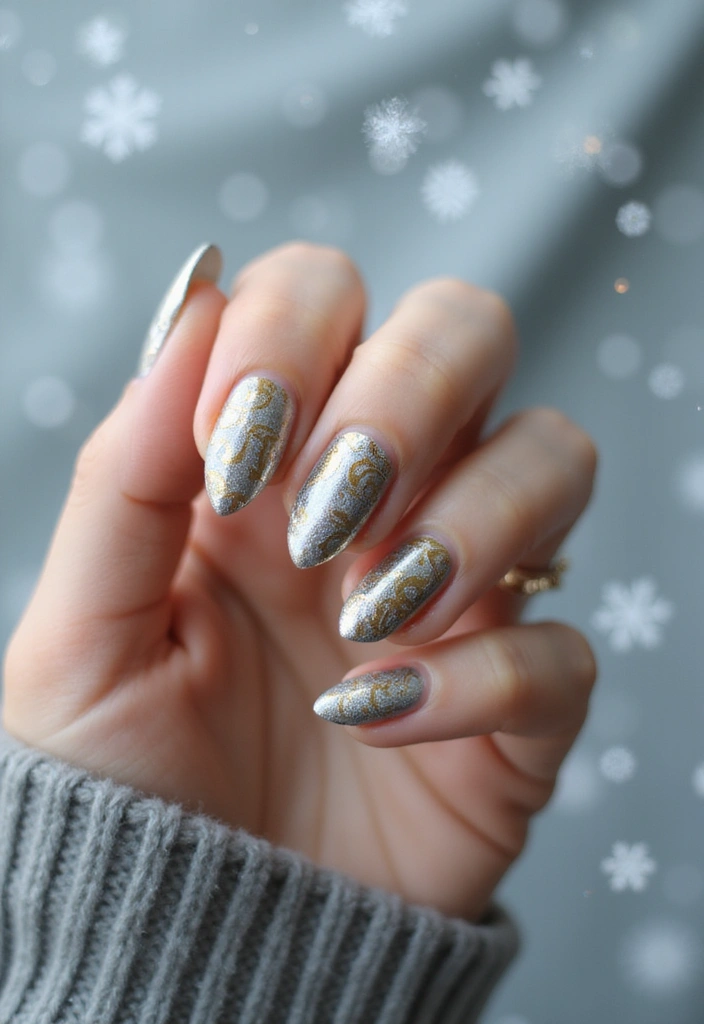
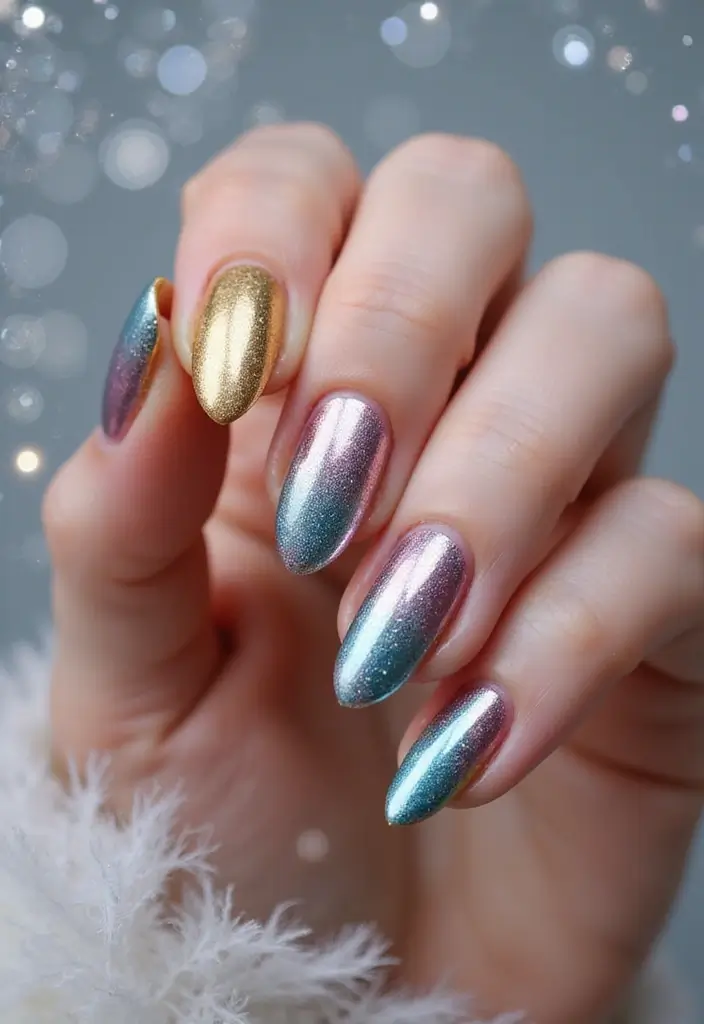
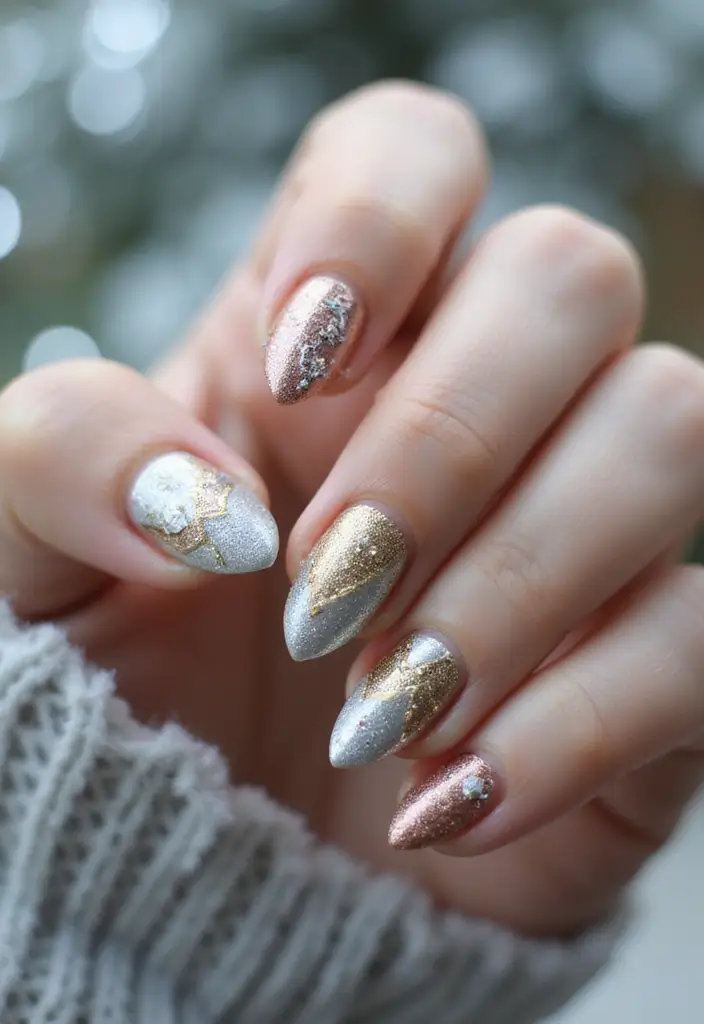
31. Metallic Holographic Shine

Capture the beauty of holographic shine with a metallic finish that reflects light in multiple colors. This design is captivating and perfect for winter nights out.
How to Achieve:
– Paint your nails with a holographic polish.
– Apply one or two layers for maximum impact.
– Seal it with a topcoat for extra durability.
This look is an attention-grabber, making your nails sparkle and shine like never before, ideal for festive occasions.
32. Whimsical Polar Bear Design
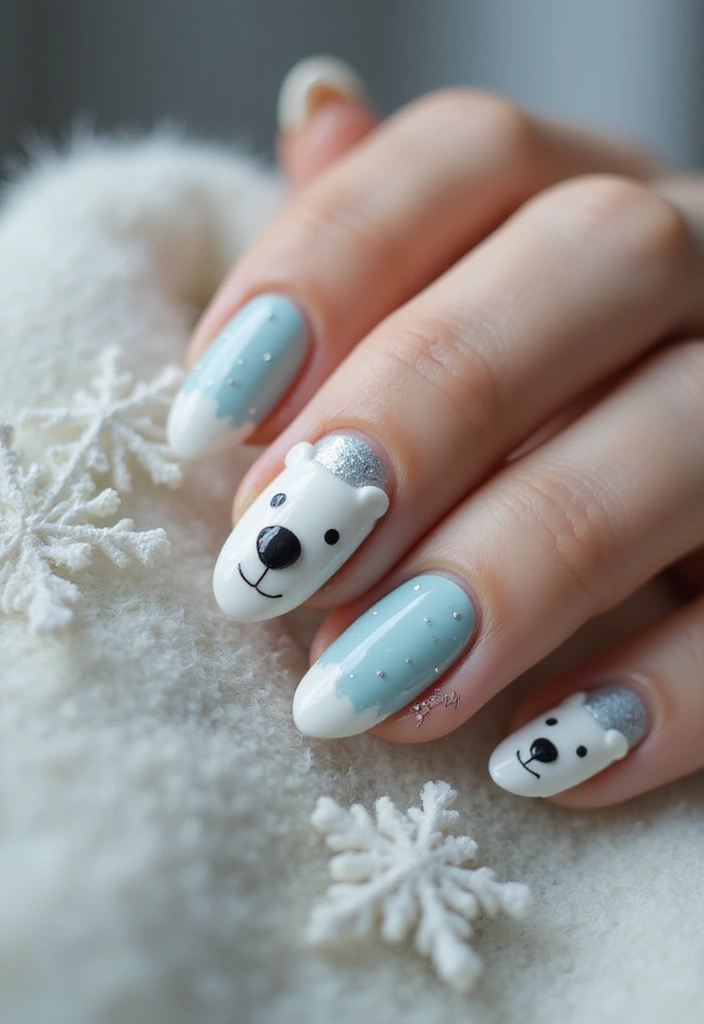
Show some love for winter creatures with a whimsical polar bear nail design. This playful look features adorable polar bears on a snowy background, perfect for capturing the winter spirit.
How to Achieve:
– Start with a white or light blue base coat.
– Use a fine brush to paint little polar bears on select nails.
– Add snowflakes or a snowy landscape for extra detail.
– Seal with a topcoat for protection.
This design is fun and charming, sure to delight anyone who sees it!
33. New Year’s Eve Glitter Bomb

Celebrate in style with a New Year’s Eve glitter bomb manicure! This design combines bold colors and glitter for a dazzling look that’s perfect for ringing in the new year.
How to Achieve:
– Start with a solid dark base coat.
– Apply a mixture of different colored glitters to create a stunning effect.
– Seal with a topcoat to keep the glitter intact.
This festive design is the perfect way to end the year on a high note, ensuring your nails sparkle all night long!
Conclusion
Winter is a magical time to experiment with your nails, and these 33 metallic snowstorm manicures offer endless inspiration for festive fun. Each design reflects the spirit of the season, showcasing your creativity and style. Whether you’re all about bold colors or prefer something more subtle, there’s a manicure here for everyone!
With so many options, why not try a few and share your favorites? Embrace the season and let your nails shine bright!
Frequently Asked Questions
What are some popular metallic nail art designs for winter?
This winter, metallic nail art is all the rage! You can try designs like frosted silver tips for a sophisticated look, or go bold with glittering gold snowflakes to capture holiday magic. Other stunning options include icy blue ombre and metallic marble effects, perfect for adding a luxurious touch to your winter beauty trends.
How can I achieve a festive metallic manicure at home?
Creating a festive metallic manicure at home is easier than you think! Start by applying a base coat to protect your nails, then choose your favorite colors like shimmering red or sophisticated rose gold. Use a thin brush for intricate designs like holiday lights or geometric patterns. Don’t forget a top coat to seal the look and add extra shine. Get creative and have fun with your winter nail art!
What nail care tips should I follow during winter?
Winter can be tough on your nails, so here are some essential care tips! Keep your nails moisturized with a good cuticle oil to prevent dryness and cracking. Always wear gloves when going out to protect them from harsh weather. Additionally, ensure you’re using a quality base coat before applying any metallic polish to prevent staining. Lastly, try to limit exposure to water and harsh chemicals to keep your nails healthy and strong through the season!
Are there any specific colors that are trending for winter manicures?
Absolutely! This winter, you’ll see a lot of deep burgundies, icy blues, and metallic silvers taking center stage. These colors not only resonate with the winter season but also offer a chic and stylish look that pairs beautifully with winter wardrobes. Don’t forget to also experiment with multicolor metallics for a fun and festive touch!
How do I remove metallic nail polish without damaging my nails?
Removing metallic nail polish doesn’t have to be a hassle! To protect your nails, soak a cotton ball in acetone-free nail polish remover and place it on your nail, wrapping it in foil for about 10 minutes. This helps loosen the polish without excessive scrubbing. Gently wipe the polish away, and follow up with a nourishing hand cream to keep your nails and cuticles hydrated after the removal process.