26 Ombre Nail Techniques for Stunning Results
If you’re looking to elevate your nail game, ombre nails are the way to go. This beautiful nail art technique seamlessly blends colors, creating a stunning gradient effect that’s perfect for any occasion.
From subtle pastel blends to bold vibrant hues, there’s an ombre style to match every personality and mood. Whether you’re heading to a party or just want to feel fabulous at home, mastering ombre nails will make your mani pop.
Let’s explore 26 creative ombre nail techniques that are perfect for beginners. Each method is easy to follow and comes with tips for keeping your nails healthy and looking their best!
1. Classic Ombre
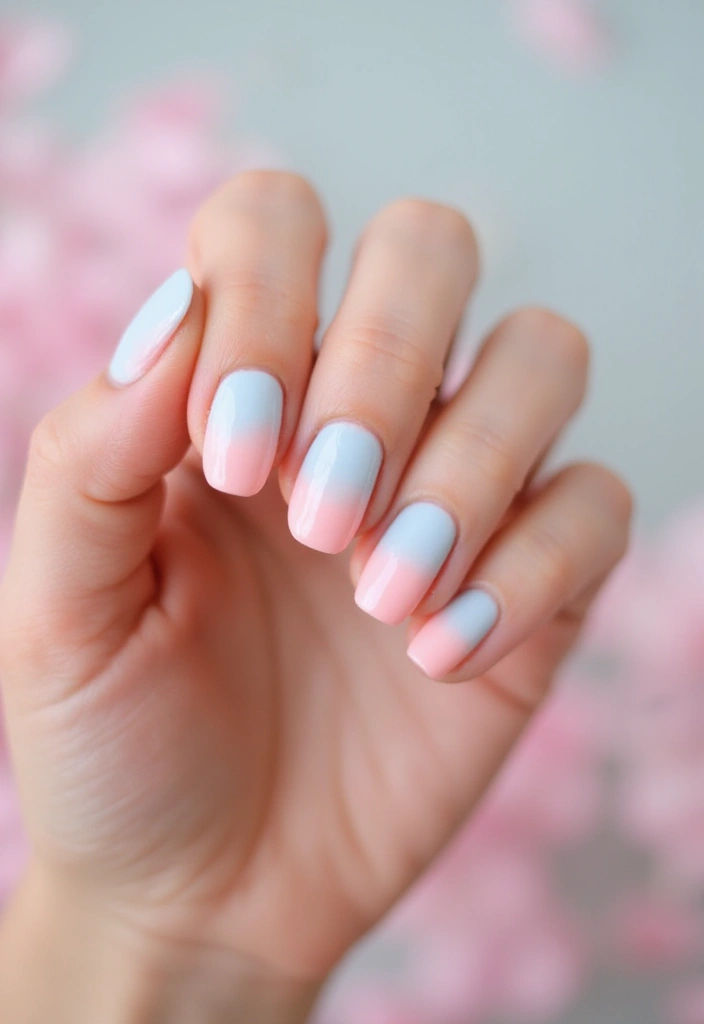
The classic ombre is the staple for any nail art enthusiast. Start with a base coat of your favorite color, then blend in a second color from the tip toward the cuticle.
Steps to Create:
– Apply a base coat and let it dry.
– Use a makeup sponge to dab on your second color, starting at the nail tip and working downwards.
– Repeat the dabbing until you achieve the desired gradient effect.
– Seal with a top coat for a glossy finish.
This technique is simple yet incredibly effective, making it perfect for beginners. Remember to choose colors that complement each other for a stunning look!
2. Reverse Ombre
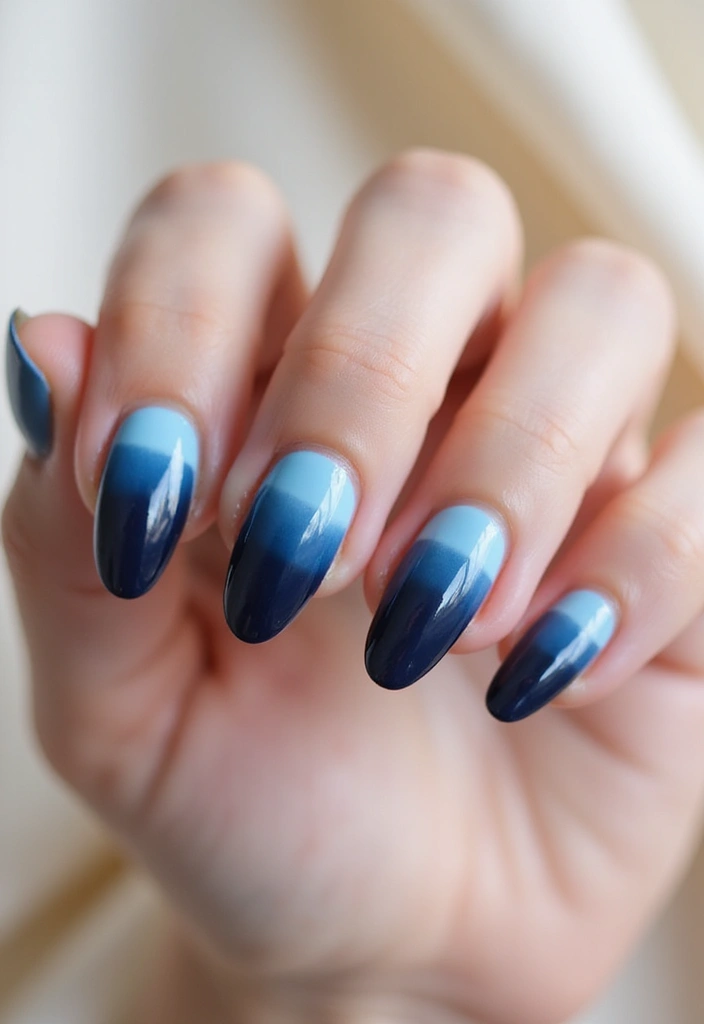
Switching it up, the reverse ombre starts with a darker shade at the base and lightens towards the tips.
Steps to Create:
– Paint your nails with a dark base coat and allow it to dry.
– Use a sponge to apply a lighter color starting from the cuticle and blending toward the tip.
– Make sure to blend well for a seamless transition.
– Finish with a top coat for durability.
This technique provides a striking contrast and can give your nails a chic and trendy vibe. Perfect for those bold enough to try something different!
Dare to be different! With reverse ombre, your nails can transform from dark to light, adding a chic twist to your DIY nail art. Embrace the contrast and let your creativity shine!
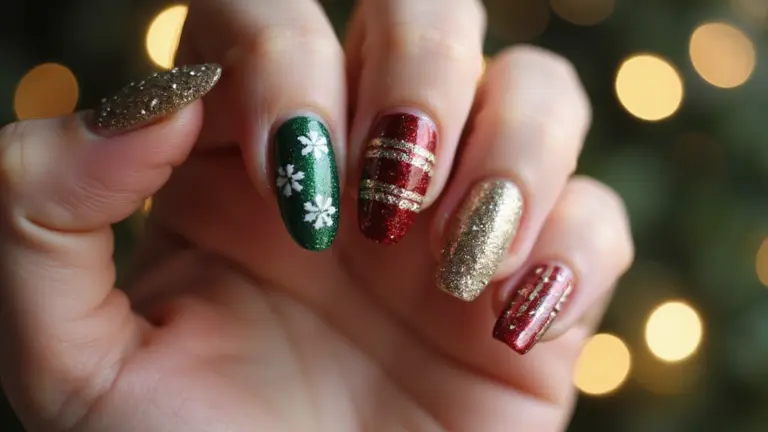
3. Glitter Ombre

Add some sparkle to your nails with a glitter ombre! This technique combines the classic ombre with glitter for a dazzling effect.
Steps to Create:
– Start with a base coat of your desired color.
– Once dry, use a sponge to apply glitter at the tips, blending it downward.
– Layer the glitter until you achieve your desired sparkle level.
– Seal it with a top coat to keep everything intact.
Glitter ombre is perfect for special occasions or just to add a little glam to your everyday look. It’s all about letting your personality shine through!
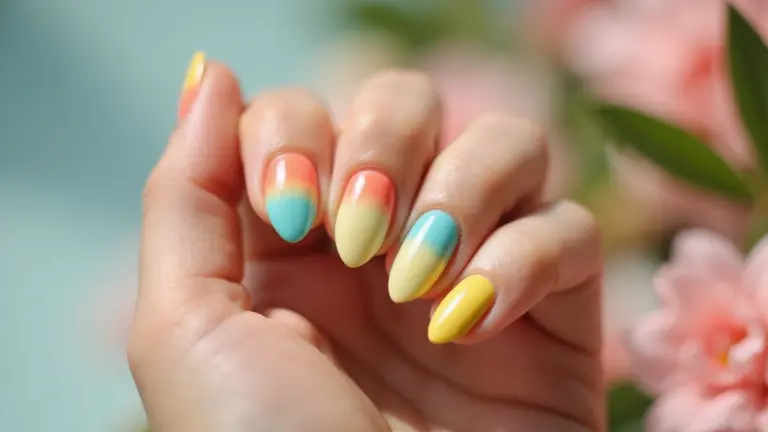
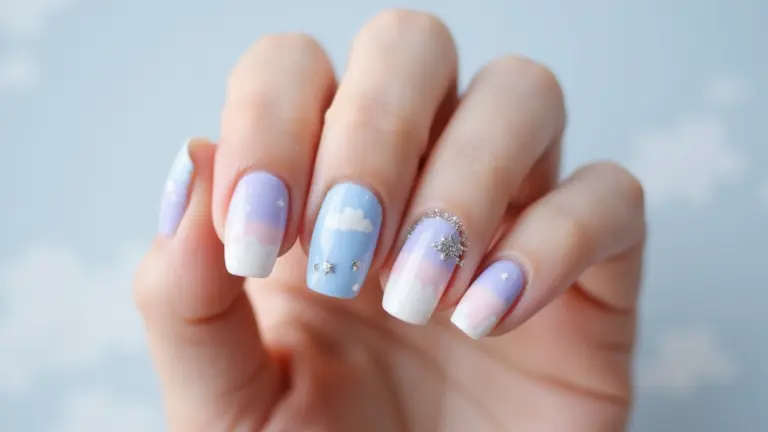
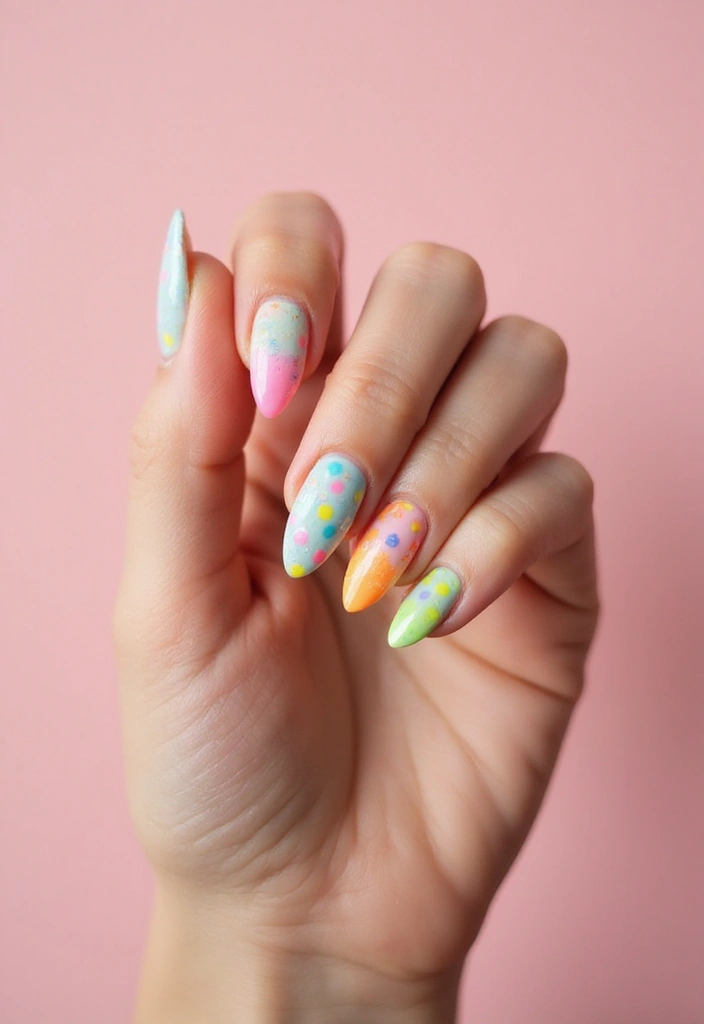
4. Pastel Ombre
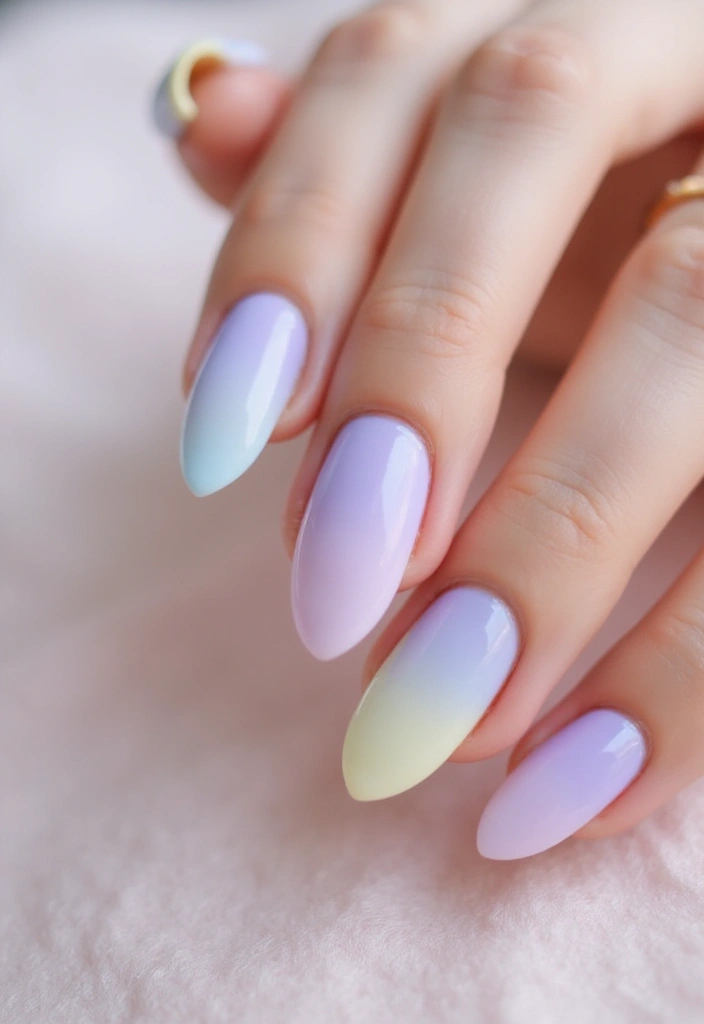
Soft, pastel colors are perfect for an elegant ombre look that’s fresh and fun. Pastel ombre can work beautifully for spring and summer.
Steps to Create:
– Start with a white base coat for brightness.
– Choose three complementary pastel shades.
– Apply the first color at the tip, the second in the middle, and the third at the cuticle.
– Blend with a sponge or nail brush.
– Finish with a top coat for a smooth look.
This technique creates a dreamy effect that’s sure to turn heads. Perfect for those who want a soft yet eye-catching design.
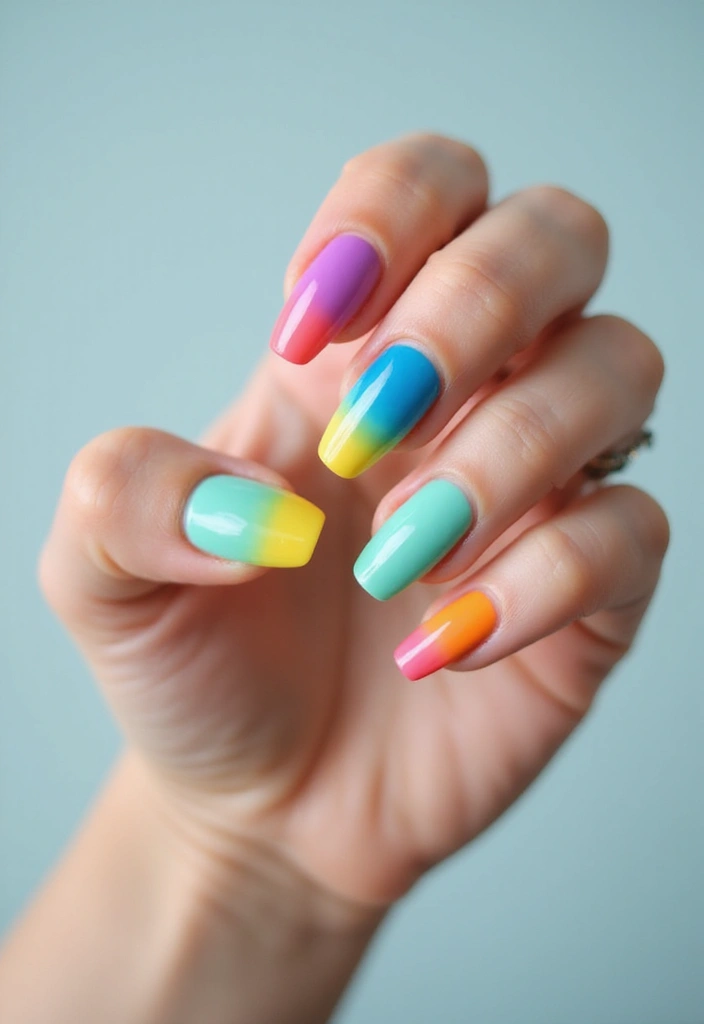
5. Neon Ombre
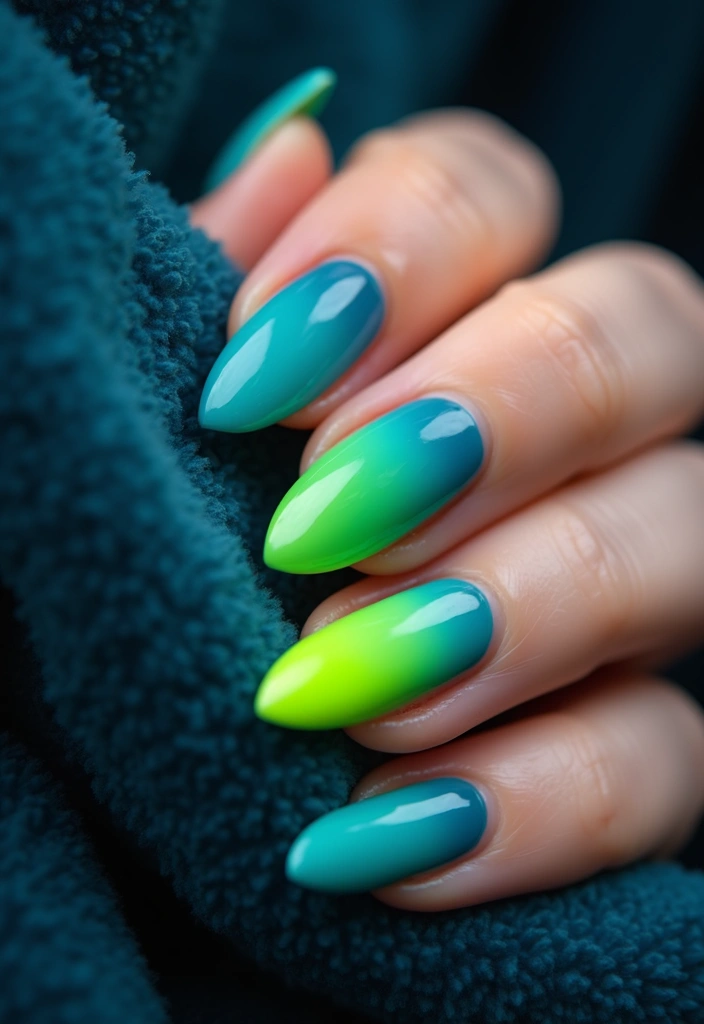
For those who love to stand out, neon ombre nails are the way to go! Bright and bold colors will definitely catch attention.
Steps to Create:
– Start with a white or light base coat for maximum vibrancy.
– Choose a few neon shades and apply them from the tips to the cuticle, blending them with a sponge.
– Use a fast-drying top coat to prevent smudging.
Neon ombre nails are perfect for parties and summer festivals, bringing an extra pop of color to your look. Just be ready for the compliments!
6. Marble Ombre
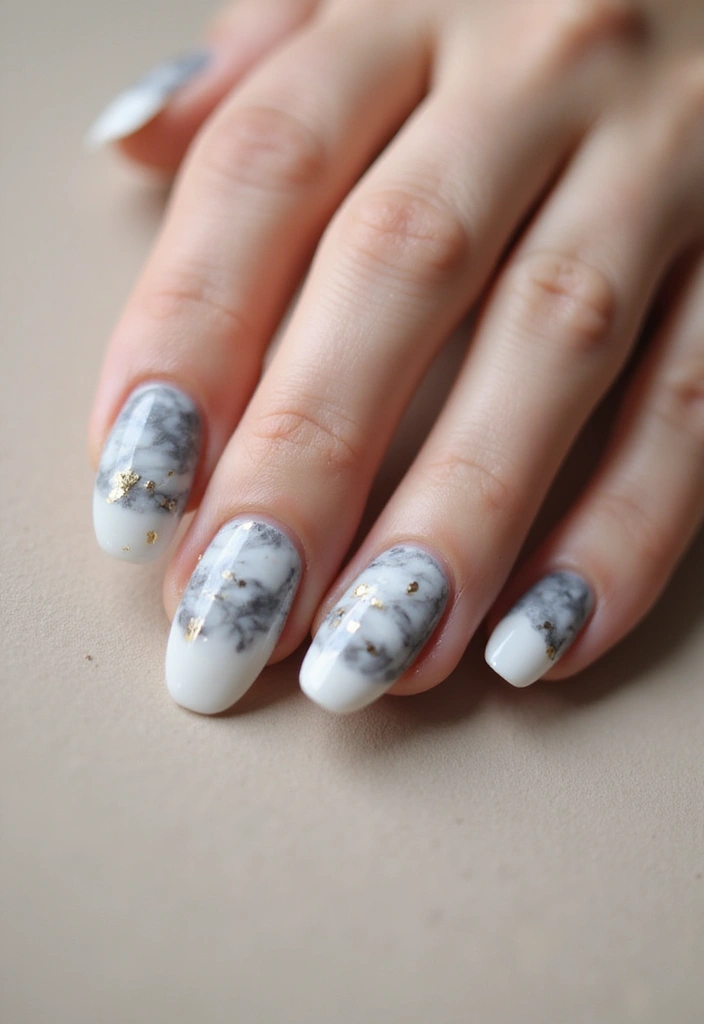
Marble nails have taken the beauty world by storm, and adding an ombre effect gives them a unique twist. This technique mimics the swirling patterns of marble.
Steps to Create:
– Paint your nails with a base color.
– Use a small brush to create swirls with a contrasting color.
– Blend the two colors lightly for an ombre effect.
– Seal with a top coat to lock in the design.
This style is elegant and sophisticated, perfect for a classy night out or a special event. It’s a great way to showcase your creativity!
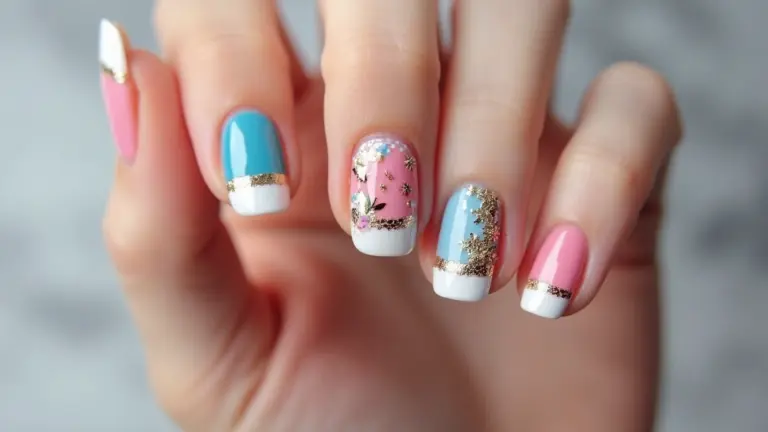
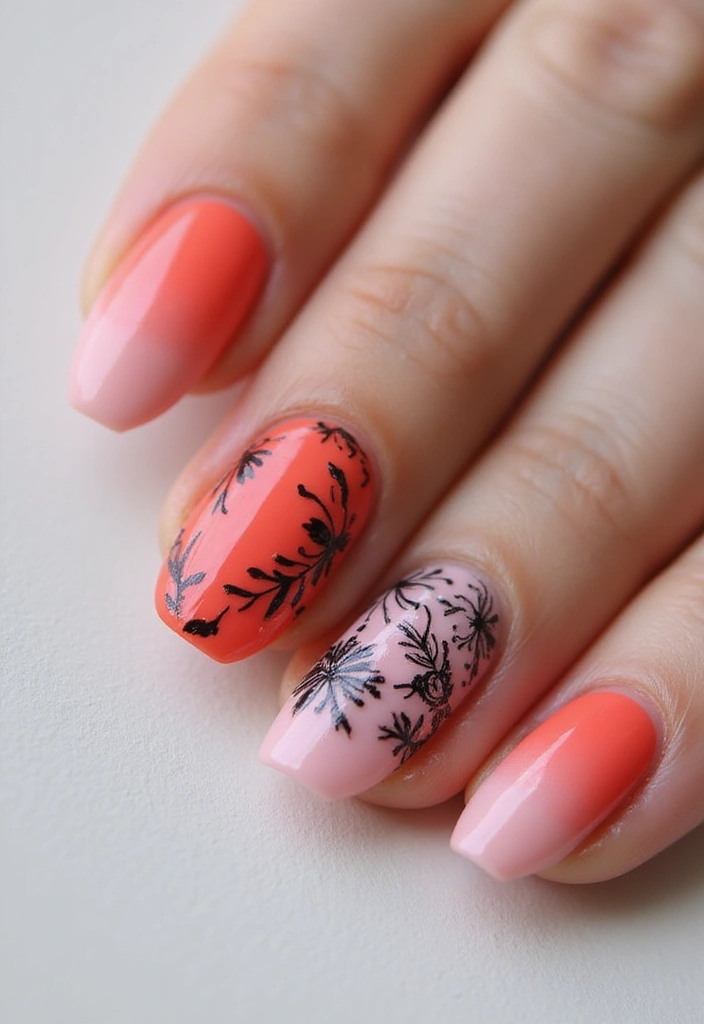
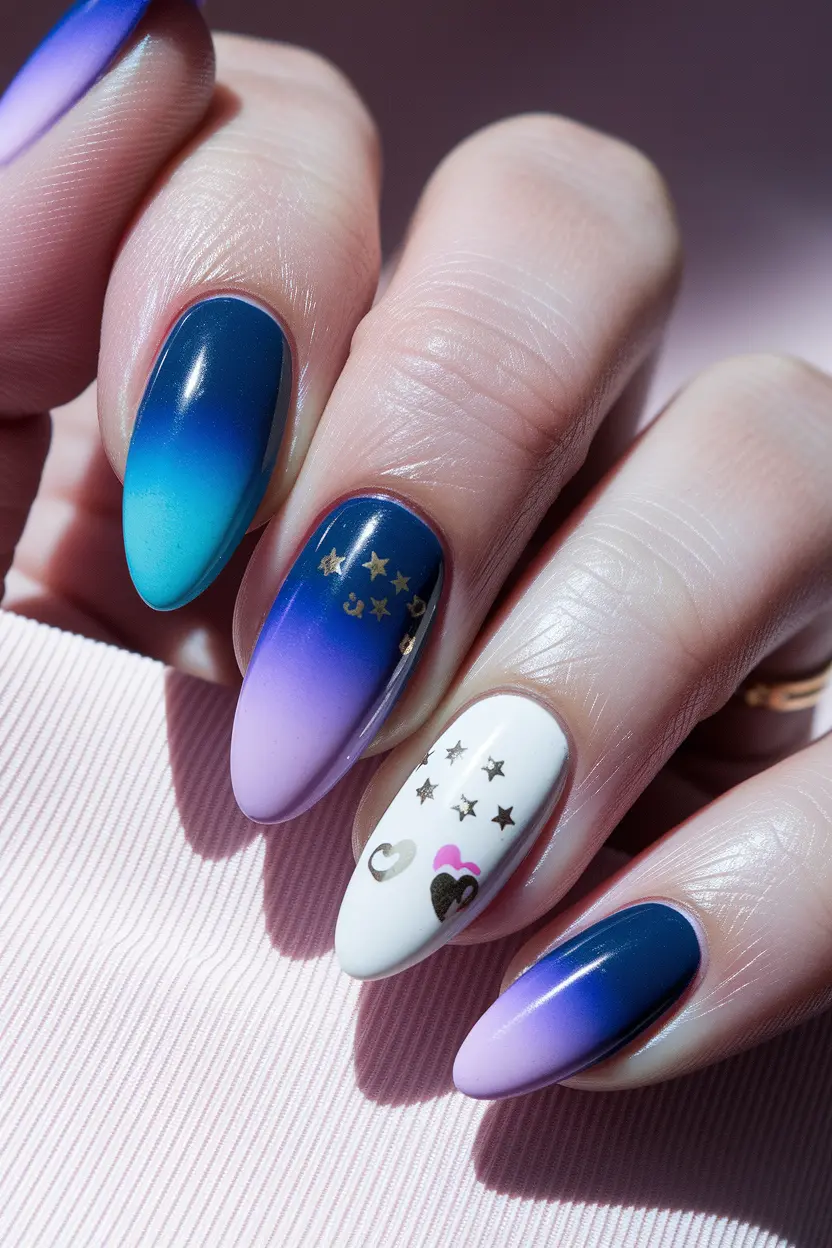
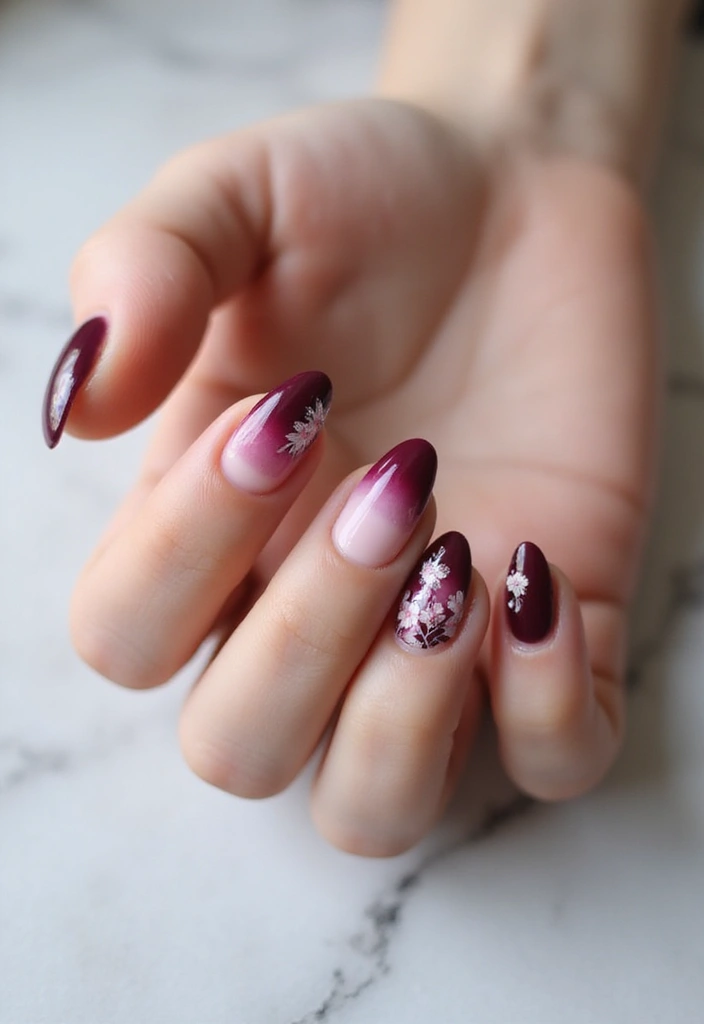
7. Ombre with Floral Accents
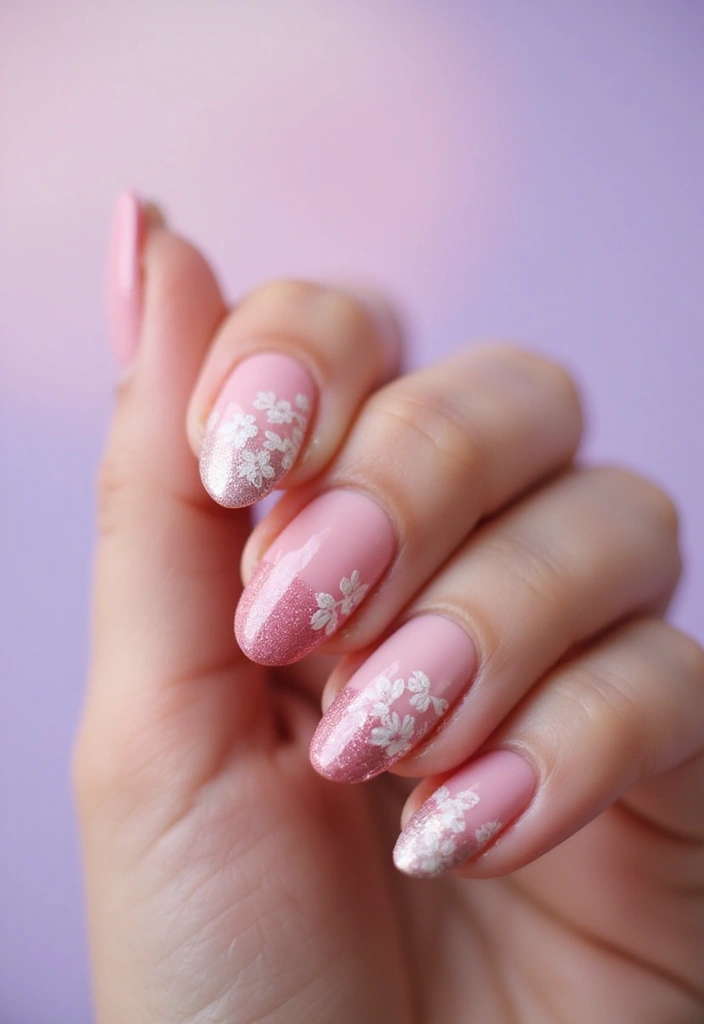
Floral accents can take your ombre nails to the next level. This combination is ideal for spring and summer looks.
Steps to Create:
– Start with your base ombre design.
– Once dry, use a fine brush to paint small flowers or floral patterns over the gradient.
– For added dimension, use a dotting tool to create centers for the flowers.
– Finish with a top coat to protect your art.
This technique adds a delicate, feminine touch to your nails, making them perfect for weddings or garden parties.
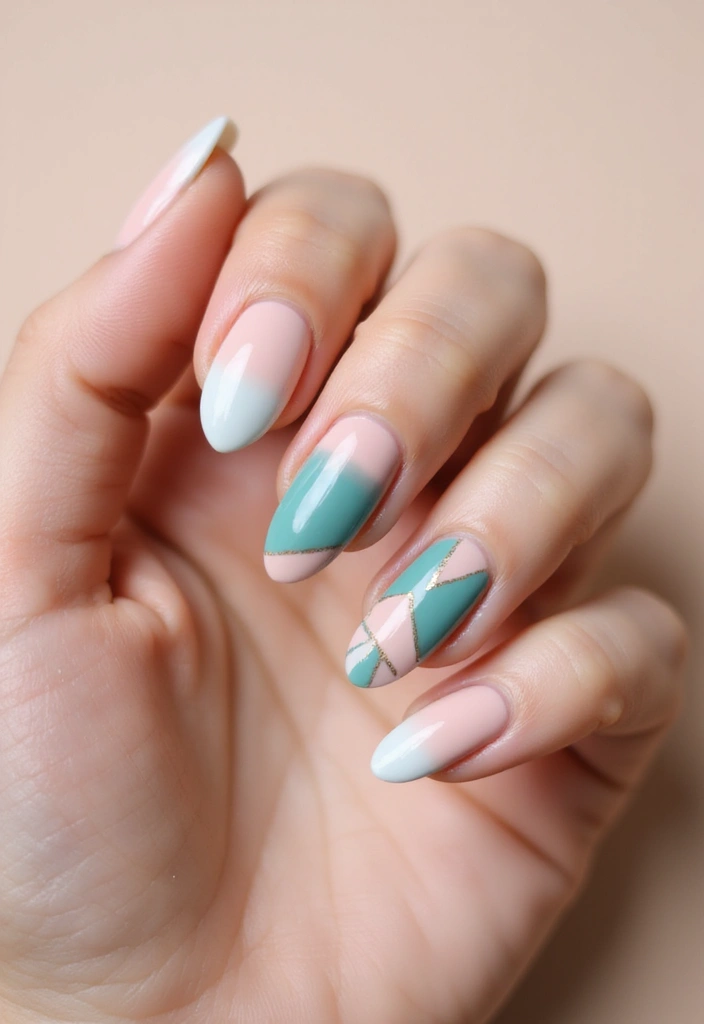
8. Ombre with Geometric Designs
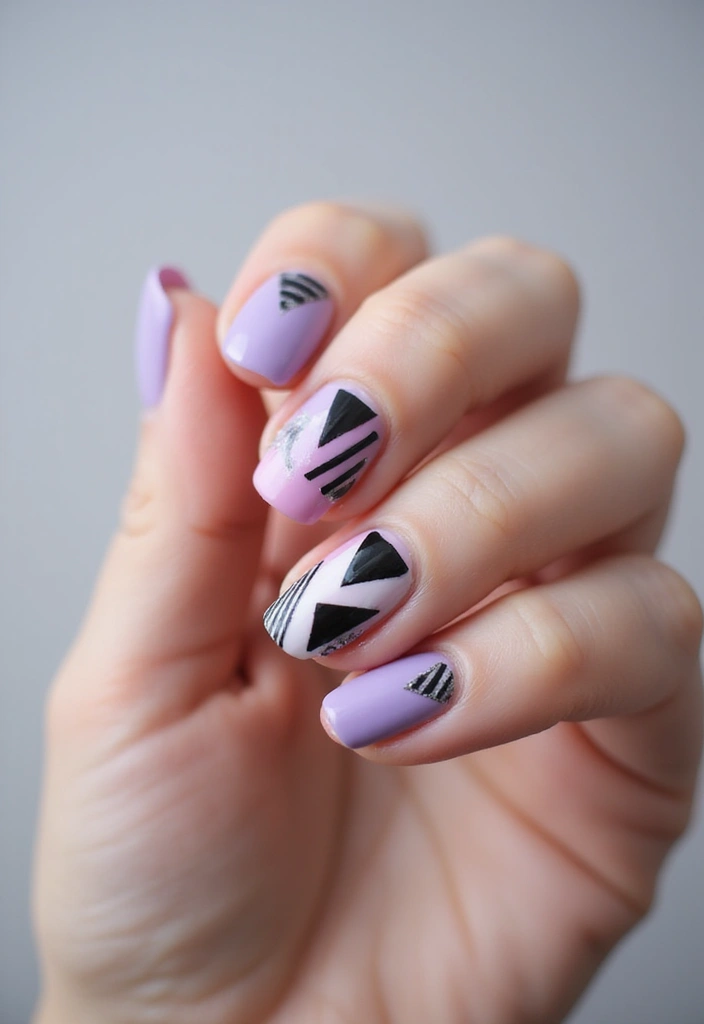
Geometric patterns paired with ombre nails offer a modern and edgy vibe. This look is great for those who love to experiment with shapes.
Steps to Create:
– Create a classic ombre base.
– Use striping tape to form geometric shapes on your nails.
– Fill the shapes in with contrasting colors, keeping the ombre visible.
– Finish with a top coat to seal it all.
This method is sure to turn heads and can be customized to reflect your style, whether bold or subtle!
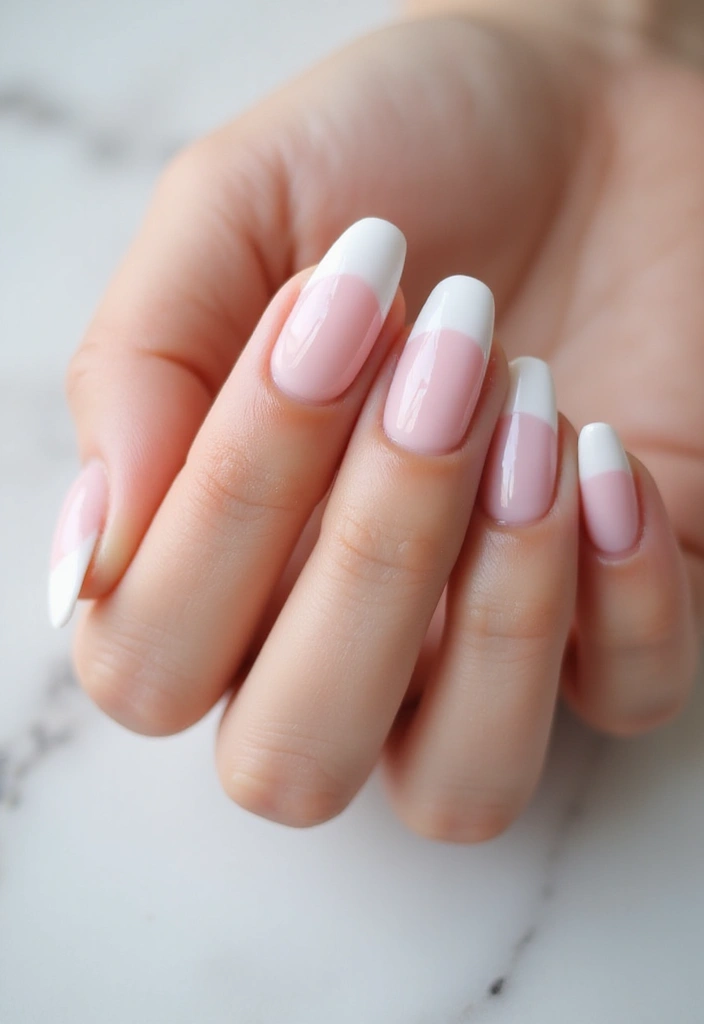
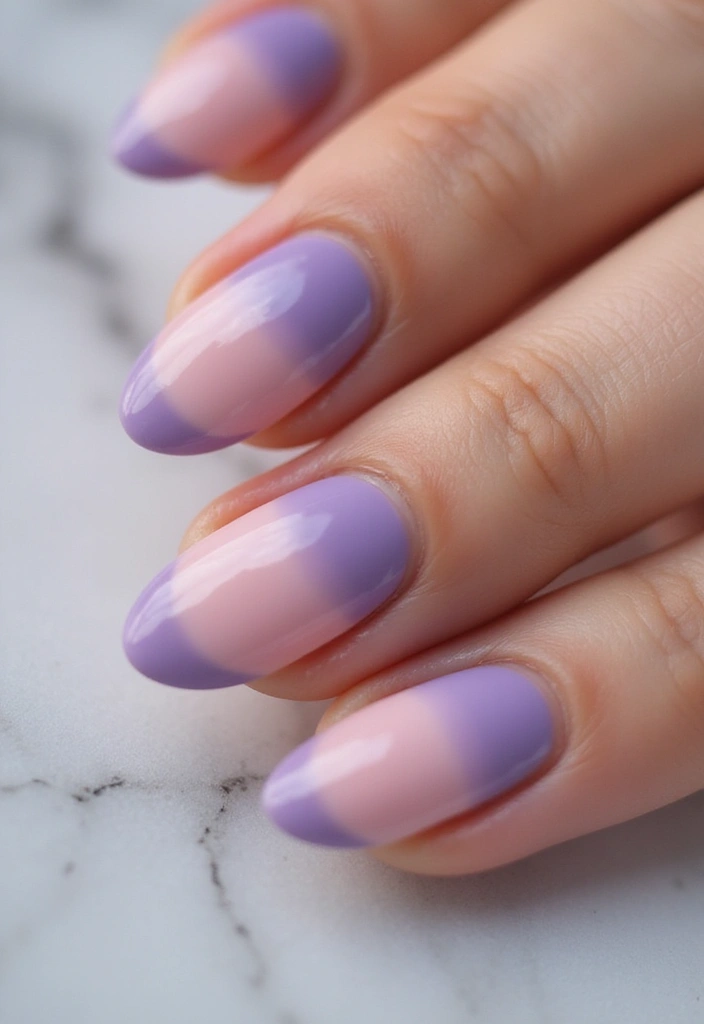
9. Ombre French Tip
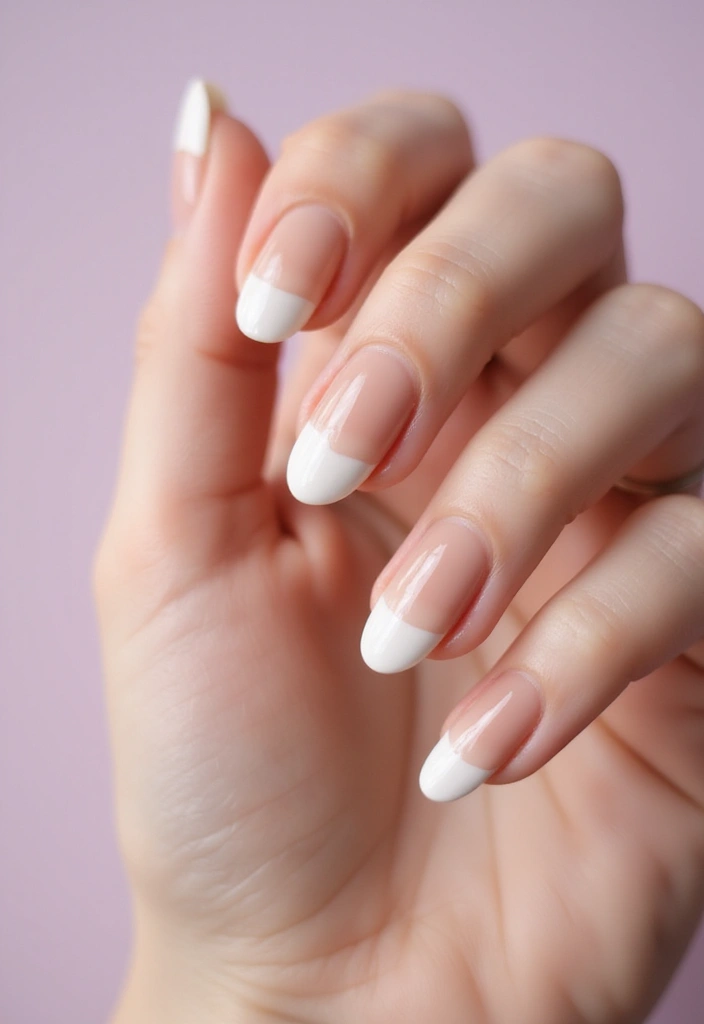
The ombre French tip is a chic twist on the classic French manicure. This technique takes the timeless look and gives it a modern flair.
Steps to Create:
– Start with a nude base coat.
– Use a small sponge to blend a light color into the tips of your nails.
– Blend it down towards the cuticle for a smooth gradient.
– Seal with a top coat.
This style is perfect for work or formal events, offering a polished look that’s still trendy. It’s a great way to make French tips feel fresh again.
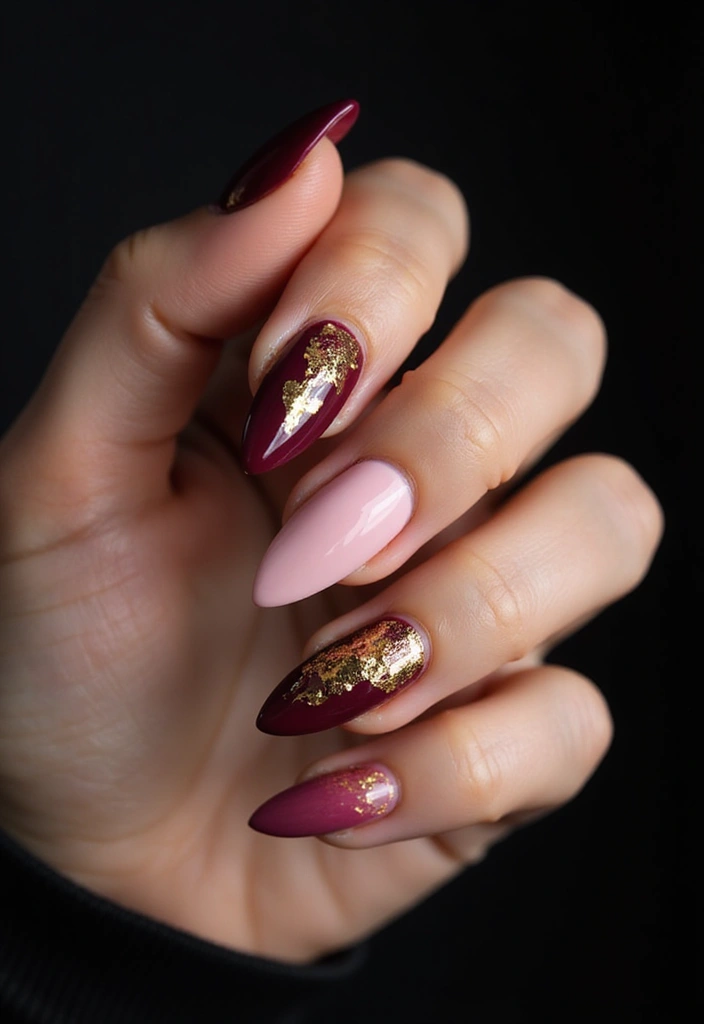
10. Ombre with Foil Accents
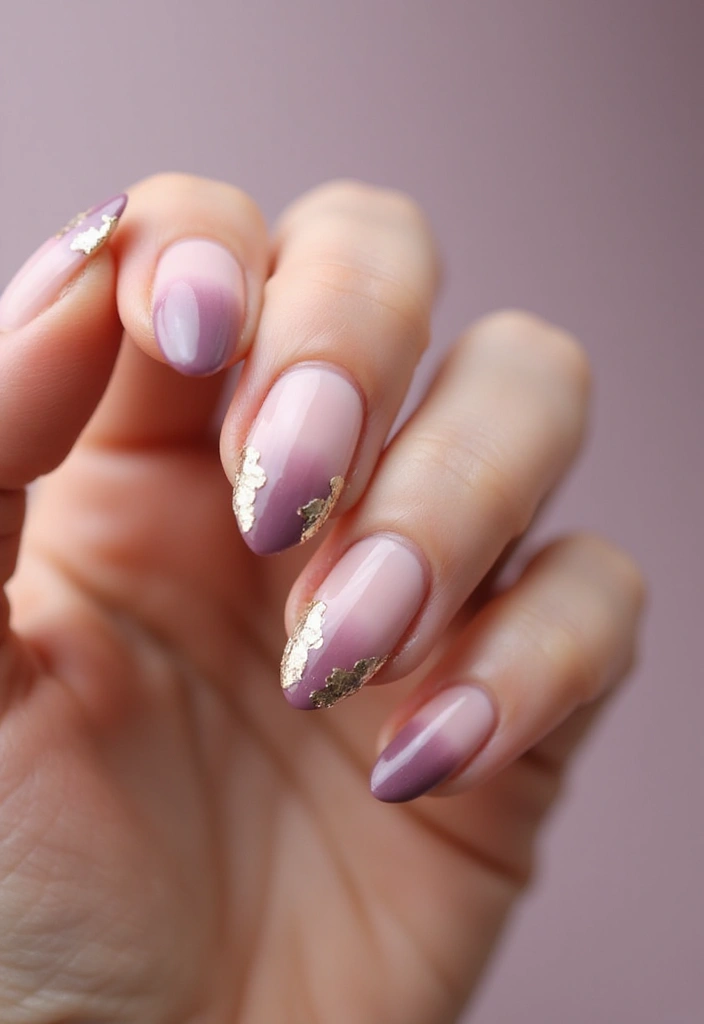
Adding foil accents to your ombre nails can bring a luxurious touch. The shiny foil creates a stunning contrast against the matte or glossy gradient.
Steps to Create:
– Create your base ombre design.
– Once dry, apply nail glue where you want to place the foil.
– Gently press the foil onto the glue and peel away.
– Seal with a top coat to keep everything in place.
This design is perfect for special occasions where you want to feel extra glamorous!
11. Textured Ombre
Take your ombre nails to the next level with texture! This unique technique adds depth and dimension.
Steps to Create:
– Apply a base coat of your desired color.
– Use a textured polish (like sand or matte) in a contrasting color for the tips.
– Blend the two textures for a seamless look.
– Finish with a top coat if desired for shine.
Textured ombre nails provide a playful look and can be a great conversation starter. They’re perfect for those who love something a bit different!
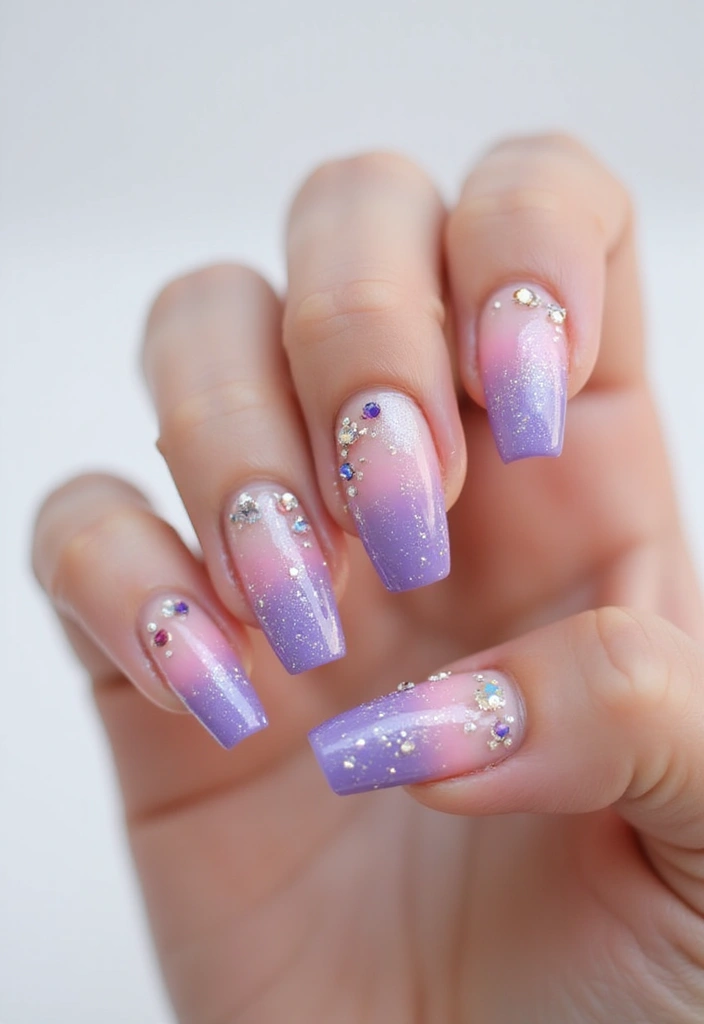
12. Ombre with Jewels
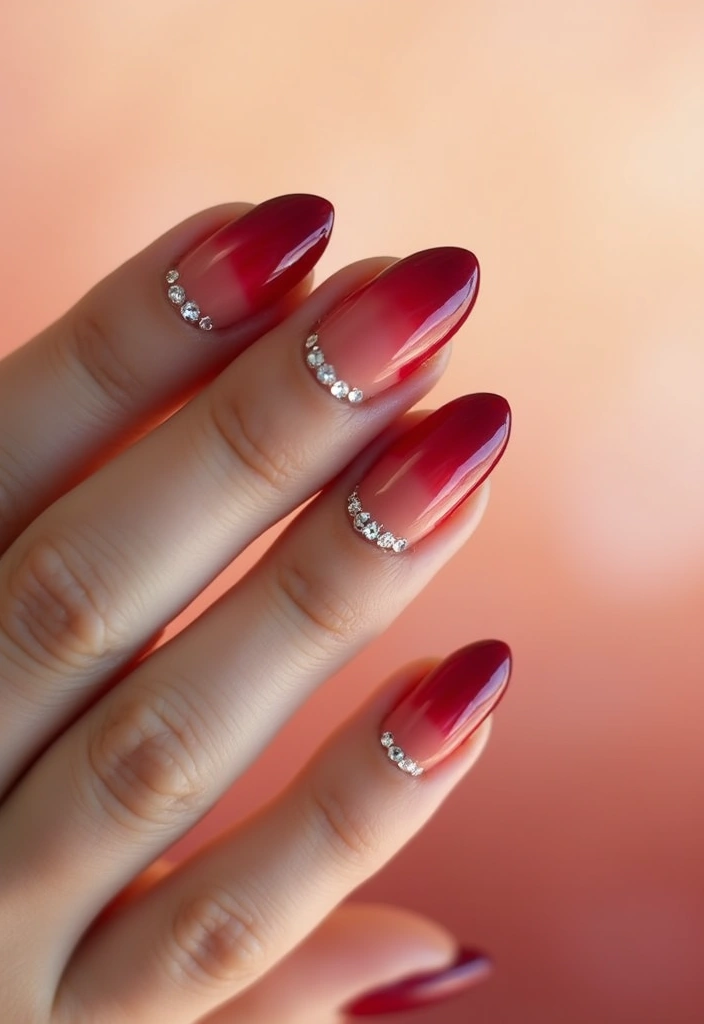
Add a touch of elegance to your ombre nails with the addition of jewels or rhinestones. This technique is perfect for special occasions or when you want to feel fancy.
Steps to Create:
– Start with your ombre base.
– Once dry, apply small jewels at the cuticle or as an accent on a few nails.
– Use nail glue to secure them.
– Seal everything with a top coat for longevity.
This look adds a glamorous finish to your nails, making them sparkle in the light. Perfect for weddings or parties!
13. Ombre with Nail Art Pens
Using nail art pens can take your ombre nails to new heights! These pens allow for precise designs over your gradient.
Steps to Create:
– Apply your ombre base coat.
– Use the nail art pen to draw intricate designs, such as swirls or dots, over the gradient.
– Let it dry and finish with a top coat.
This technique is both fun and creative, allowing you to personalize your nails and express your unique style. It’s perfect for a fun night out or a creative hobby!
14. Ombre with Color Blocking
Color blocking with an ombre effect is a bold and modern look. This technique involves using multiple solid colors in conjunction with the gradient.
Steps to Create:
– Start with a base ombre look.
– Use striping tape to create sections on the nail.
– Fill in each section with your chosen colors.
– Remove the tape carefully and finish with a top coat.
This design is vibrant and can be customized to reflect your personality, combining the fun of ombre with the playfulness of color blocking!
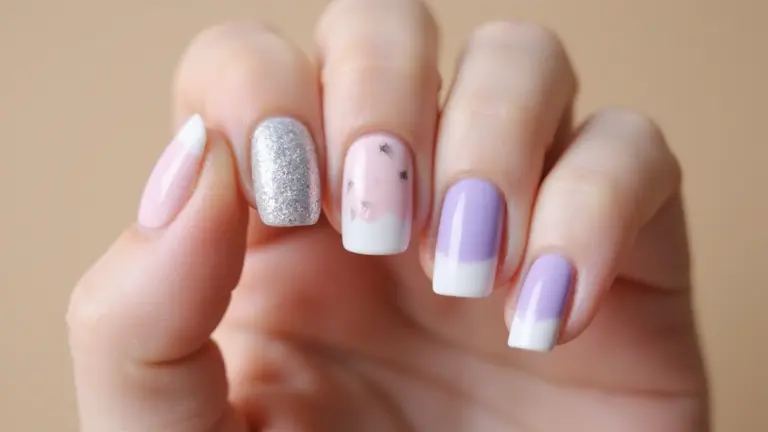
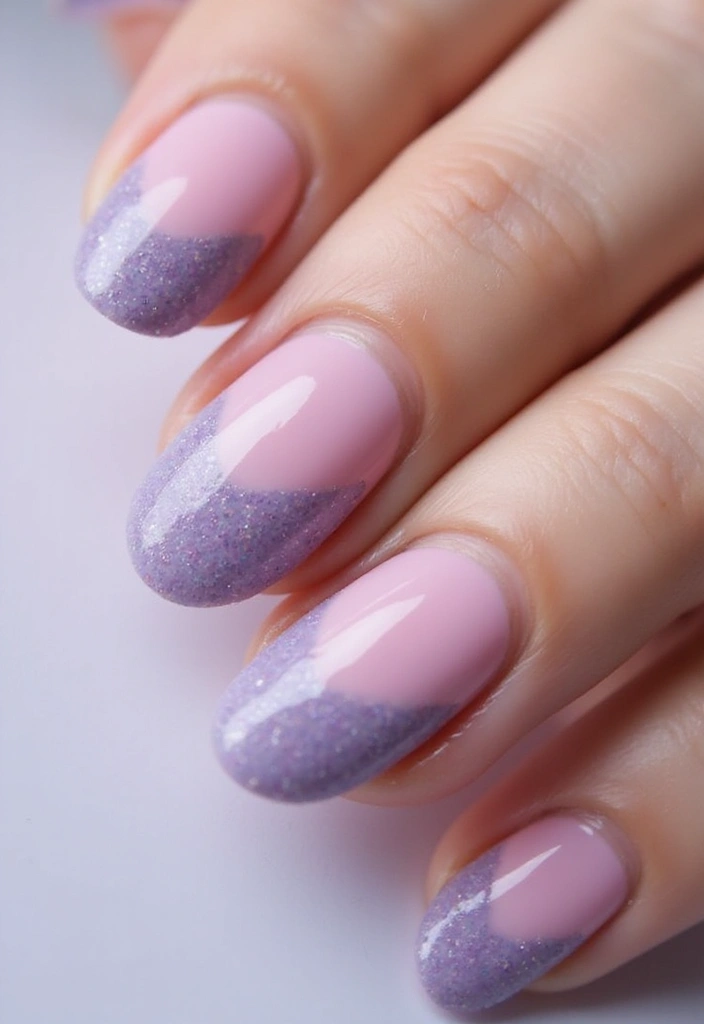
15. Ombre with Gradient French Tips
French tips just got an upgrade! The gradient French tips combine the classic style with an ombre effect for a playful yet sophisticated look.
Steps to Create:
– Start with a nude or light base.
– Use a sponge to blend a soft color at the tips, transitioning down towards the cuticle.
– Repeat if necessary for a more pronounced gradient.
– Seal it with a glossy top coat for a polished finish.
This style is perfect for those who want the classiness of French tips but with a modern twist. It’s versatile enough for any event!
Elevate your nail game! Gradient French tips blend timeless elegance with a playful twist, proving that classic styles can shine with a modern ombre touch. Let your nails tell a story of sophistication!
16. Ombre with Animal Print
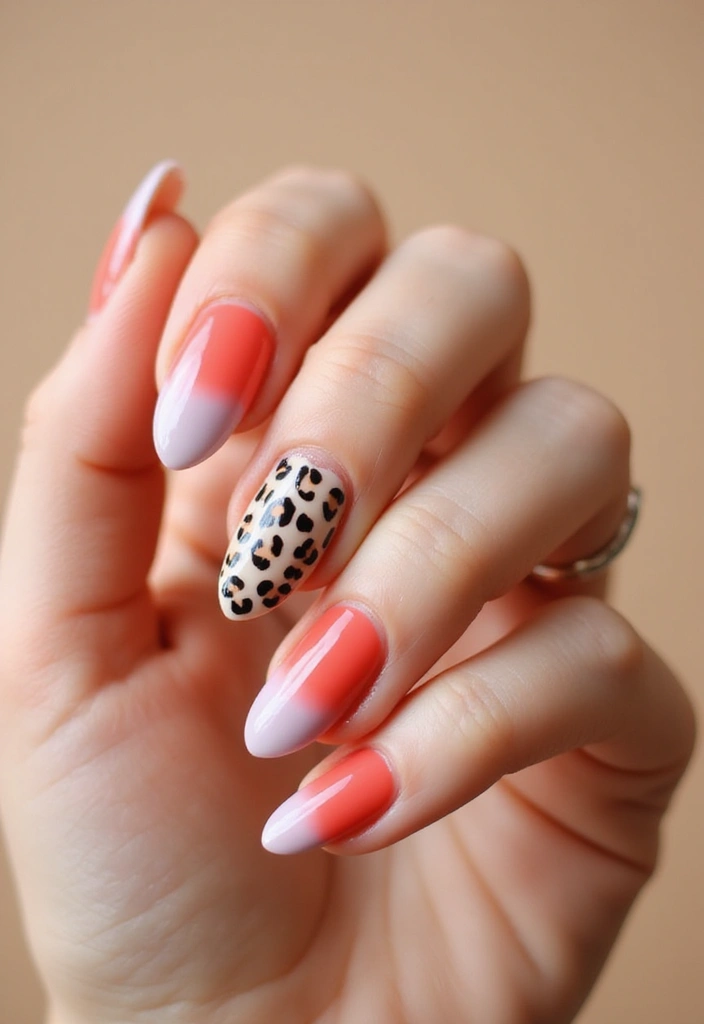
Unleash your wild side with animal print ombre nails! This technique allows you to combine the fun of a gradient with sassy animal prints.
Steps to Create:
– Paint your base ombre design.
– Use a fine brush or nail art stamping kit to apply animal print designs over the gradient.
– Seal with a top coat for durability.
This style is perfect for those who love to make a statement and show off their personality. Perfect for casual outings or adventurous events!
17. Ombre with Nail Foils
Nail foils bring a trendy texture to your ombre nails, adding depth and interest. They can be applied to enhance the gradient or used as accents.
Steps to Create:
– Apply your base ombre design.
– Use nail glue to apply pieces of foils in random spots or over the entire nail for dramatic effect.
– Seal it with a top coat to keep everything intact.
This technique is perfect for those who want an edgy look while keeping it fun and stylish.
18. Ombre with 3D Elements
Taking it to the next level, 3D elements can give your ombre nails a unique and fun twist. Think beads, gems, or even tiny charms!
Steps to Create:
– Start with your ombre nails as the base.
– Apply nail glue and place your 3D elements on the nail.
– Seal with a top coat to secure everything in place.
This technique is great for special occasions where you want your nails to stand out. You’ll get tons of compliments with this unique style!
19. Ombre with Matte Finish
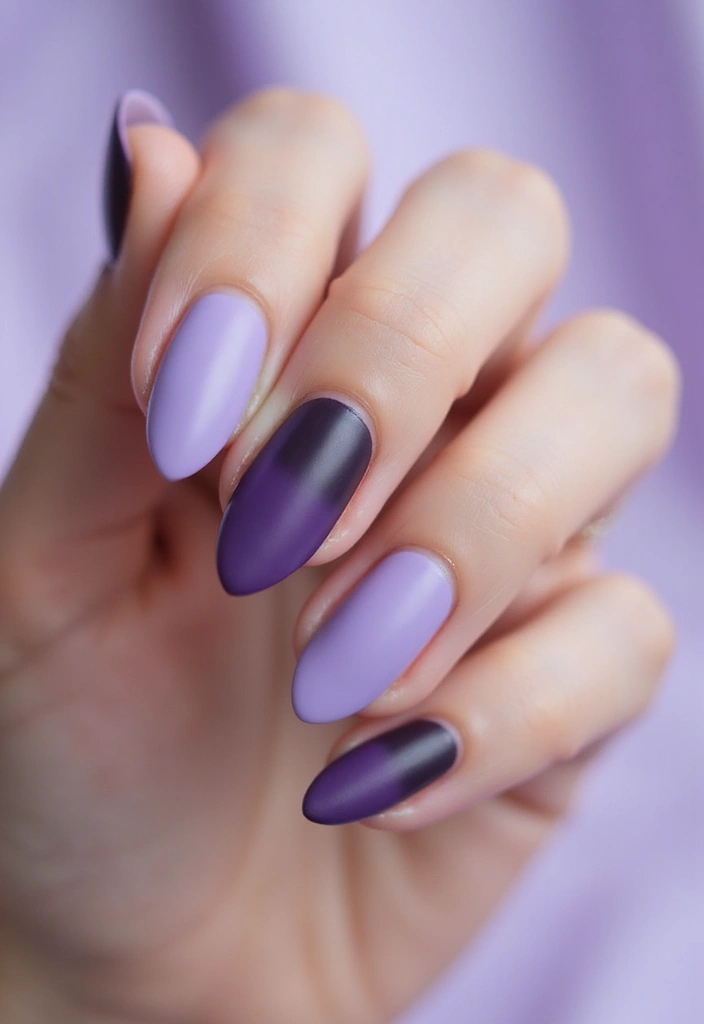
For a chic and modern look, try an ombre design with a matte finish! This technique offers a sophisticated twist on the traditional glossy gradient.
Steps to Create:
– Start with your ombre design using regular polish.
– Once dry, apply a matte top coat to achieve that chic finish.
– Ensure everything is sealed well for longevity.
Matte ombre nails are perfect for a stylish nighttime look or for those who prefer a more understated vibe. They’re versatile and can be worn for any occasion!
20. Ombre with Neon Accents
For a fun twist, mix a classic ombre with neon accents! This combination is playful and perfect for summer.
Steps to Create:
– Start with an ombre base.
– Use a fine brush to add neon dots or lines over the gradient.
– Seal with a top coat to lock in your design.
This technique allows for a lot of creativity, so feel free to experiment with different patterns and placements. It’s perfect for beach days or parties!
21. Ombre with Random Shapes

Get whimsical with random shapes added to your ombre nails! This technique allows for a more artistic and creative approach.
Steps to Create:
– Create your base ombre design.
– Use a fine brush to paint random shapes or patterns over the gradient.
– Be as creative as you like!
– Finish with a glossy top coat for a polished look.
This design is perfect for those who want to express their artistic side and let their creativity flow. It’s a unique statement that’s sure to catch eyes!
22. Ombre with Stripes
Add a twist to your ombre with colorful stripes! This look is fun and easy to customize.
Steps to Create:
– Start with your ombre base.
– Use striping tape to create straight lines on your nail.
– Paint the stripes in contrasting colors.
– Carefully remove the tape and seal with a top coat.
This technique combines the beauty of ombre with the boldness of stripes, making it a great choice for any occasion!
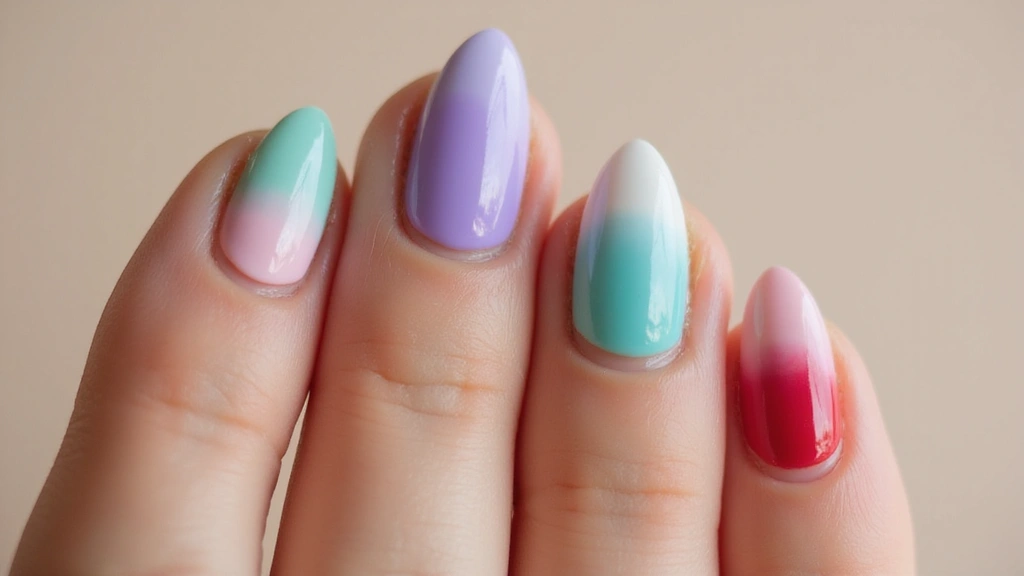
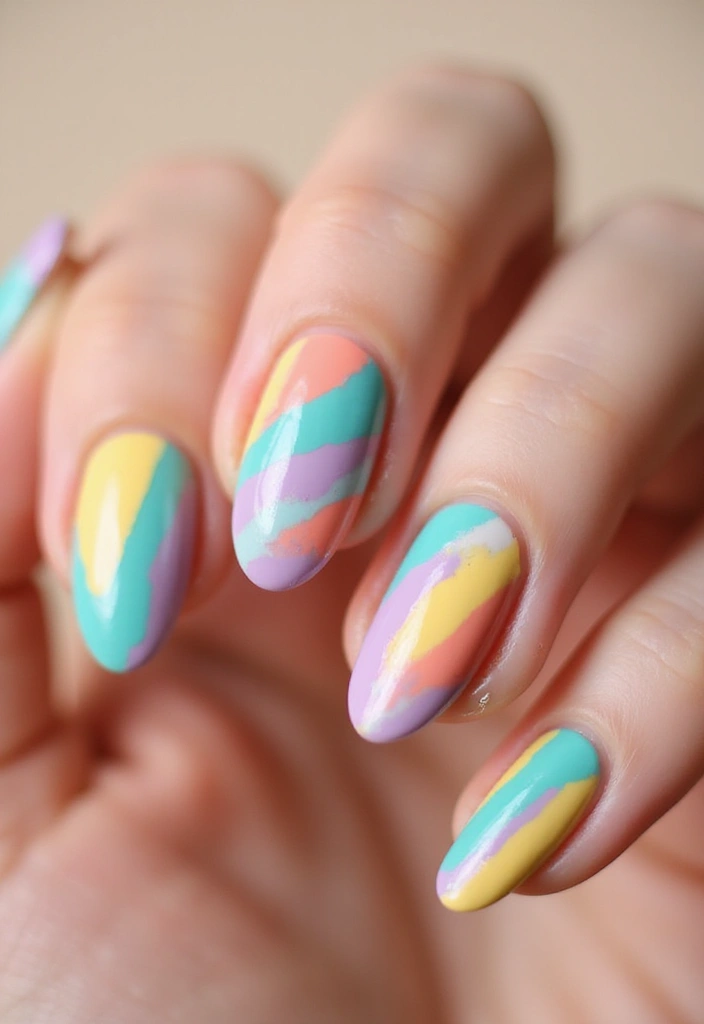
23. Ombre with Color Mixing
For the adventurous, try mixing colors directly on your nails for a vibrant ombre effect! This technique is all about blending shades right at your fingertips.
Steps to Create:
– Apply a base coat of one color.
– While it’s still wet, add a second color at the tip and blend together.
– Use a brush for a precise blend.
– Finish with a top coat for shine.
This technique allows for a lot of personal creativity, letting you mix and match according to your mood. You’ll love the unique results!
24. Ombre with Airbrush Technique
The airbrush technique takes ombre nails to a professional level. It’s perfect for those looking to create a seamless gradient with ease.
Steps to Create:
– Use an airbrush kit to apply a base color.
– Gradually layer the second color to create the ombre effect.
– Experiment with different pressures to achieve various intensities.
– Finish with a top coat to protect your work.
This technique looks flawless and is perfect for those who love that salon-finish look!
Achieve that salon-finish look at home! With the airbrush technique, creating a seamless ombre is just a spray away. Let your nails do the talking!
25. Ombre with Seasonal Themes

Celebrate the seasons with ombre nails inspired by nature! This technique allows you to channel seasonal colors into your nail design.
Steps to Create:
– For a fall theme, use warm colors like orange and brown.
– For spring, opt for soft pastels.
– Create your ombre design following previous techniques.
– Feel free to add seasonal accents!
This design is festive and fun, allowing for creativity that reflects your current mood or the time of year!
Bring the beauty of the seasons to your fingertips! With DIY ombre nails, you can express your style through nature’s palette—warm autumn hues or soft spring pastels. Let your creativity shine with every season!
26. Ombre with Personal Touches
Lastly, make your ombre nails uniquely yours by incorporating personal elements! Whether it’s your favorite colors or meaningful symbols, this design is all about you.
Steps to Create:
– Start with your base ombre design.
– Use a fine brush to add personal symbols or patterns that reflect your personality.
– Finish with a glossy top coat.
This technique not only showcases your creativity but also personalizes your look, making it a true expression of yourself. Everyone will love your unique style!
Conclusion
With these 26 stunning ombre nail techniques, your manicure game is sure to reach new heights. Whether you’re going for a classic look, something playful, or something entirely unique, the options are endless.
Don’t forget to take care of your nails with proper nail care tips along the way. Happy painting, and may your nails always shine bright!
Frequently Asked Questions
What Are Ombre Nails and Why Are They Popular?
Ombre nails are a stunning nail art technique that involves blending two or more colors to create a beautiful gradient effect. They are popular because they offer endless design possibilities and can suit any occasion, from casual to formal. Plus, they’re a great way to express your creativity and personal style!
What Basic Supplies Do I Need to Create Ombre Nails at Home?
To get started with DIY ombre nails, you’ll need some essential supplies: a good base coat, two or more nail polish colors of your choice, a makeup sponge for blending, a top coat for that glossy finish, and some nail polish remover for clean-up. Don’t forget to have a steady hand and a little patience for the best results!
How Can I Make My Ombre Nails Last Longer?
To ensure your ombre nails look fabulous for longer, start with a clean nail surface and apply a quality base coat. Use a top coat every few days to protect your design and add shine. Additionally, avoid exposing your nails to harsh chemicals or prolonged water immersion. Regularly moisturizing your cuticles can also help maintain the health of your nails!
Are There Any Tips for Beginners Trying Ombre Nail Techniques for the First Time?
Absolutely! If you’re new to ombre nail art, start with simple designs like the classic ombre. Use a makeup sponge to dab the colors gently onto your nails for a seamless blend. Practice is key, so don’t be discouraged if it takes a few tries. And remember, it’s all about having fun and experimenting with colors to find what you love!
Can I Combine Ombre Nails with Other Nail Art Techniques?
Definitely! Combining ombre nails with other nail art techniques can lead to some amazing designs. You can add floral accents, geometric patterns, or even glitter for a sparkly twist. The possibilities are endless, allowing you to showcase your creativity and personalize your nail art to match your style or mood!